When we moved into our house almost two years ago, one of the first things we wanted to decorate was the living room. We spend so much time there and wanted it to feel cozy and homey as quickly as possible! Like most spaces in our house, everything about it was pretty much beige and orange-oak colored. These are two of the only pictures I have from the very first weekend before we moved in and I painted it all (that was before my blogging days when I pretty much never took pictures).
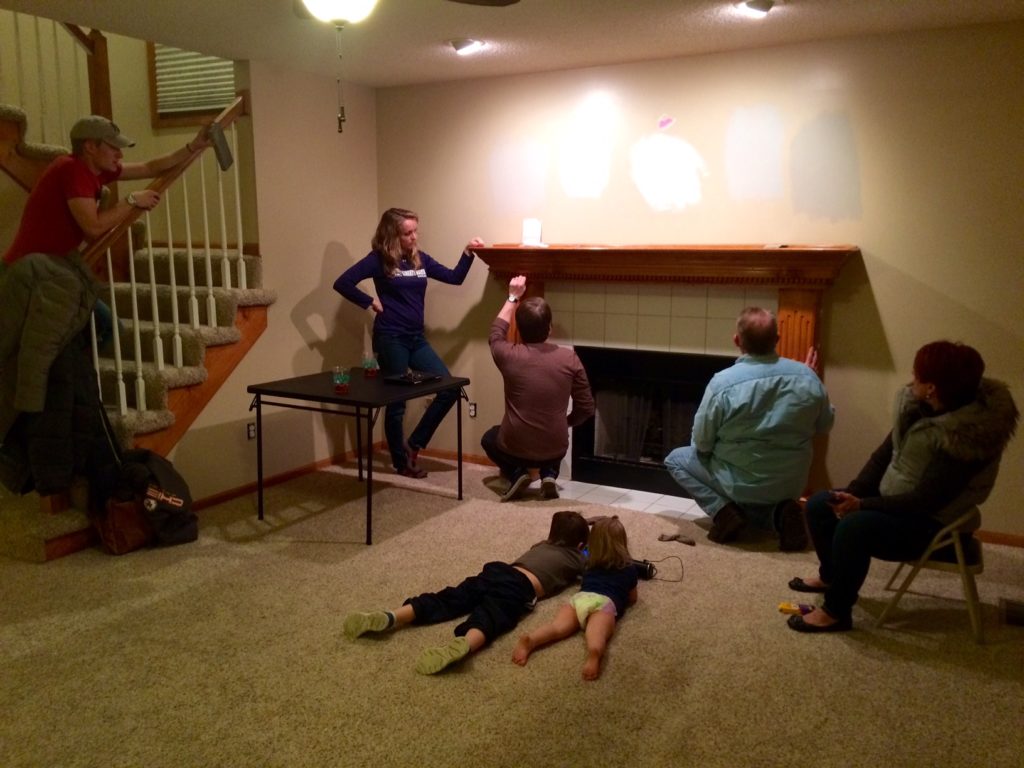
Letting all of Jordan’s family check out the house on our first weekend there!

To start, we painted our entire living room a pretty shade of greige called Behr Wheat Bread, painted the mantle Behr Ultra Pure White (the same color we painted all the trim), and then picked up two Ikea Billy bookshelves for $70 each to frame the mantle, hoping to eventually upgrade them to look more like built-ins.
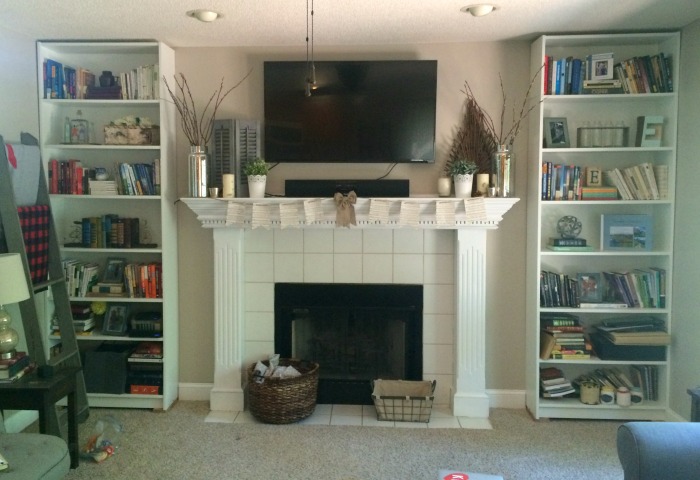
Well, fast forward through my entire pregnancy and the newborn stage of Caleb’s life and they were still just sitting there as Billy bookshelves, looking cluttered and in major need of some lovin’. Sometimes life gets in the way and your best laid decorative plans go to waste, you know? When summer break finally rolled around, Jordan got to work upgrading them and holy moly, y’all…they look SO much better!
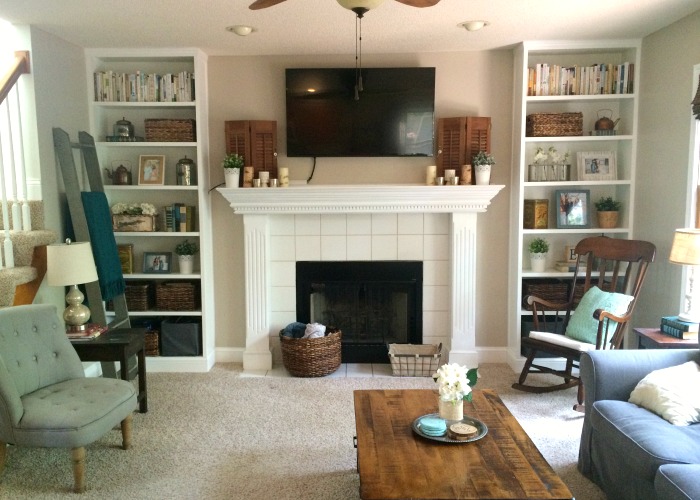
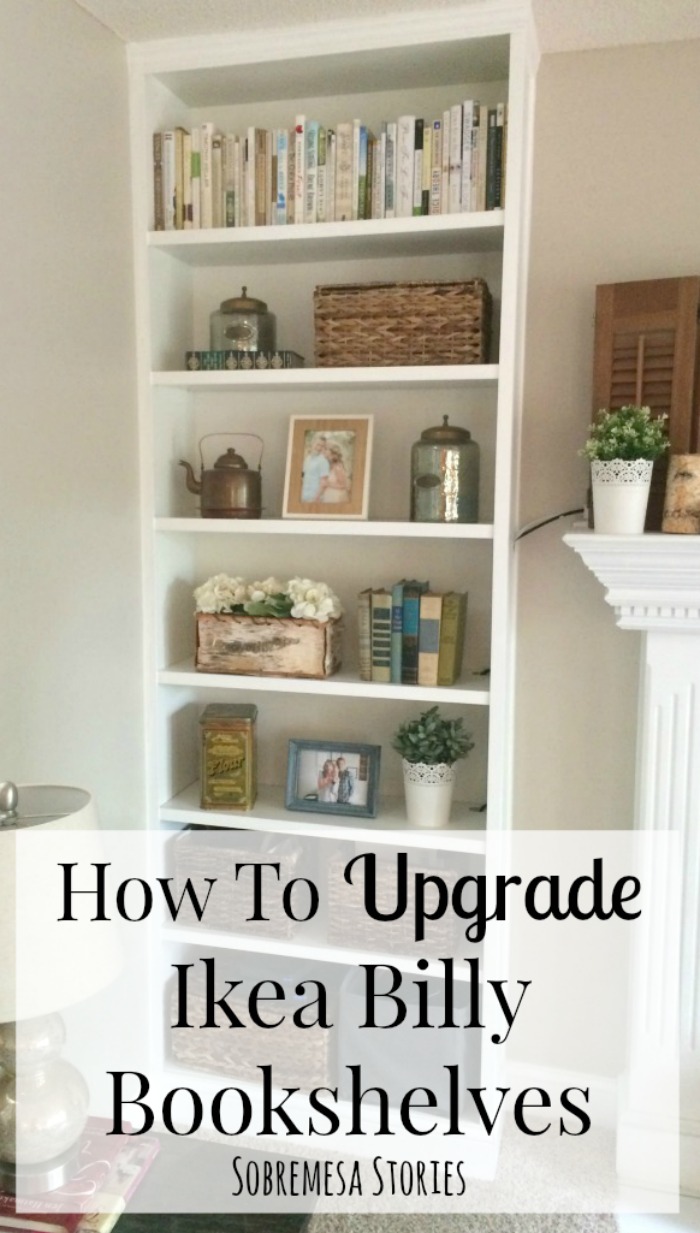
I am so impressed by all the work my husband did and our little $70 Ikea bookshelves now look like they were professional built-ins that came with the house. And almost all the updates he made are things you could easily do at home without a ton of technical experience. So in the heart of sharing the DIY love, here are the main things we did to upgrade our little Billy’s to look like fancy grownup Billy’s!
Disclaimer: I’m not going to go in super technical detail of how Jordan physically did each of these things because to be honest, I’m not really sure I understand it and it would take about nine million years. But they are all things you could pretty easily do using some supplies from Home Depot and a little bit of Googling. 😉 I’m also happy to answer any questions in the comments, so fire away!
1) Add Crown Molding And Trim
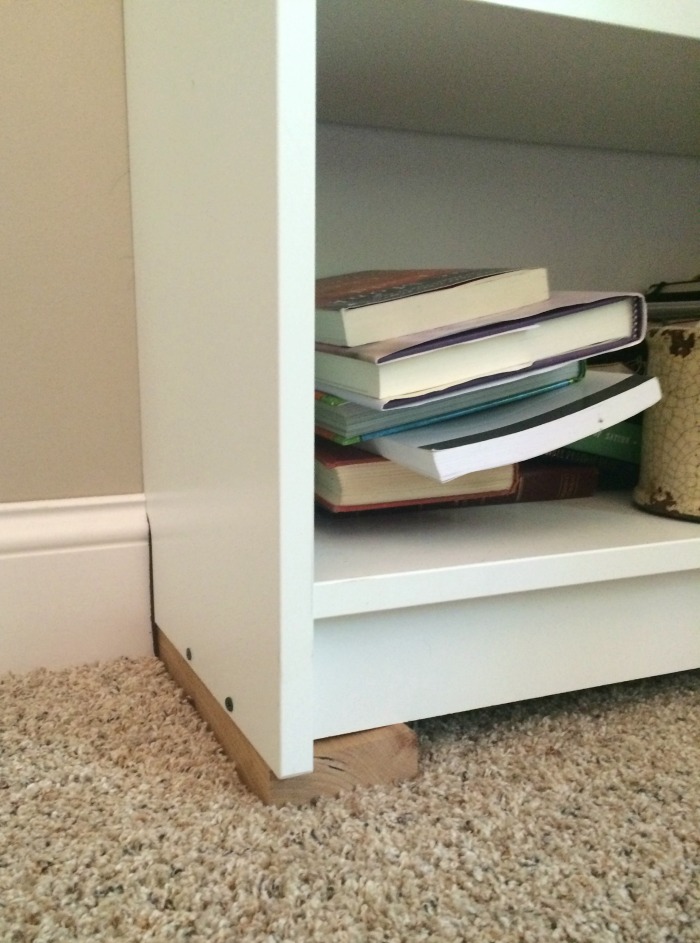
After you’ve drilled the shelves into the wall, add molding to match whatever you have as floor trim or ceiling trim. Jordan used a few pieces of trim from Home Depot painted to match our trim on the top of the shelves and the bottom. All this trim probably cost less than $15, and even though we don’t have crown molding in the whole room it helped hide the gap between the shelves and the ceiling (and then point #3 below made it perfect!). Note in the before that we did have to put some small pieces of wood underneath the shelves to help them reach the ceiling, as well as the extension shelf piece that Ikea sells to make the Billy’s taller. Just do whatever works in your space!
Here’s the before…
And after!

2) Beef Up the Shelves
One of the most obvious signs of cheap bookshelves is how flimsy the shelves and frame are. We added some inexpensive lattice trim on the outer edges of each individual shelf and outer frame of the whole bookshelf using liquid nails. You really can’t tell that this trim is actually wider than the shelves (unless you stick your nose up underneath them, which we don’t do all that often) but it makes the outer edges and the shelves themselves look much more substantial.
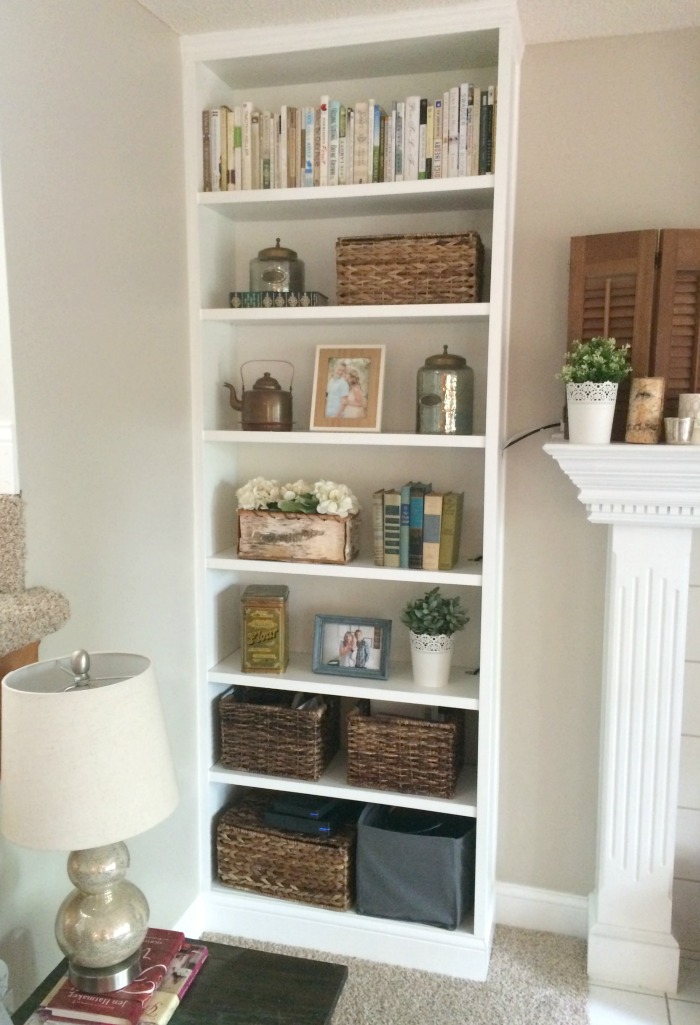
3) Caulk Everything
This is maybe the most important step! Jordan caulked just about every part of the bookshelves: between the shelves and the wall, the shelves and the ceiling/molding, around the trim, between the lattice trim and the bookshelves, in the corners of the bookshelves themselves – literally everything! This is what makes them look built in and you can NOT skip this step! It’s not fun and took a while but they look so professional because of it.
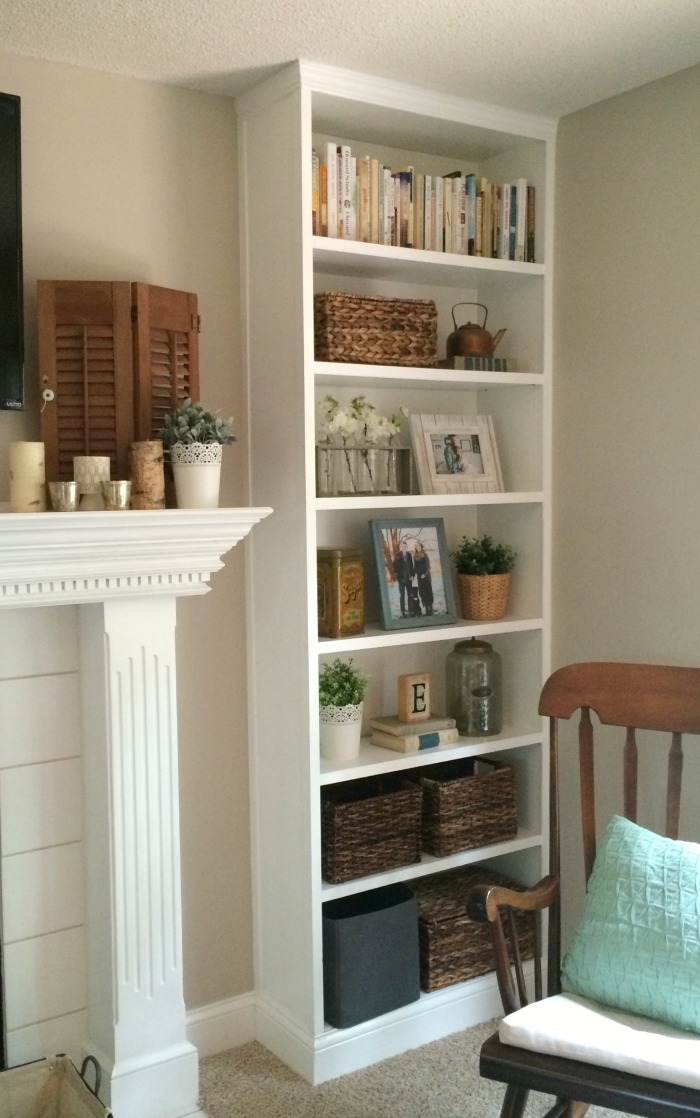
4) Fill Any Holes
In order to be adjustable, Ikea shelves have about ten million holes up and down the sides. Once we found an arrangement of shelves we liked and Jordan caulked all the edges, he also filled every tiny peg hole with a little dot of caulk. Confession…we were kind of lazy and didn’t paint over these to match the shelves. If you look closely enough, you can still see where the dots were but from far away they look completely finished. Remember folks, in the words of one of my favorite bloggers, “It doesn’t have to be perfect to be beautiful!”
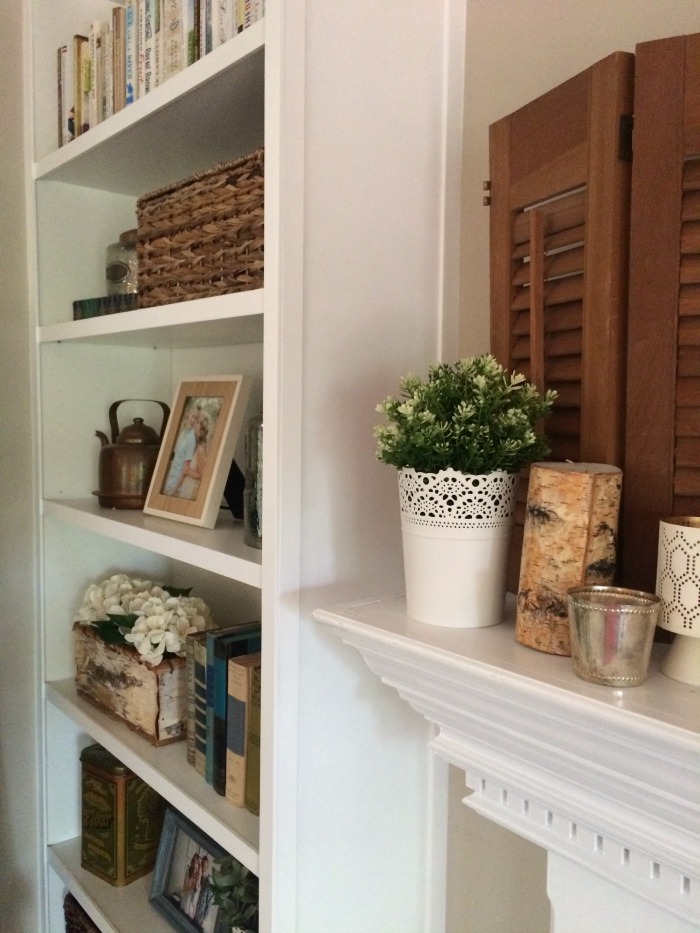
5) Upgrade With Some Paint
This is another place where we chose progress over perfection. To finish, Jordan primed and painted every surface on the outside of the bookshelves: the sides facing the mantle, any leftover trim or molding, and the outer edges of the shelf where we’d added the lattice trim. Even though the white on the inside of the bookshelves didn’t perfectly match the paint, we decided to take our chances and just leave it. You really can’t notice it and it would have been a TON of work to prime and paint the slick Ikea wood on the inside of every single shelf. So we took the lazy way out and just didn’t paint the inside (And if I hadn’t told you, I bet you never would have noticed).
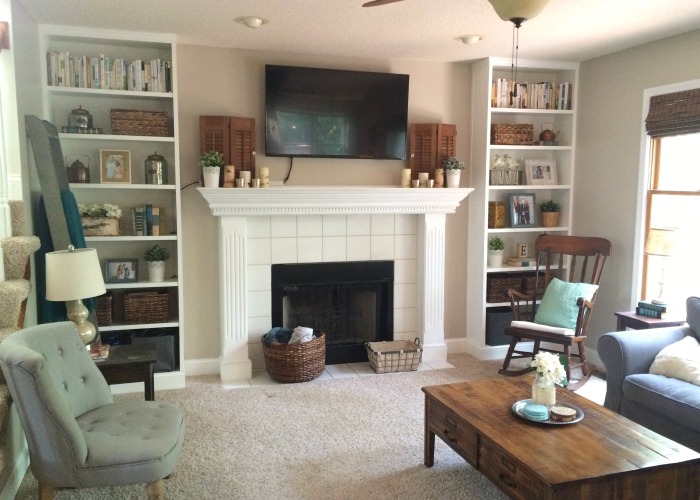
I love how this all turned out. It took a few days of playing around, but I styled it all in a much cleaner, more subtle way and they fit our overall style so much better now. With about $50 extra, we were able to transform these cheap bookshelves into professional-looking built-ins that fit our space and style so much better.
My next project is to upgrade that fireplace…I’m dreaming of doing faux whitewashed brick paneling over the tile and a few other fun little updates! What projects are you working on right now?


I love it!!!! they look so legit builtin. I need you and Jordan to come over and help us make some builtin 🙂
Wow that looks awesome! Such a hug yet simple improvement. Your home looks so cozy and inviting.
I love this! We are planning on doing this same thing in our basement living room in the next year or two 🙂
Britt Hanson recently posted…3 Books | Blog-tember 2016
That is awesome! I would never have the patience to do that, but I bet Jon would! I’ll have to keep this in mind for our next house!
Liz recently posted…Eats & Selfies. But Mostly House Updates