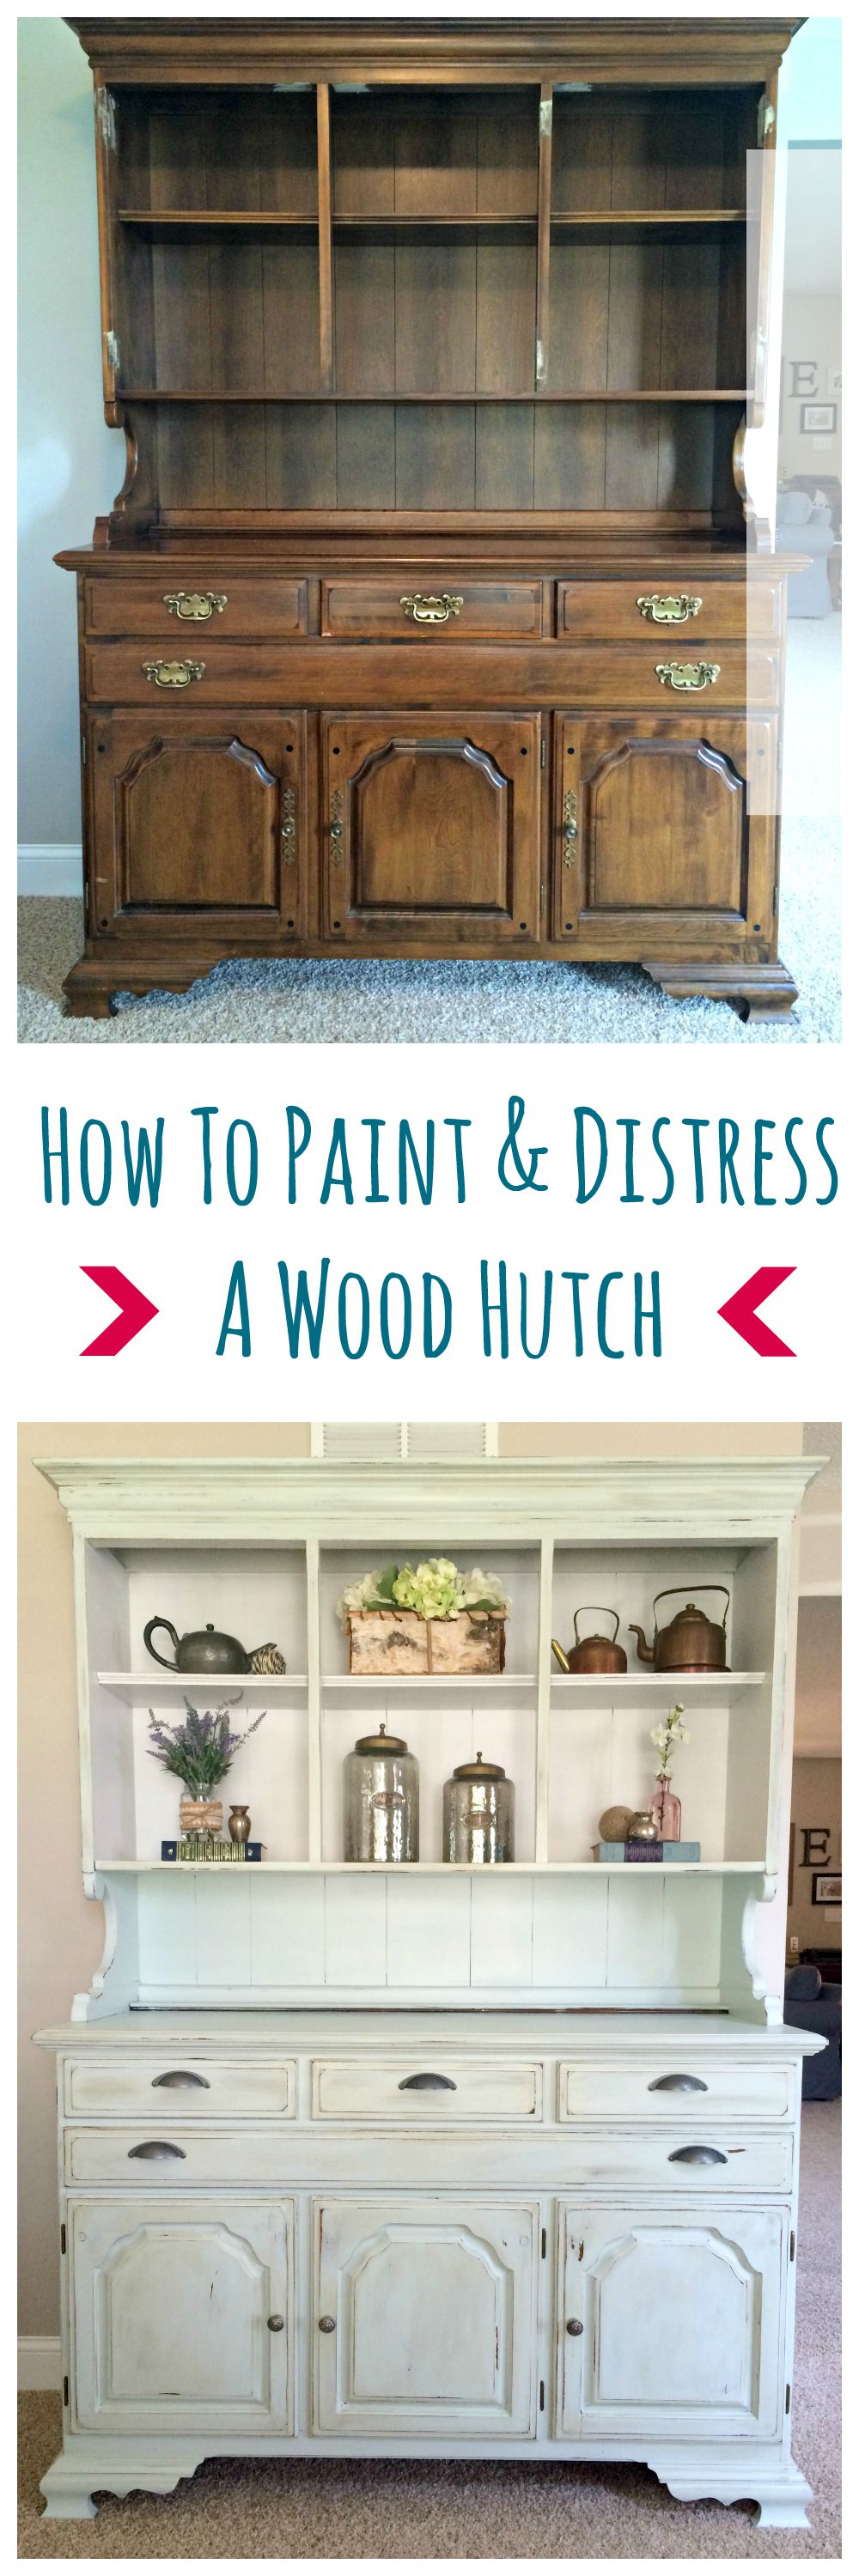
All right, folks. This post is a loooooong time coming. Do you remember a couple months ago when I talked about how I was finally going to paint the hutch we’d inherited when we got married? Well, two months and many, many steps later, it’s done.
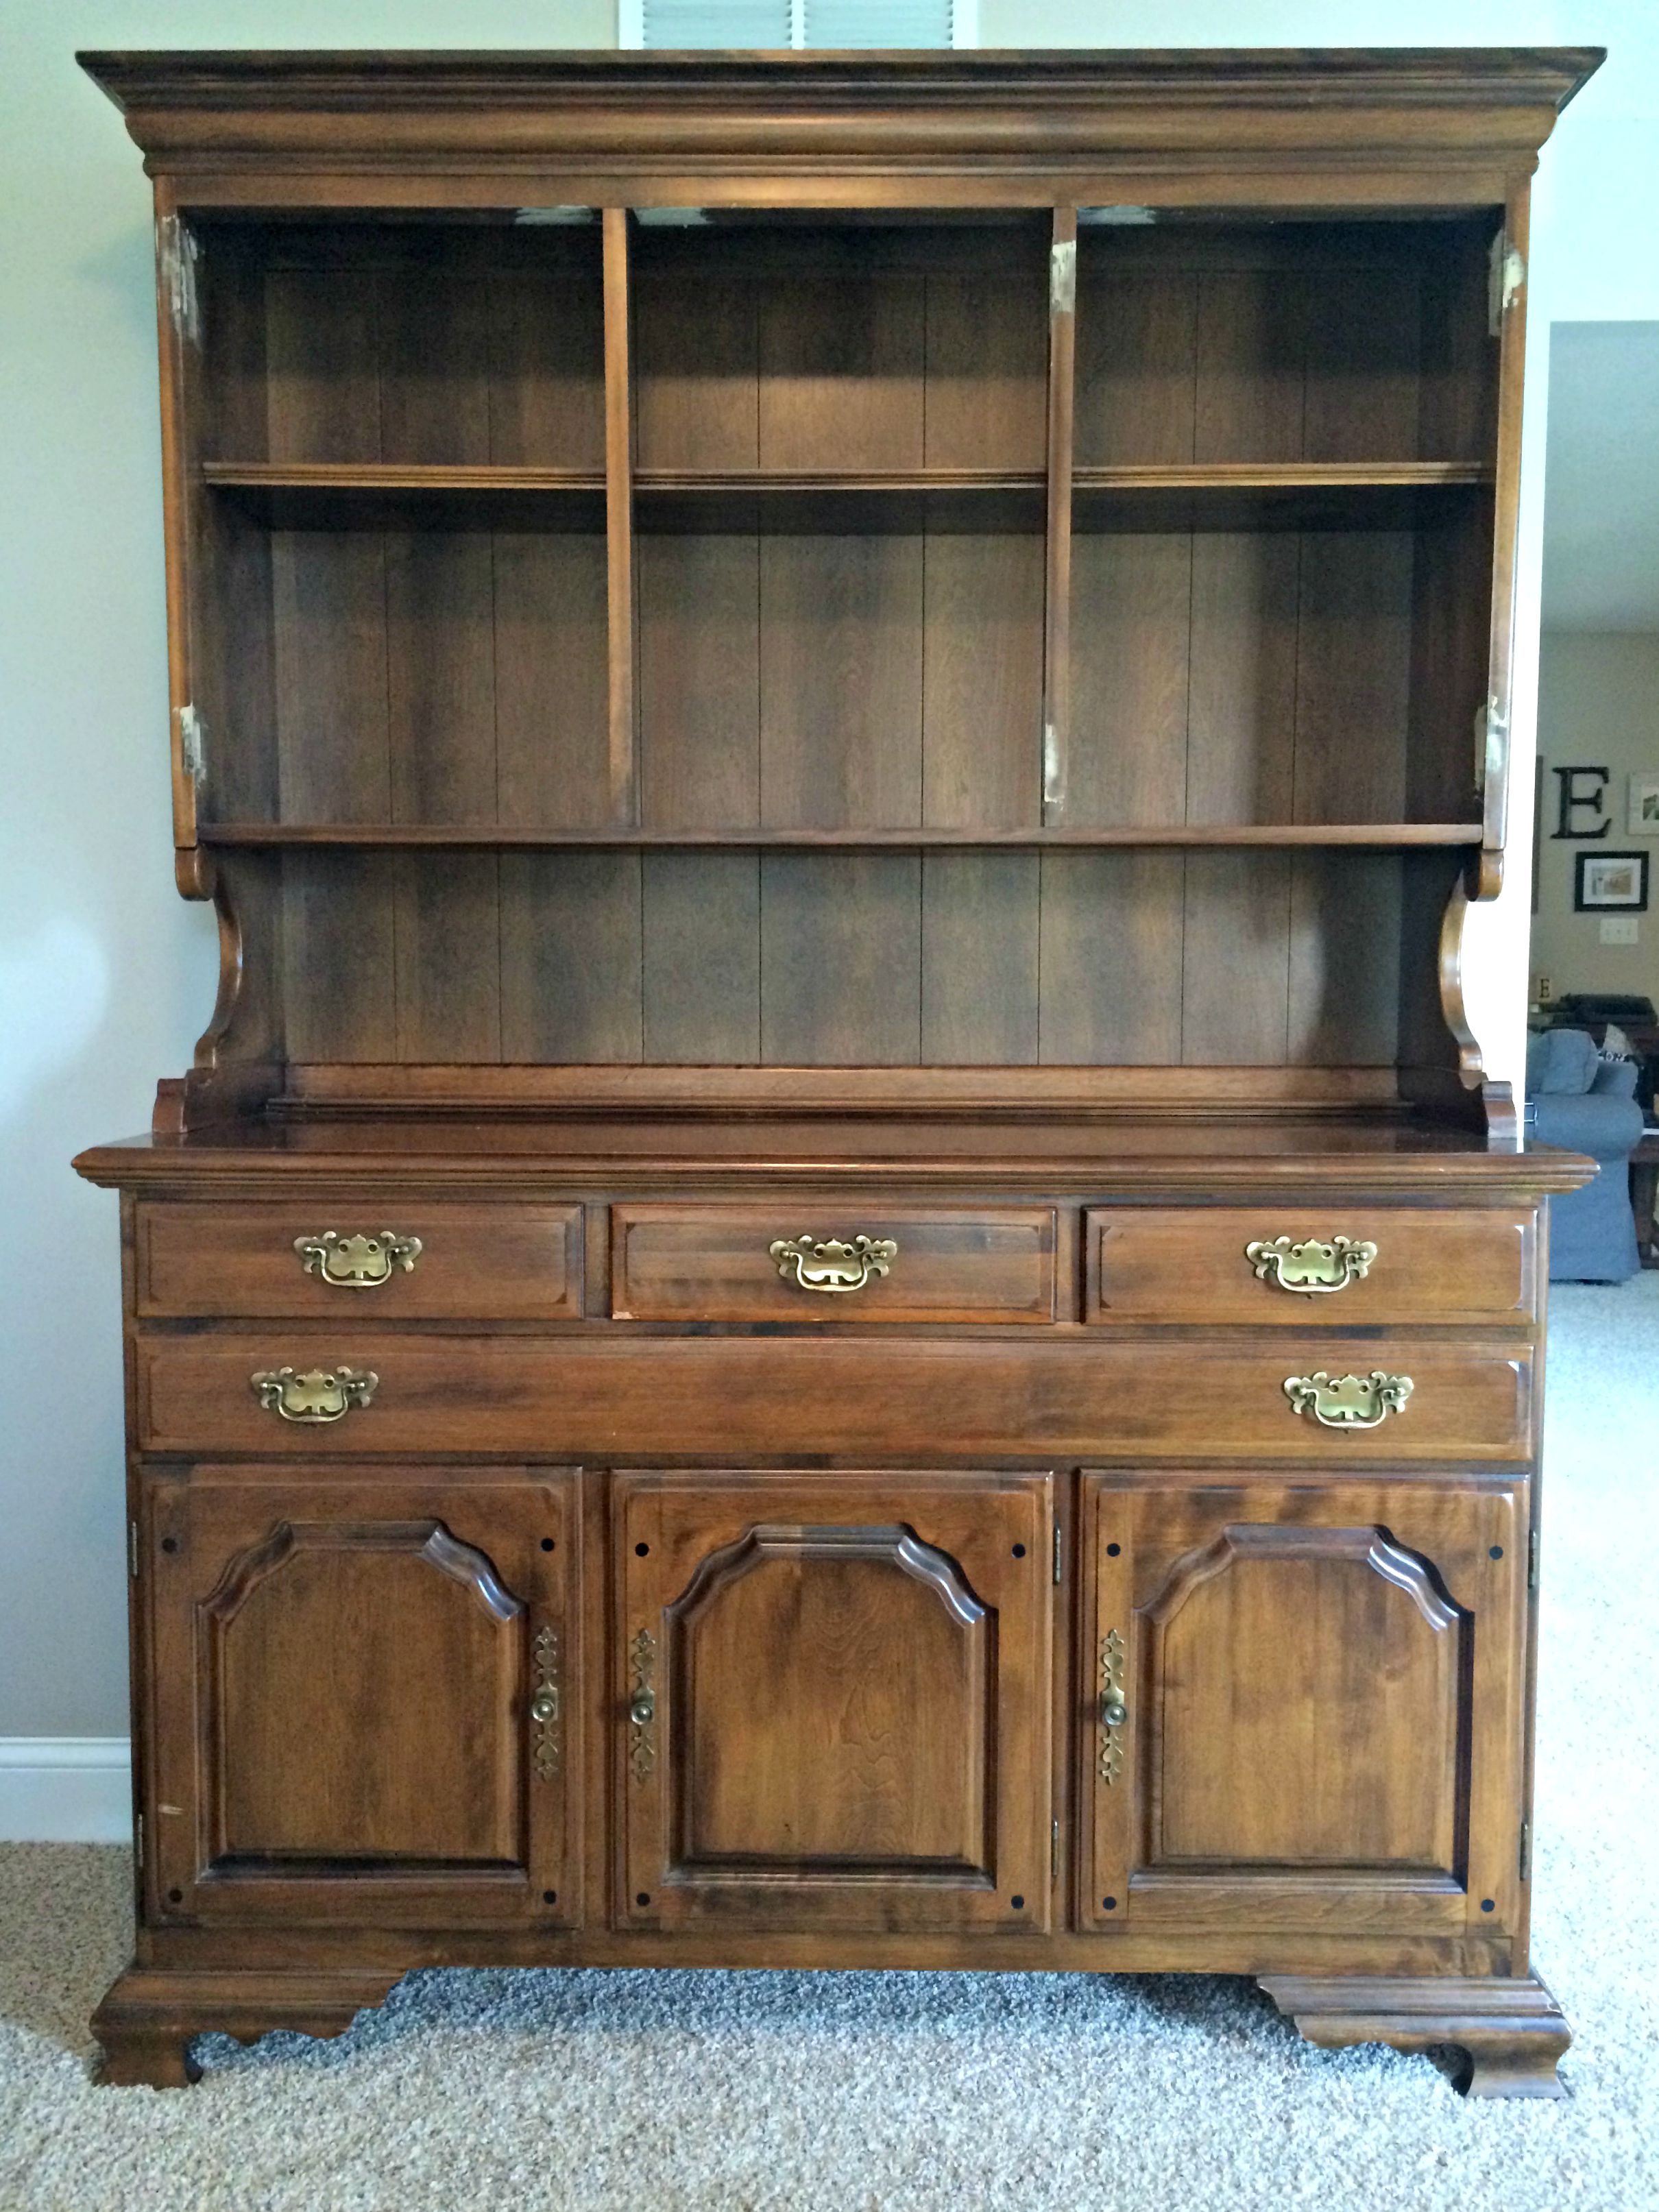
This was one of those projects that seemed pretty doable (even if a lot of work) at the beginning, but life and a million other things got in the way. I spent one weekend doing all the sanding, prepping, and priming, but then a few weeks passed before I did a first coat of paint. After I got two coats of paint on, we left for two weeks in Mexico and California. When we got back, I finally spent some time sanding and doing some distressing. And y’all, I love love LOVE how it turned out!
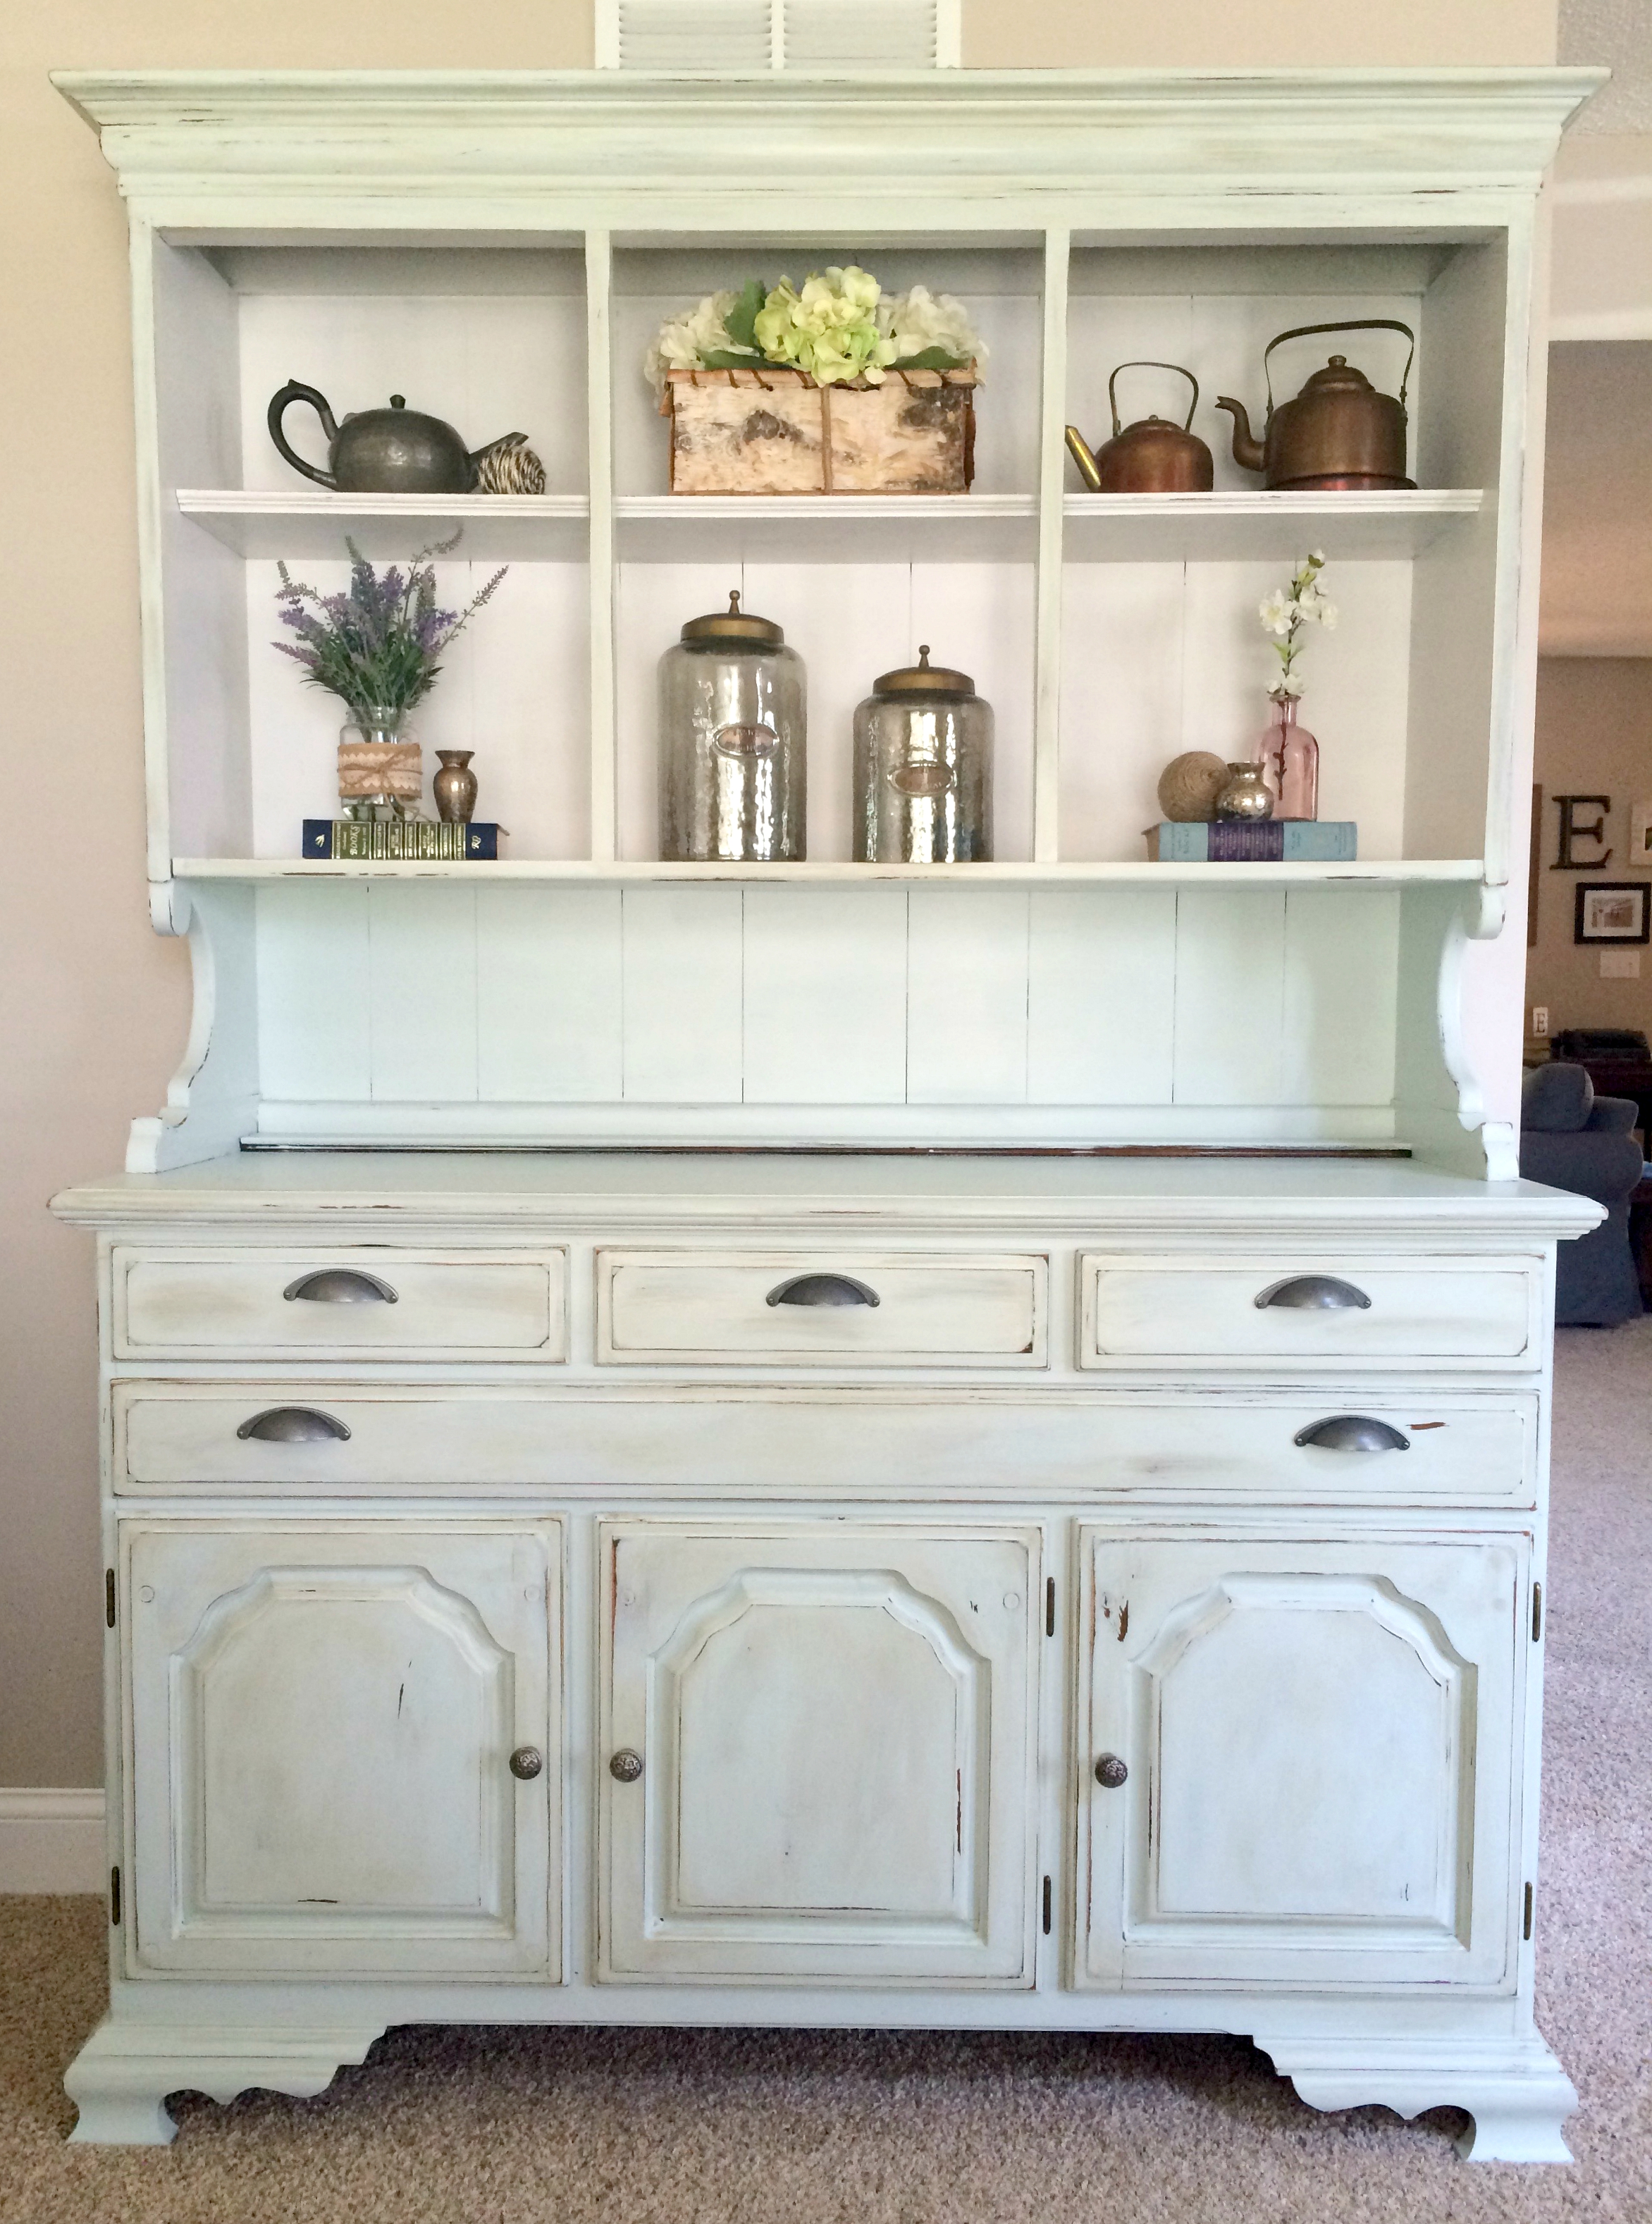
This project was quite the beast to undertake, but it already makes a world of difference in our front room. The whole space feels so much lighter, especially since we replaced the curtains with some light, white ones from Ikea that let in much more light and look so pretty. I’m working on a gallery wall and some other inspiration to finish off that room and can’t wait to share it sometime soon!
But anyway…since I spent almost two months working through all the steps of transforming a wood hutch from a dark, boring piece into a lighter piece of furniture that makes our whole front room pop, I want to share those steps with you! I’ll warn you…this is going to be longer than most posts since I’m sharing lots of details. But if you’re like me and sometimes follow blog posts word for word for doing projects, then this post is for you!
How To Paint And Distress A Wood Hutch
1) Remove all hardware and fill any holes.
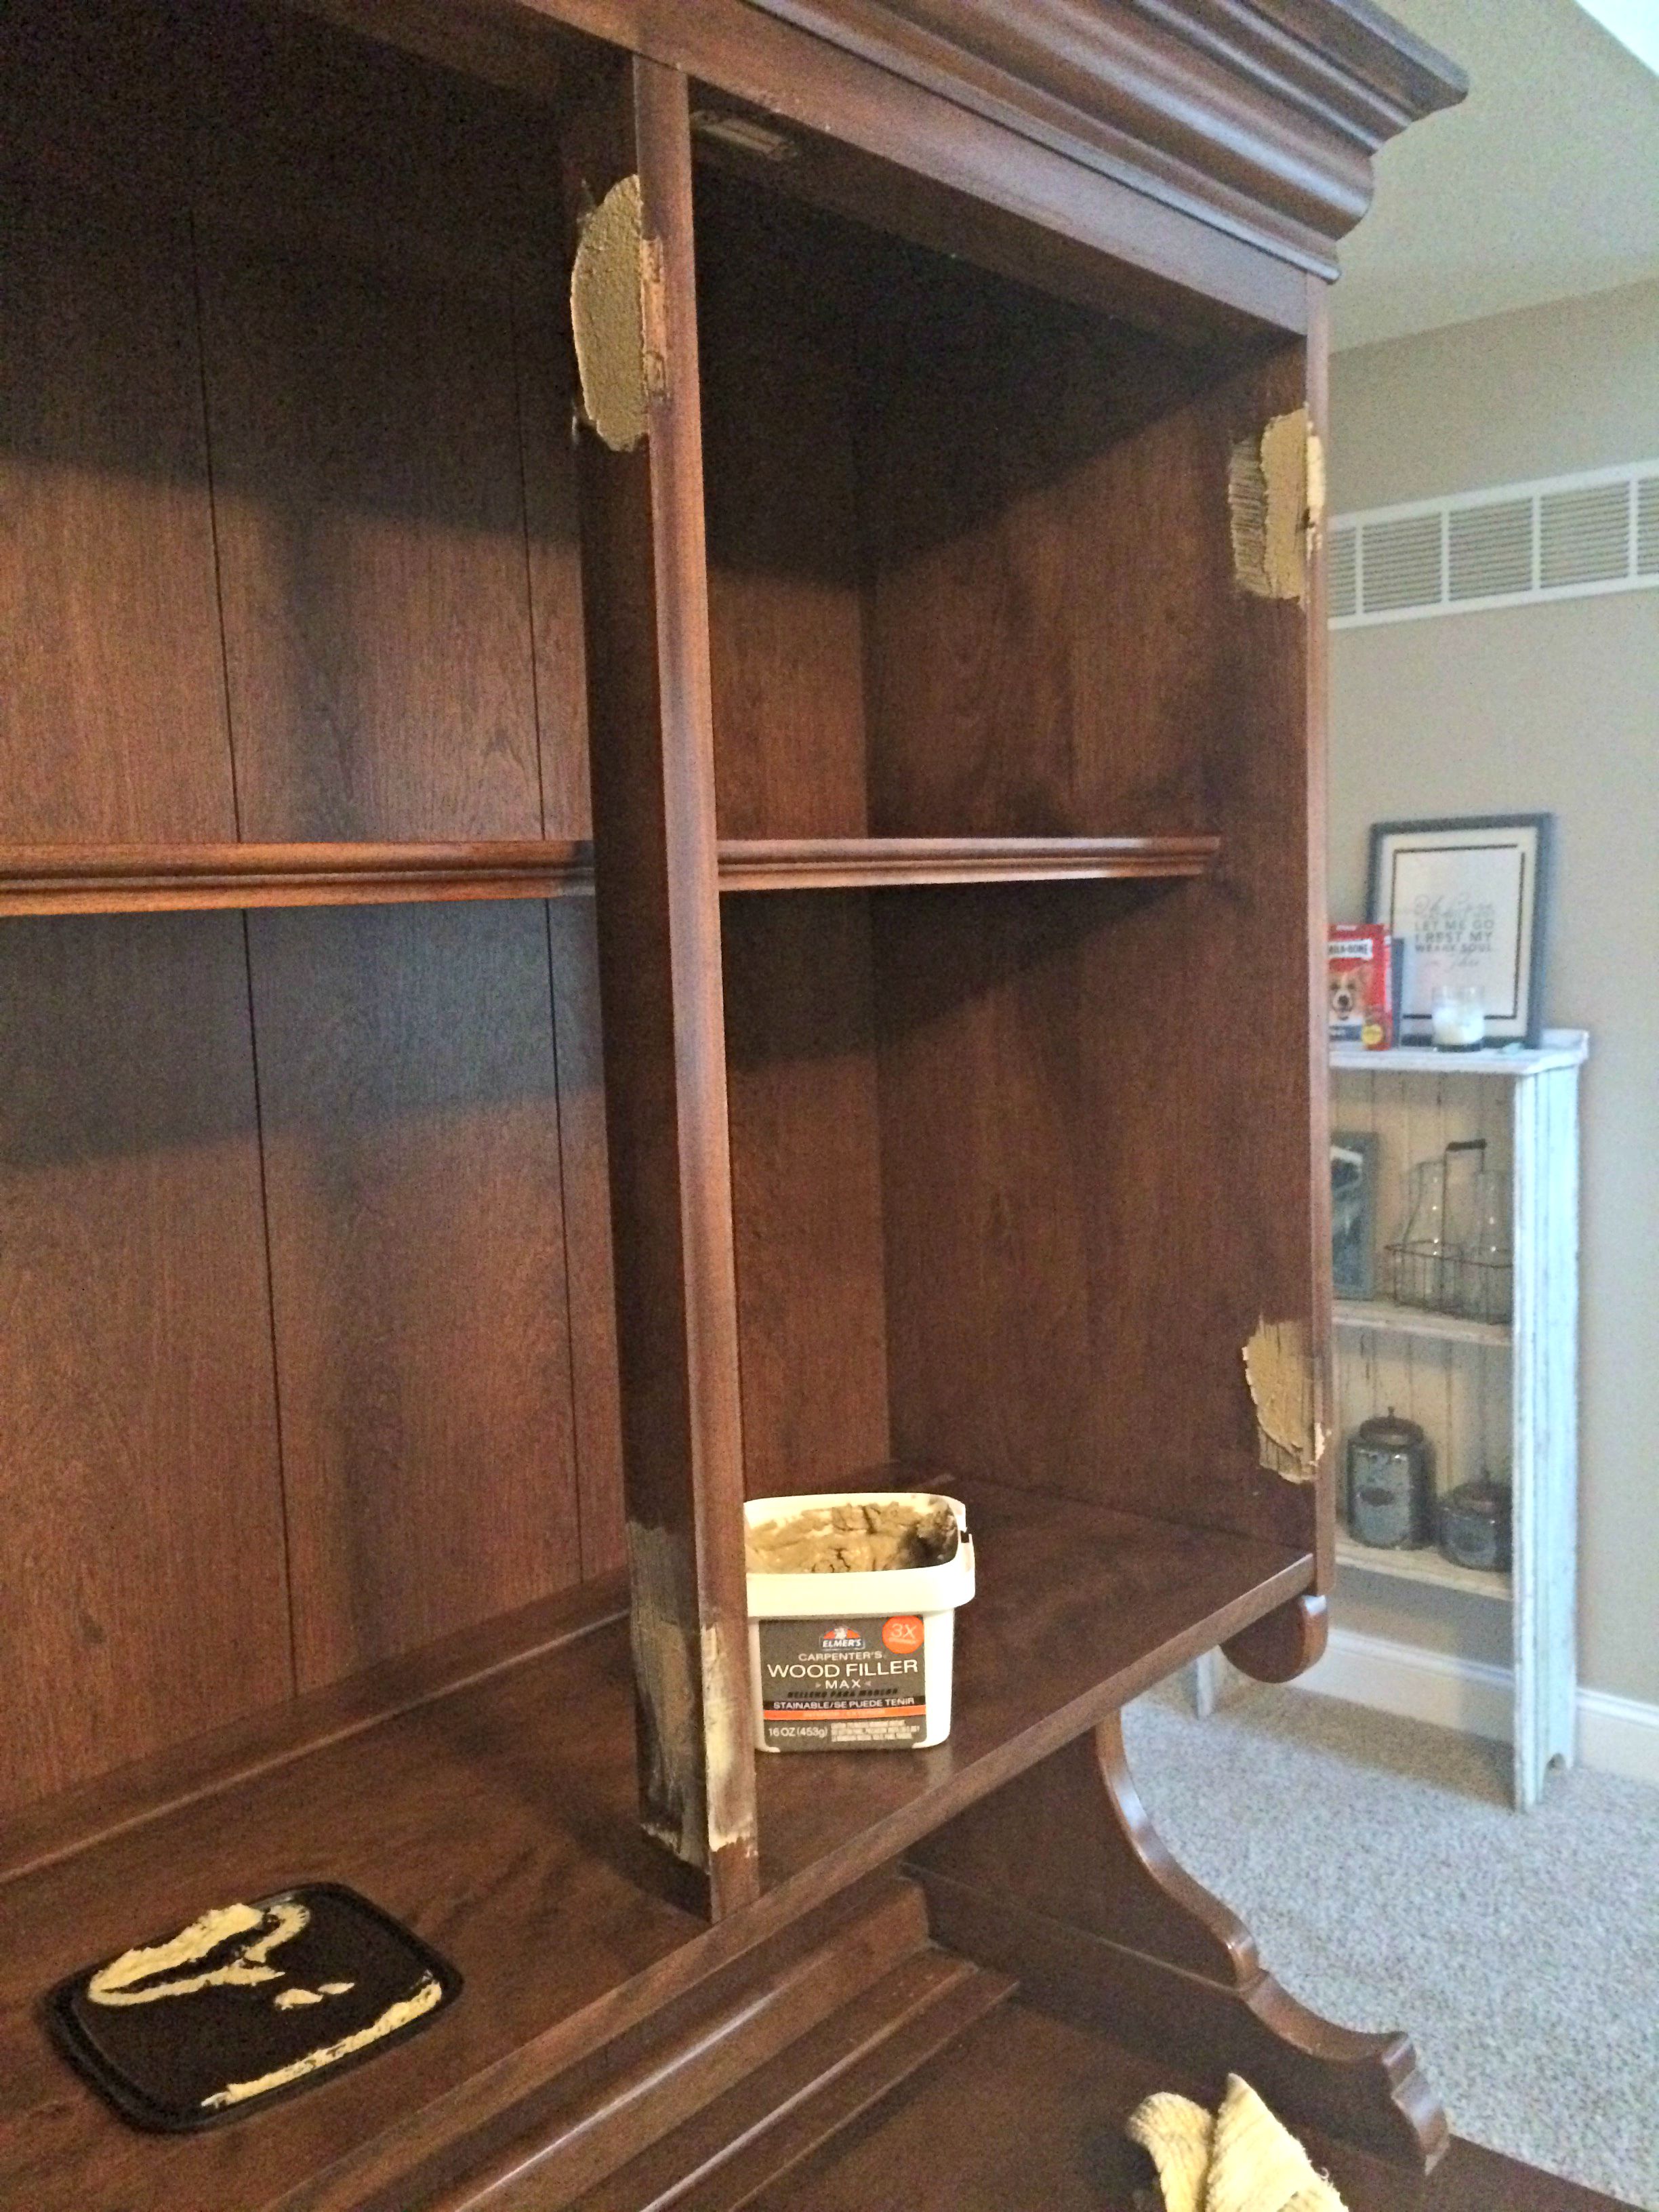
In order to give yourself a blank canvas to work with, you’ll need to remove all the old hardware. We weren’t putting on the original doors that came with the top of the hutch, so I filled the holes where those hinges were. If you’re adding new hardware to the drawers and cabinets, you’ll need to fill the old holes with a wood filler. Glop it on to the hole, smooth it out with a putty knife, then wait until it dries and sand off any excess.
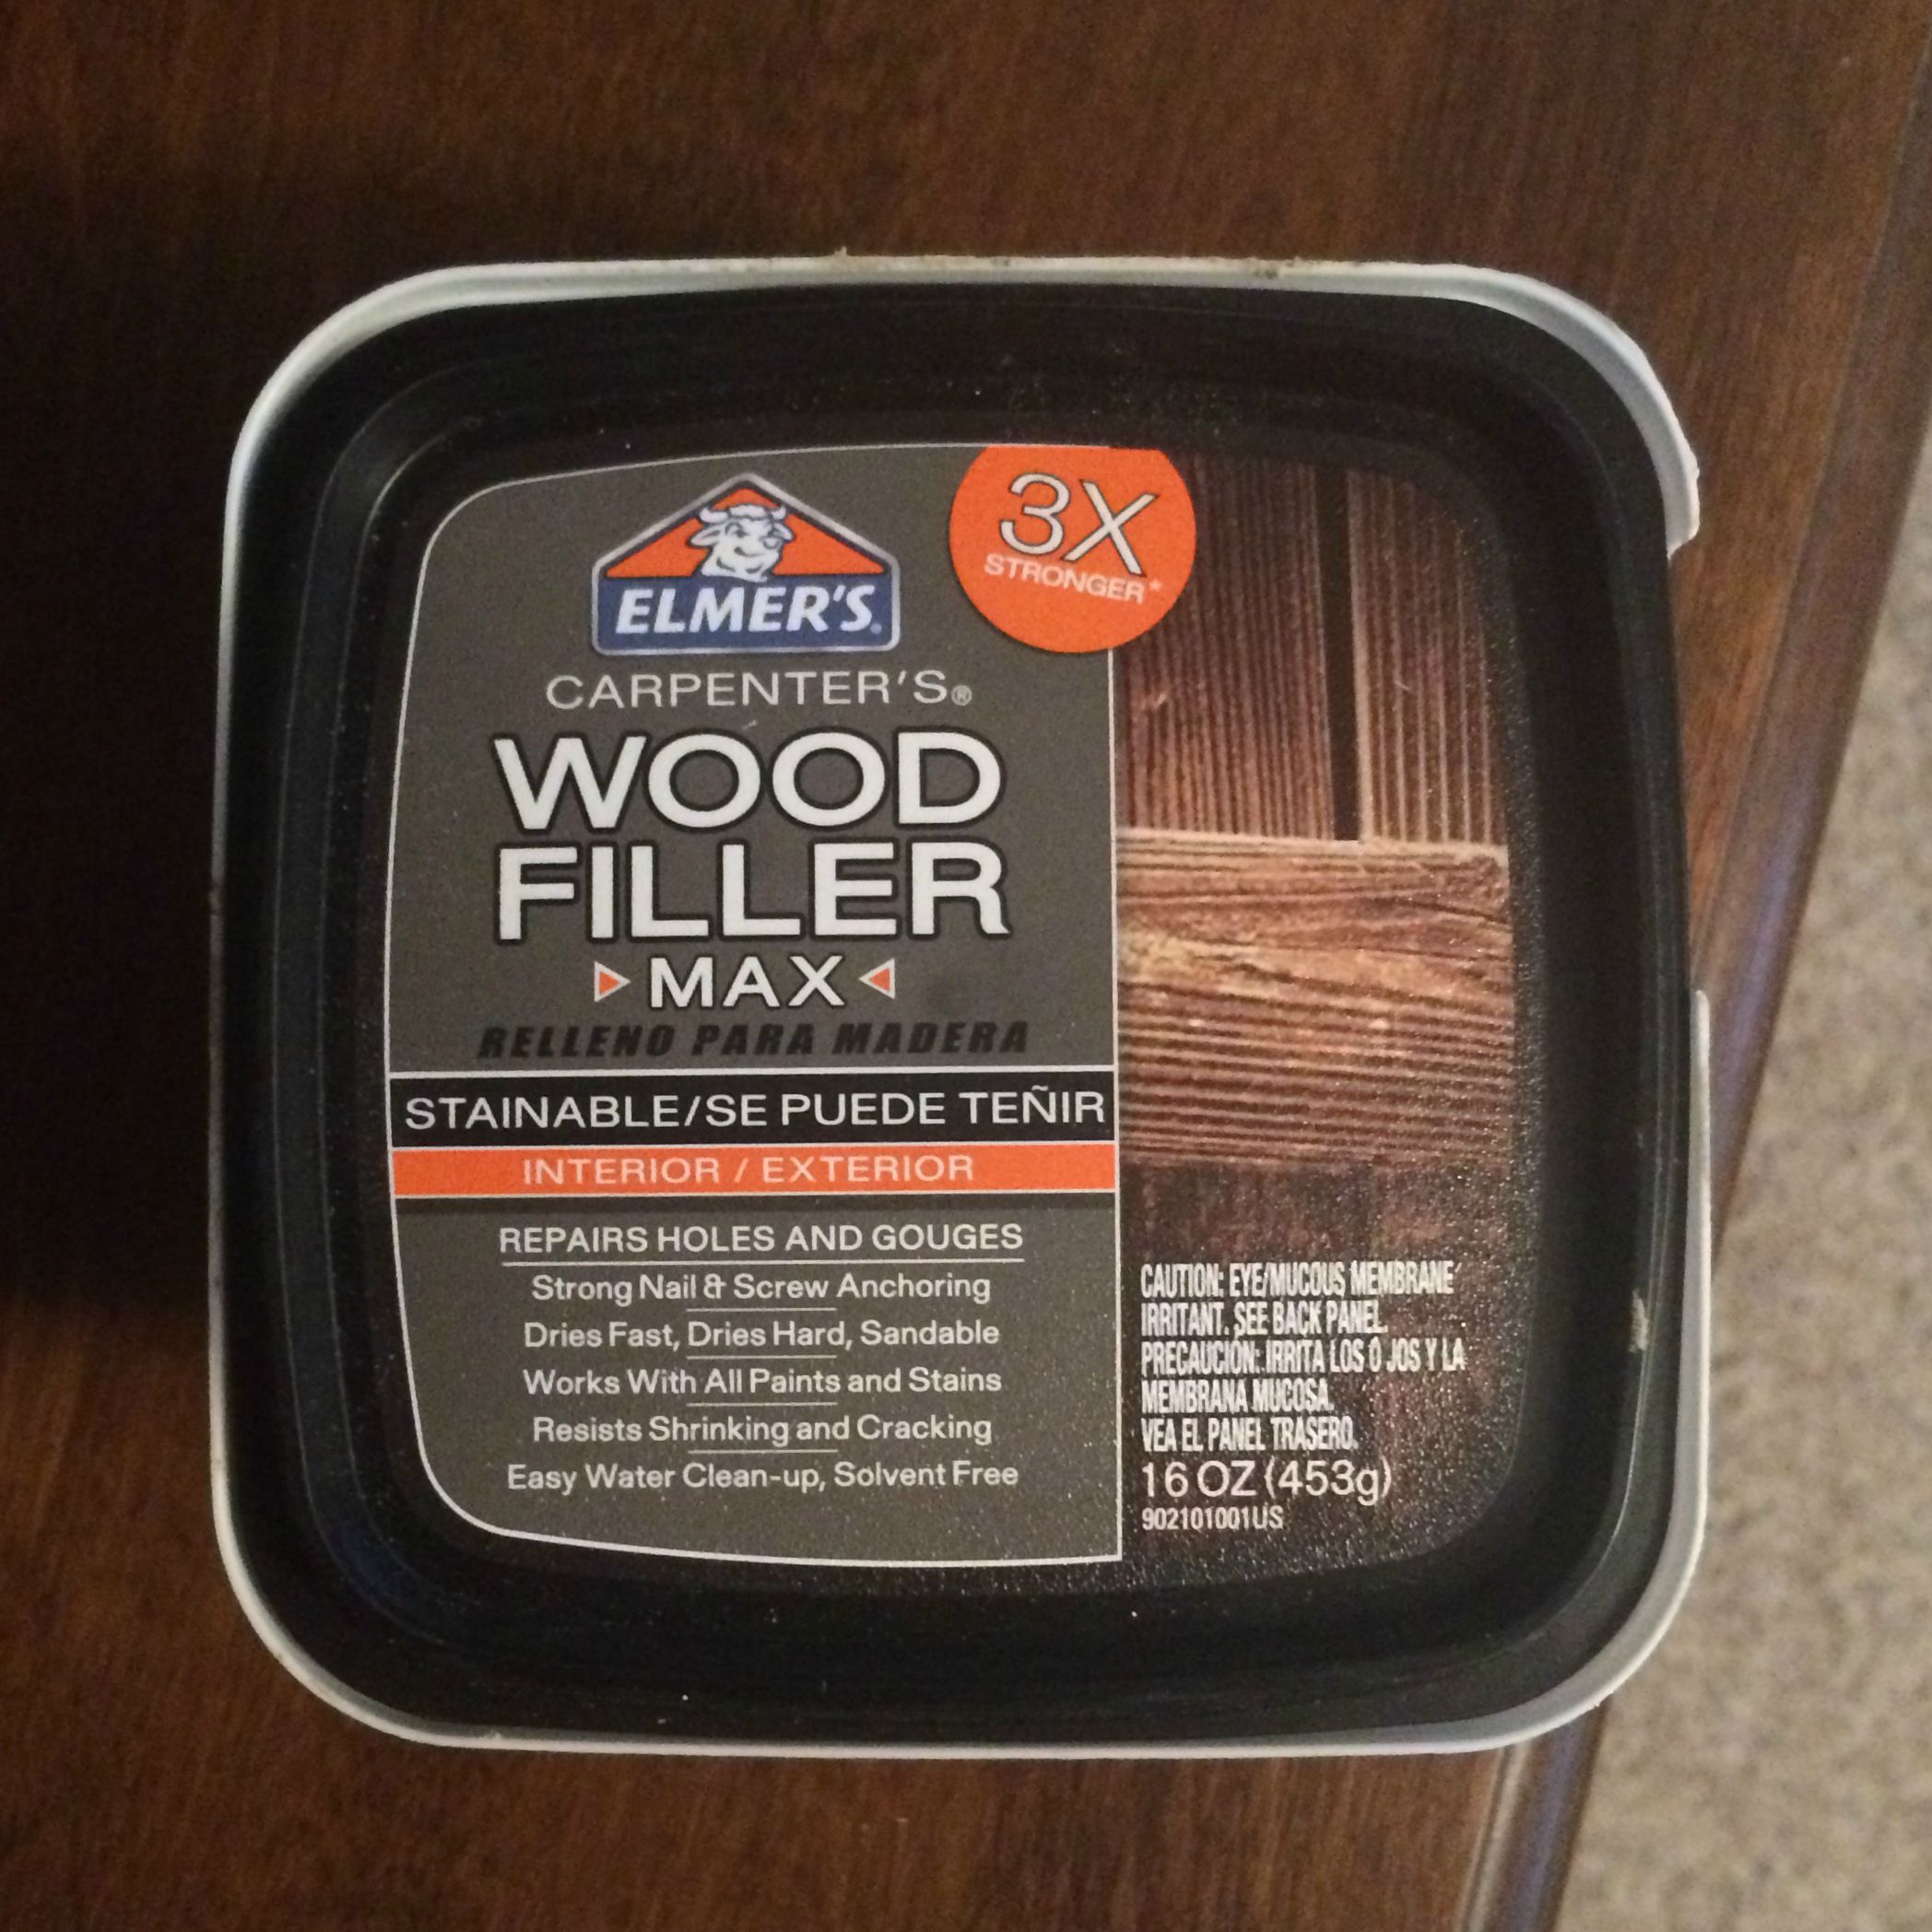
This is the kind of wood filler I used and it worked great!
2) Sand, sand, sand!
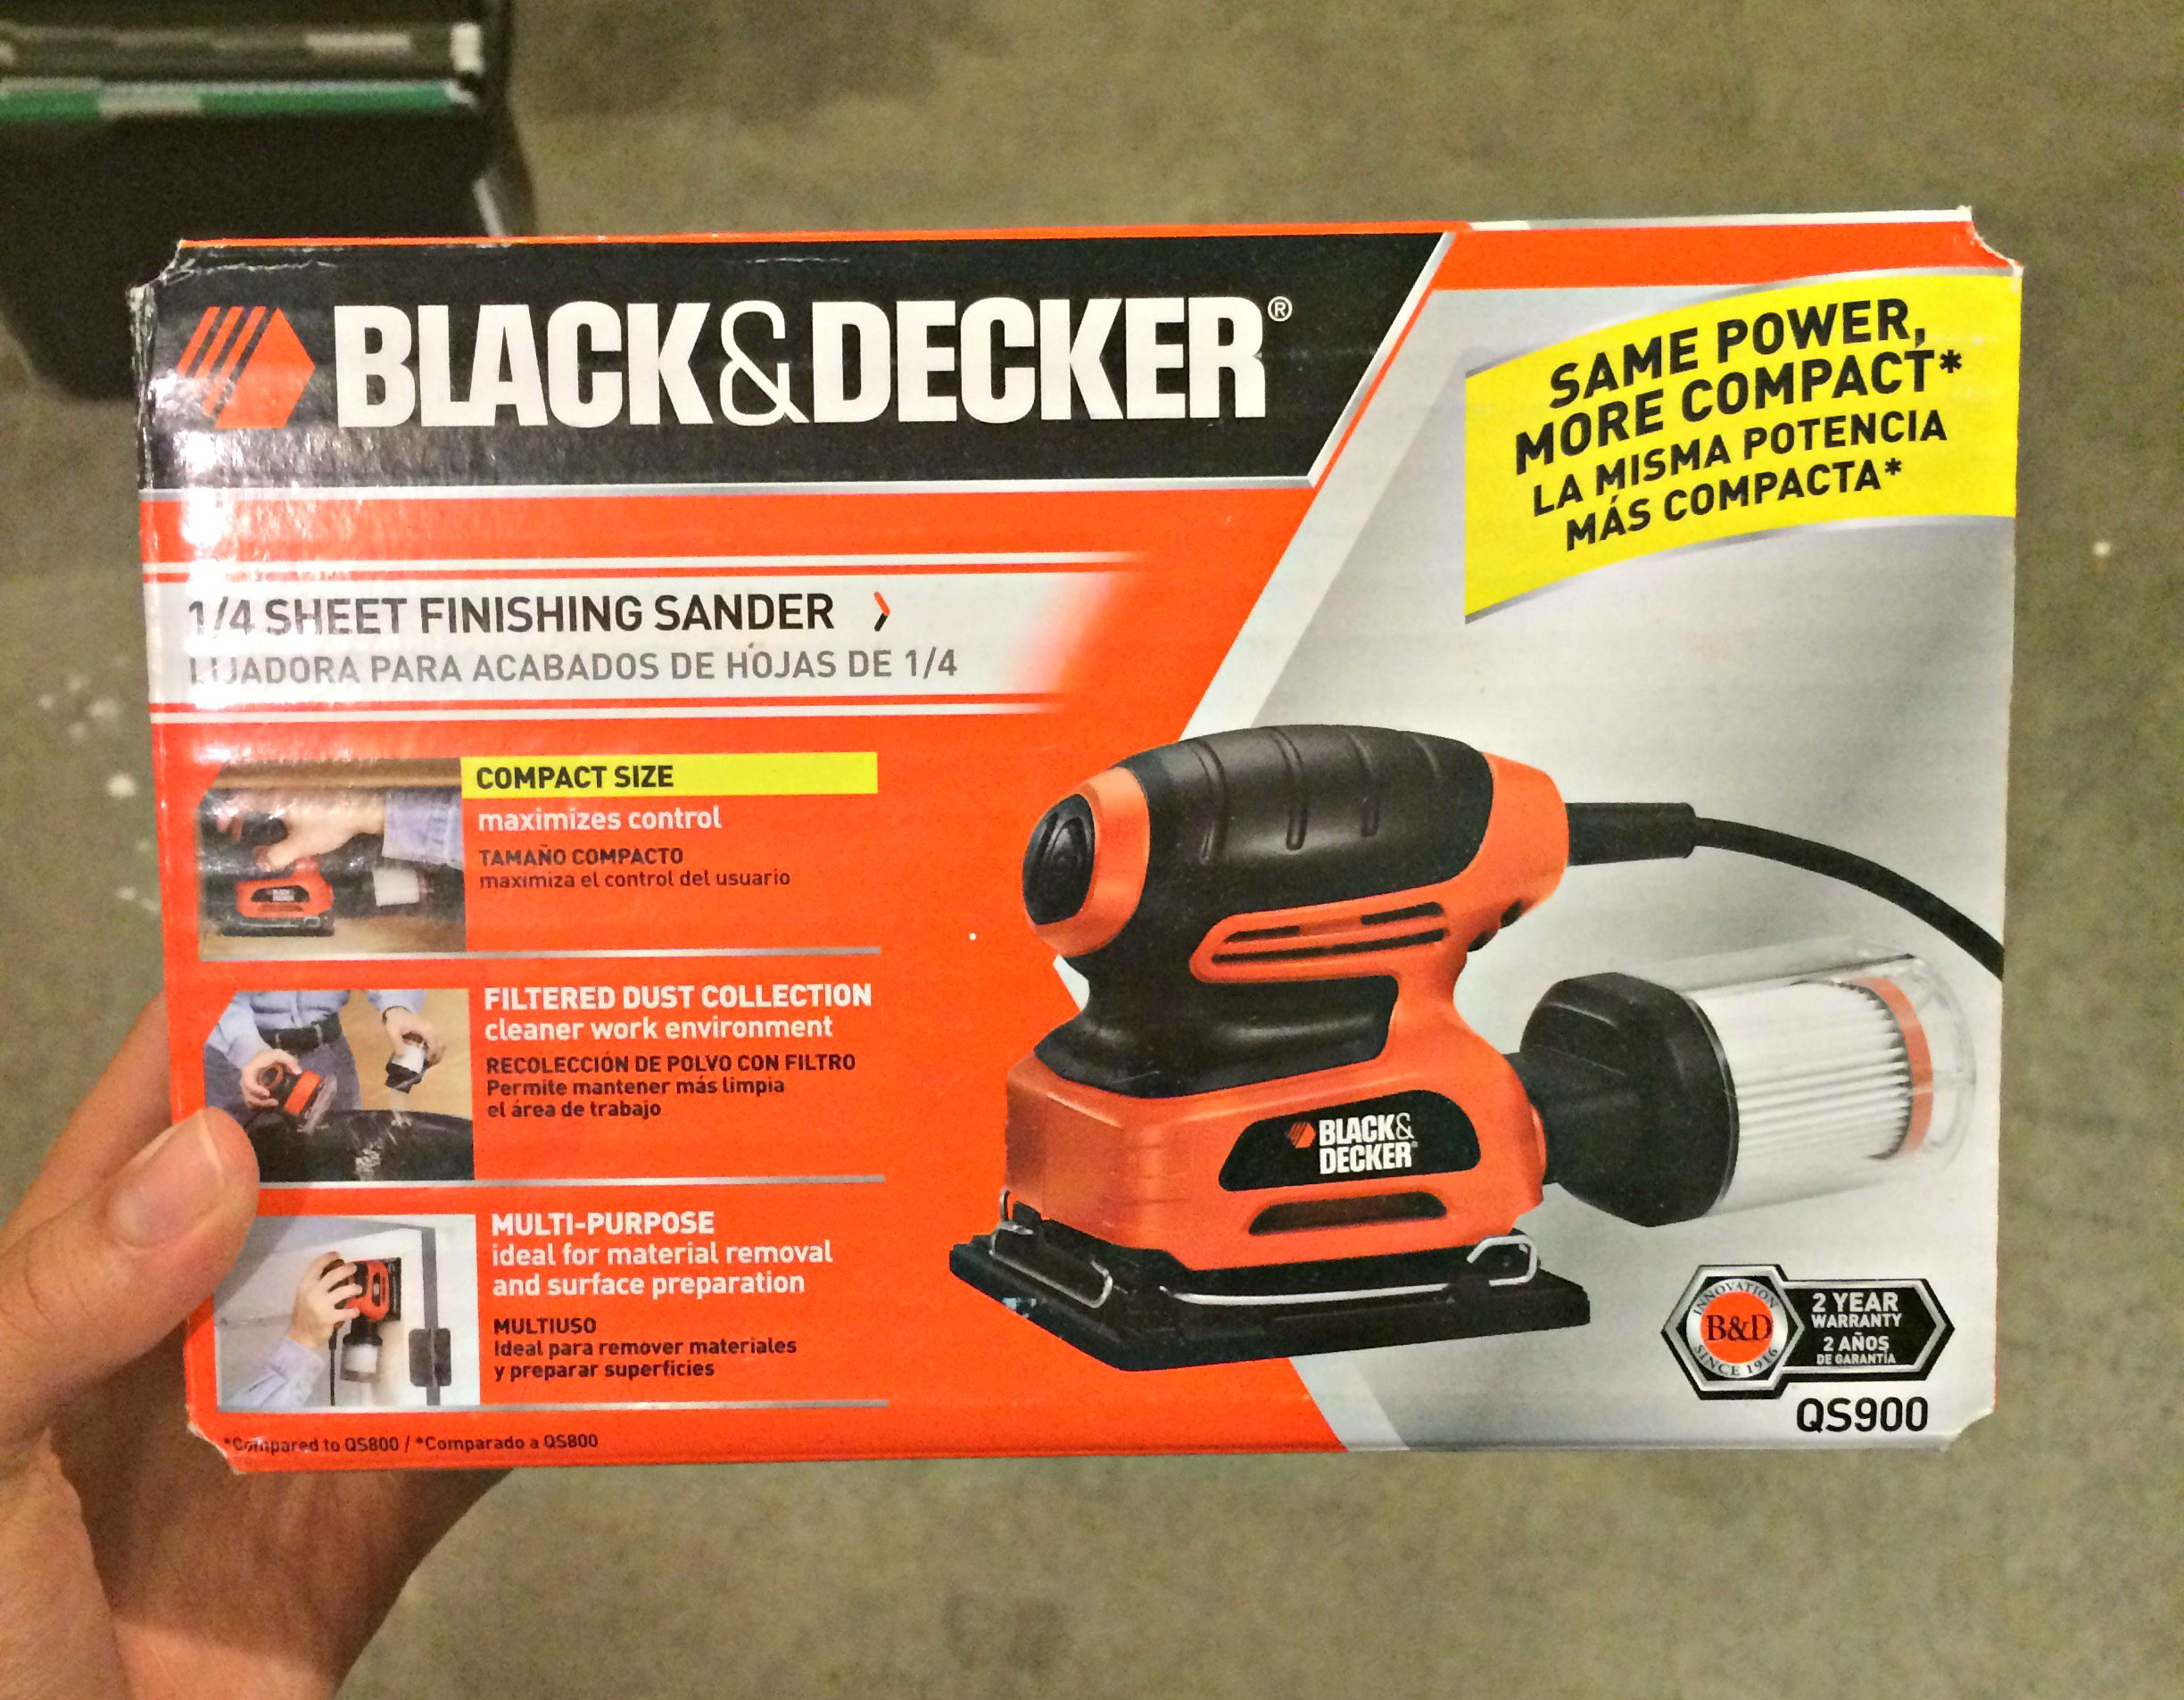
This is maybe the least fun step in this whole process because it takes a lot of energy. If you can use a hand-sander, it will save you TONS of time and effort. Use hand-sander or sandpaper to lightly sand the entire hutch. Yep, that means every drawer, door, corner, and flat surface you can find. Sand, sand, sand, then sand some more. Once you’re finished, wipe it all down with a damp rag or paper towel to clean off any excess dust. I bought this one off Amazon a while back and it was a great $40 investment that has saved me HOURS of time!
3) Apply two coats of primer.
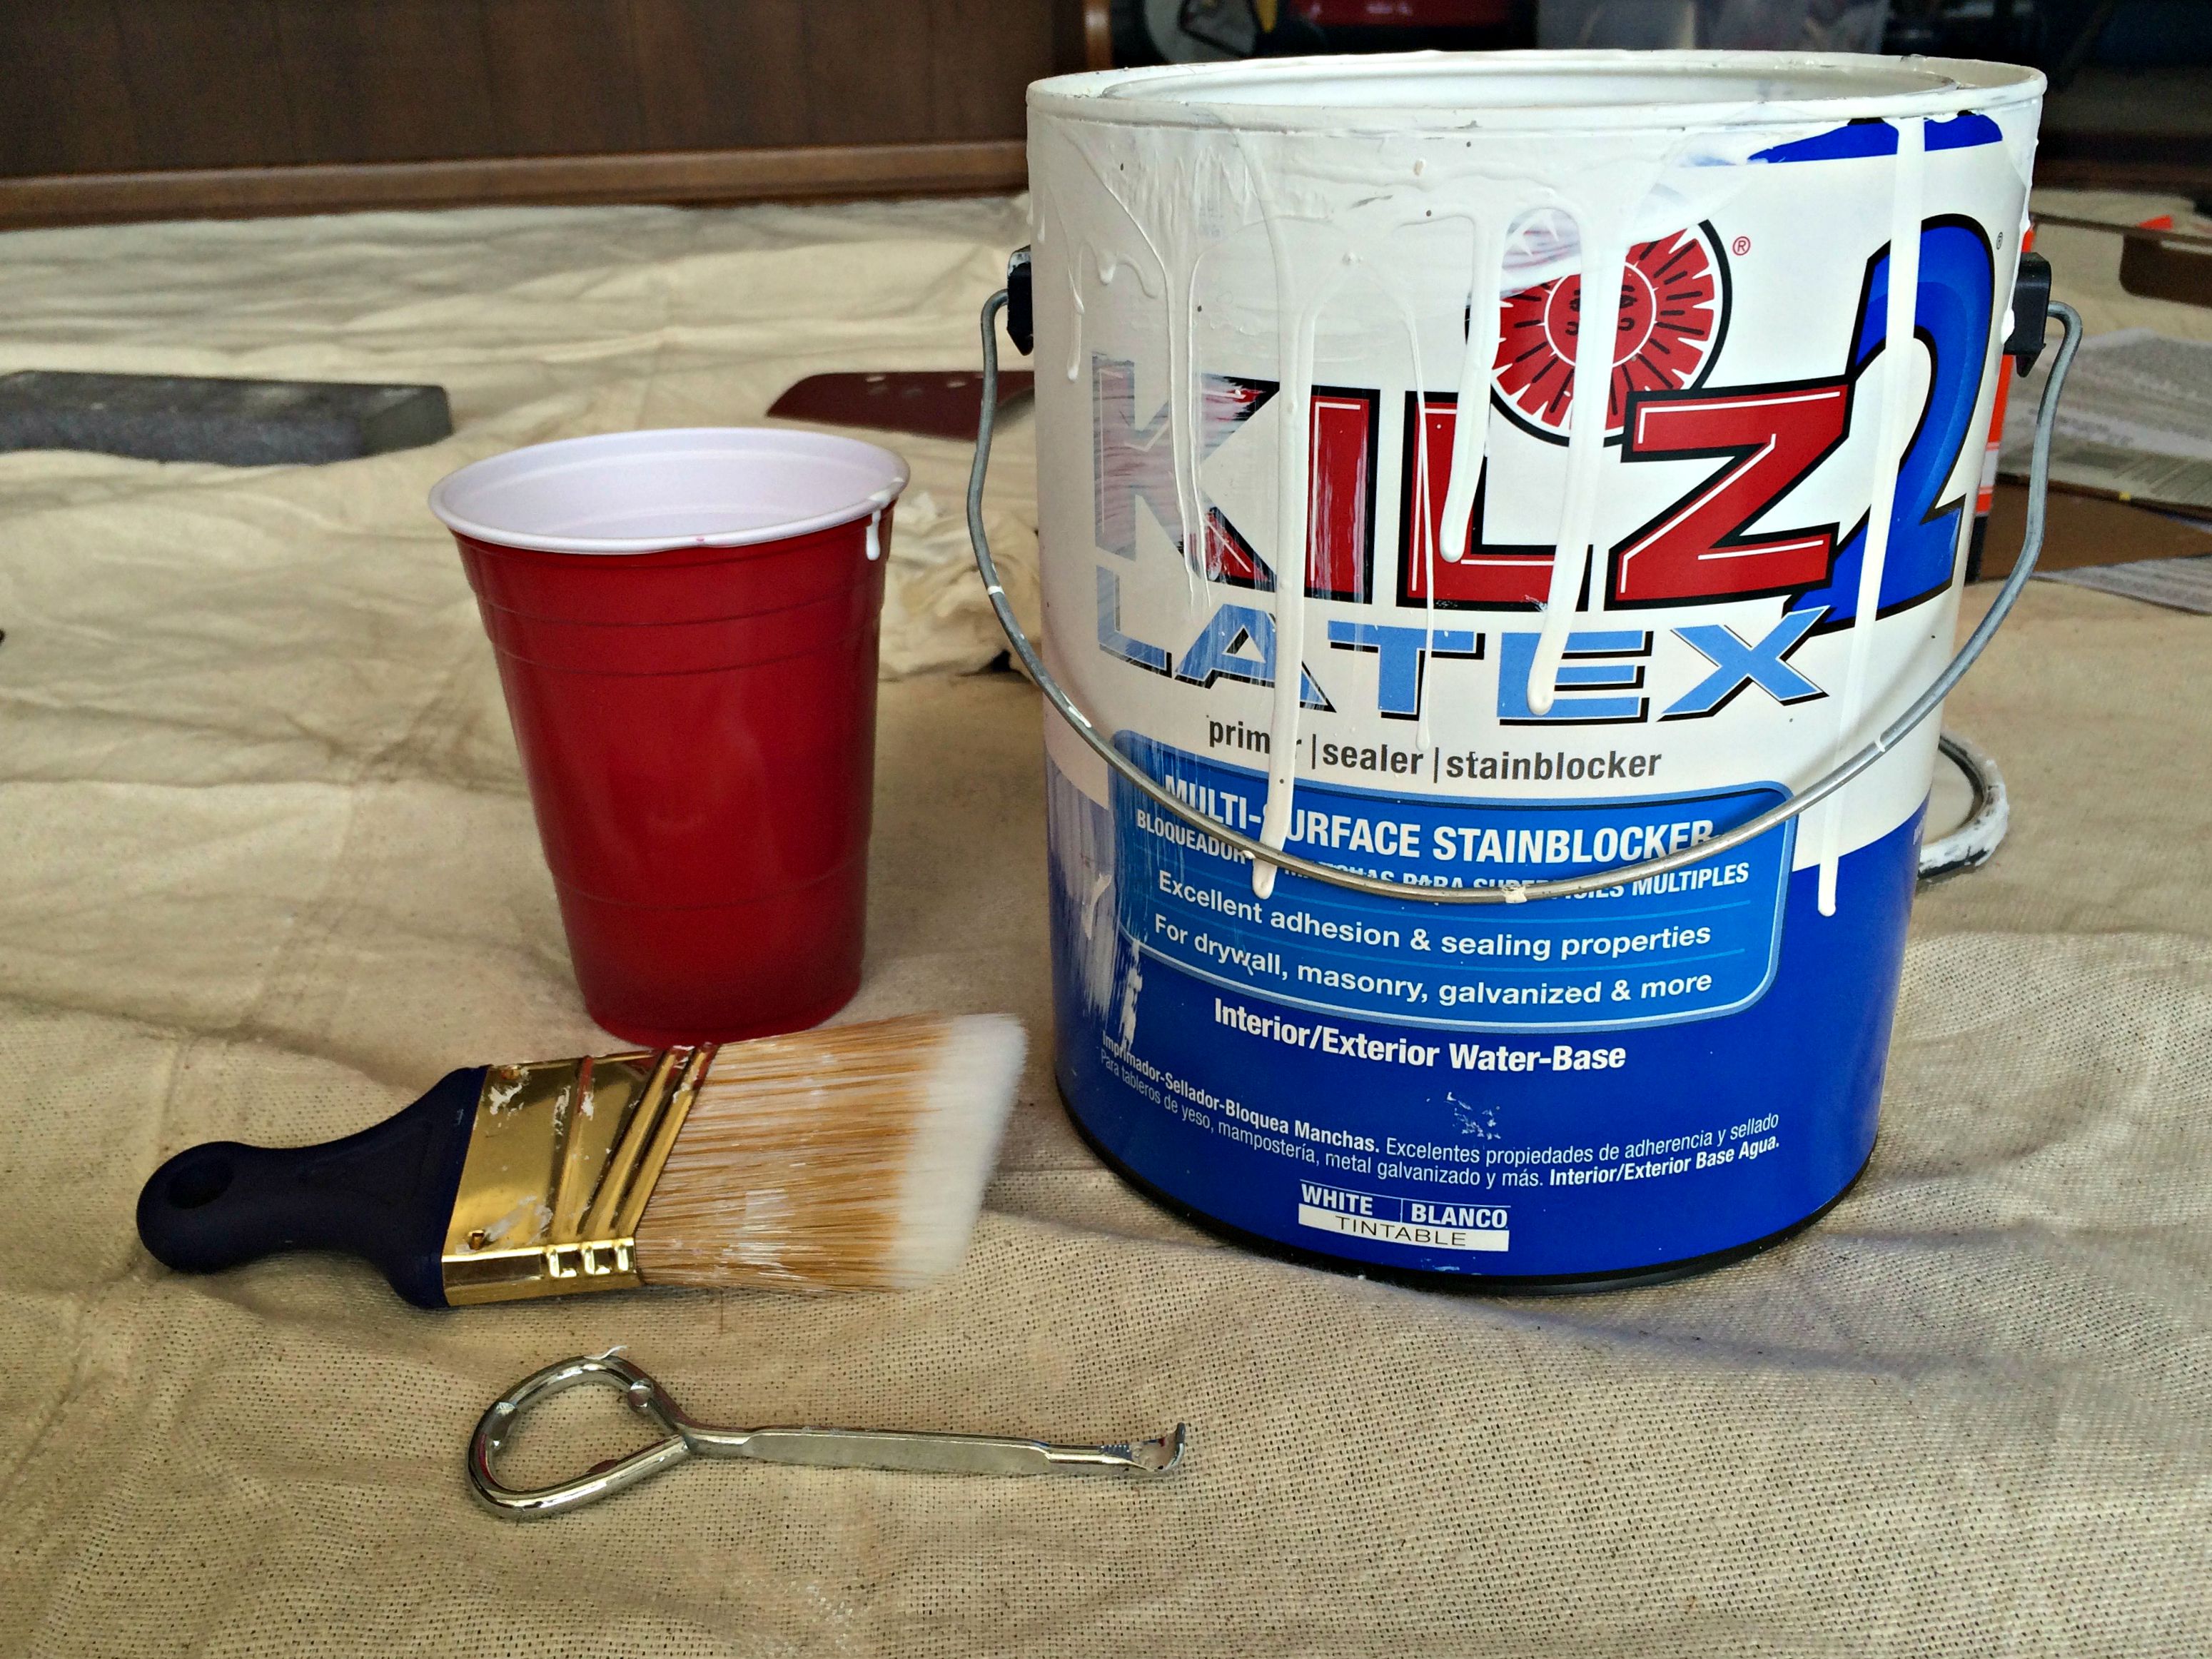
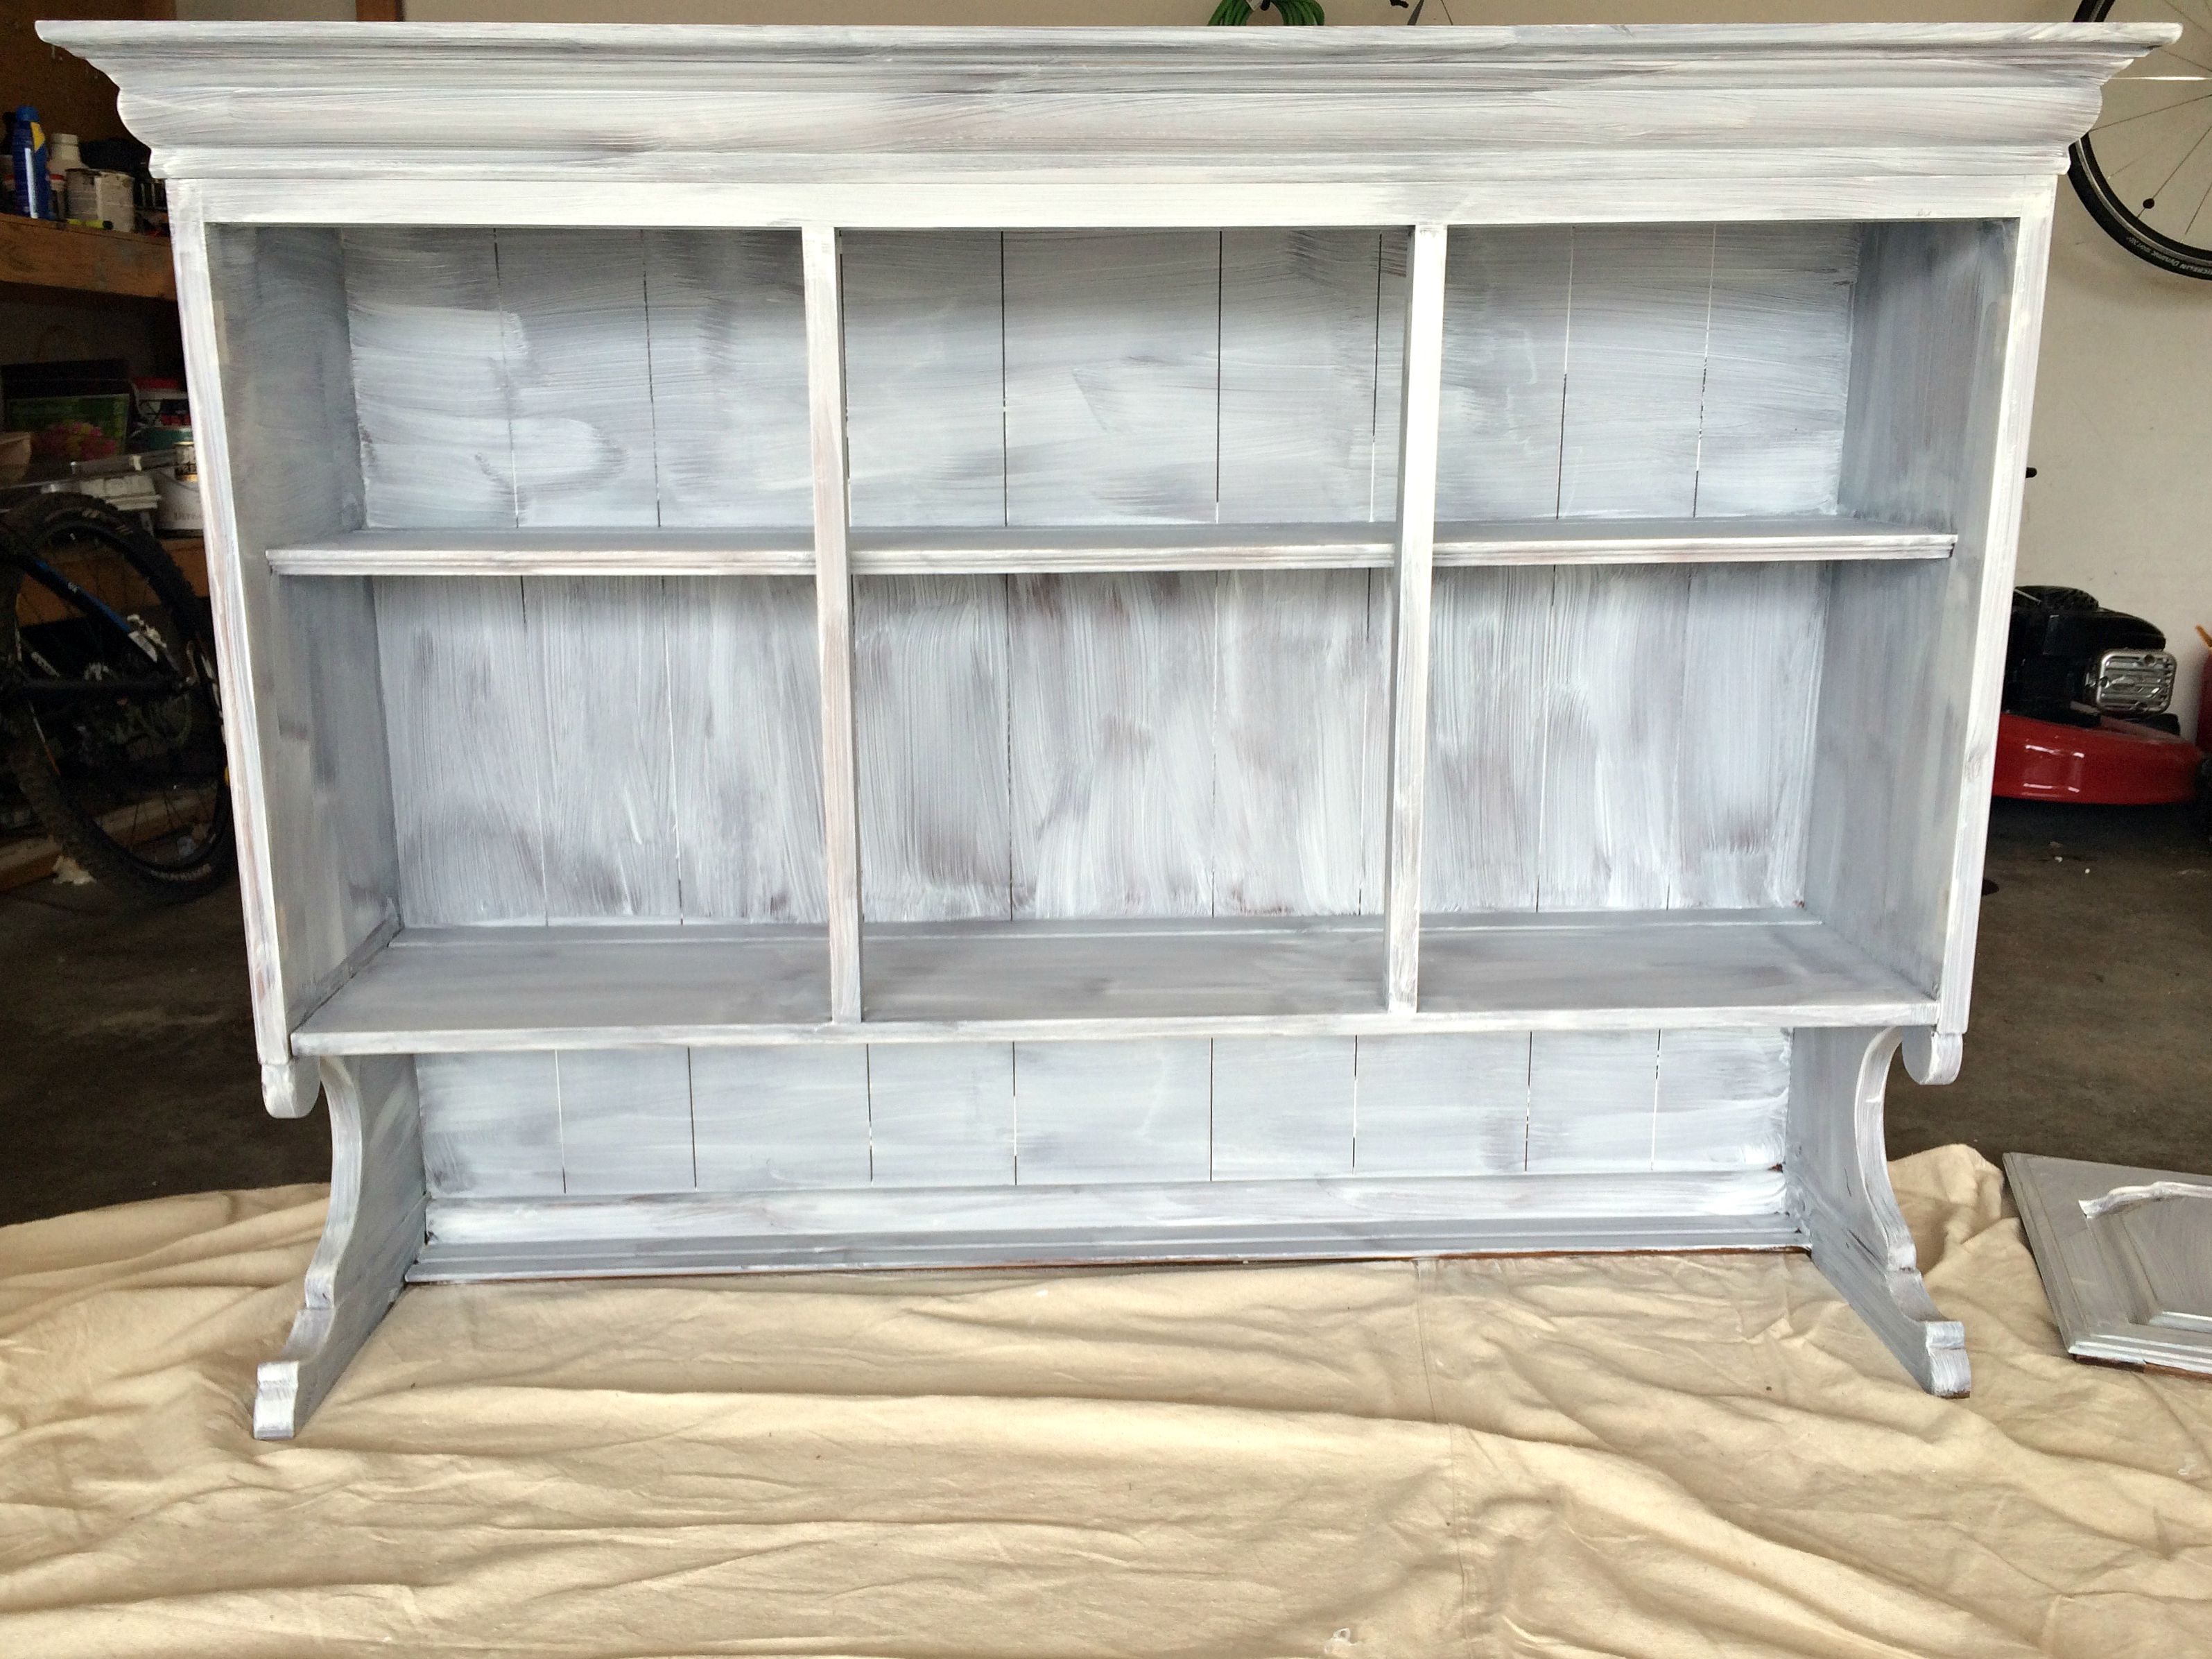
I usually use a Kilz latex primer and paint two coats. I use a small, angled brush by Wooster that I love and that keeps my hand from hurting after a while of painting. I’ll be honest, this is about the part of most projects where I start to panic and regret even thinking of painting something. Priming will always look rough and full of brush strokes, and that’s okay. Carry on, my friend. It will look better once you get some real paint on it!
4) Paint a base coat in a darker color.
Like I described in my post on our Ikea Rast hack nighstands, one of my favorite ways to distress is to paint two different colors (darker on the bottom) and then lightly sand the top color to reveal the darker color. I started with a medium toned gray and just did one coat. I wish I could give you a color name, but it was just a mixture of a couple sample pots I had left over from when we painted our dining room (I believe Behr Sterling, Behr Anonymous, and Behr Pewter Mug). And because I did this project over the course of two months, I totally forgot to take a picture of this part. But just look at the picture in the next one and imagine that there’s a lovely shade of gray underneath it!
Another random note…I decided to paint the whole inside of the shelves white. Ultimately, it really didn’t make much of a contrast so I wouldn’t necessarily recommend it unless you can find two colors that contrast more. I love what I’ve seen of this kind of contrast in pictures, but it didn’t turn out super obvious here so I’m not describing it in detail! I would just paint the whole thing one color to start.
5) Paint a top coat (or two!) in your main color.
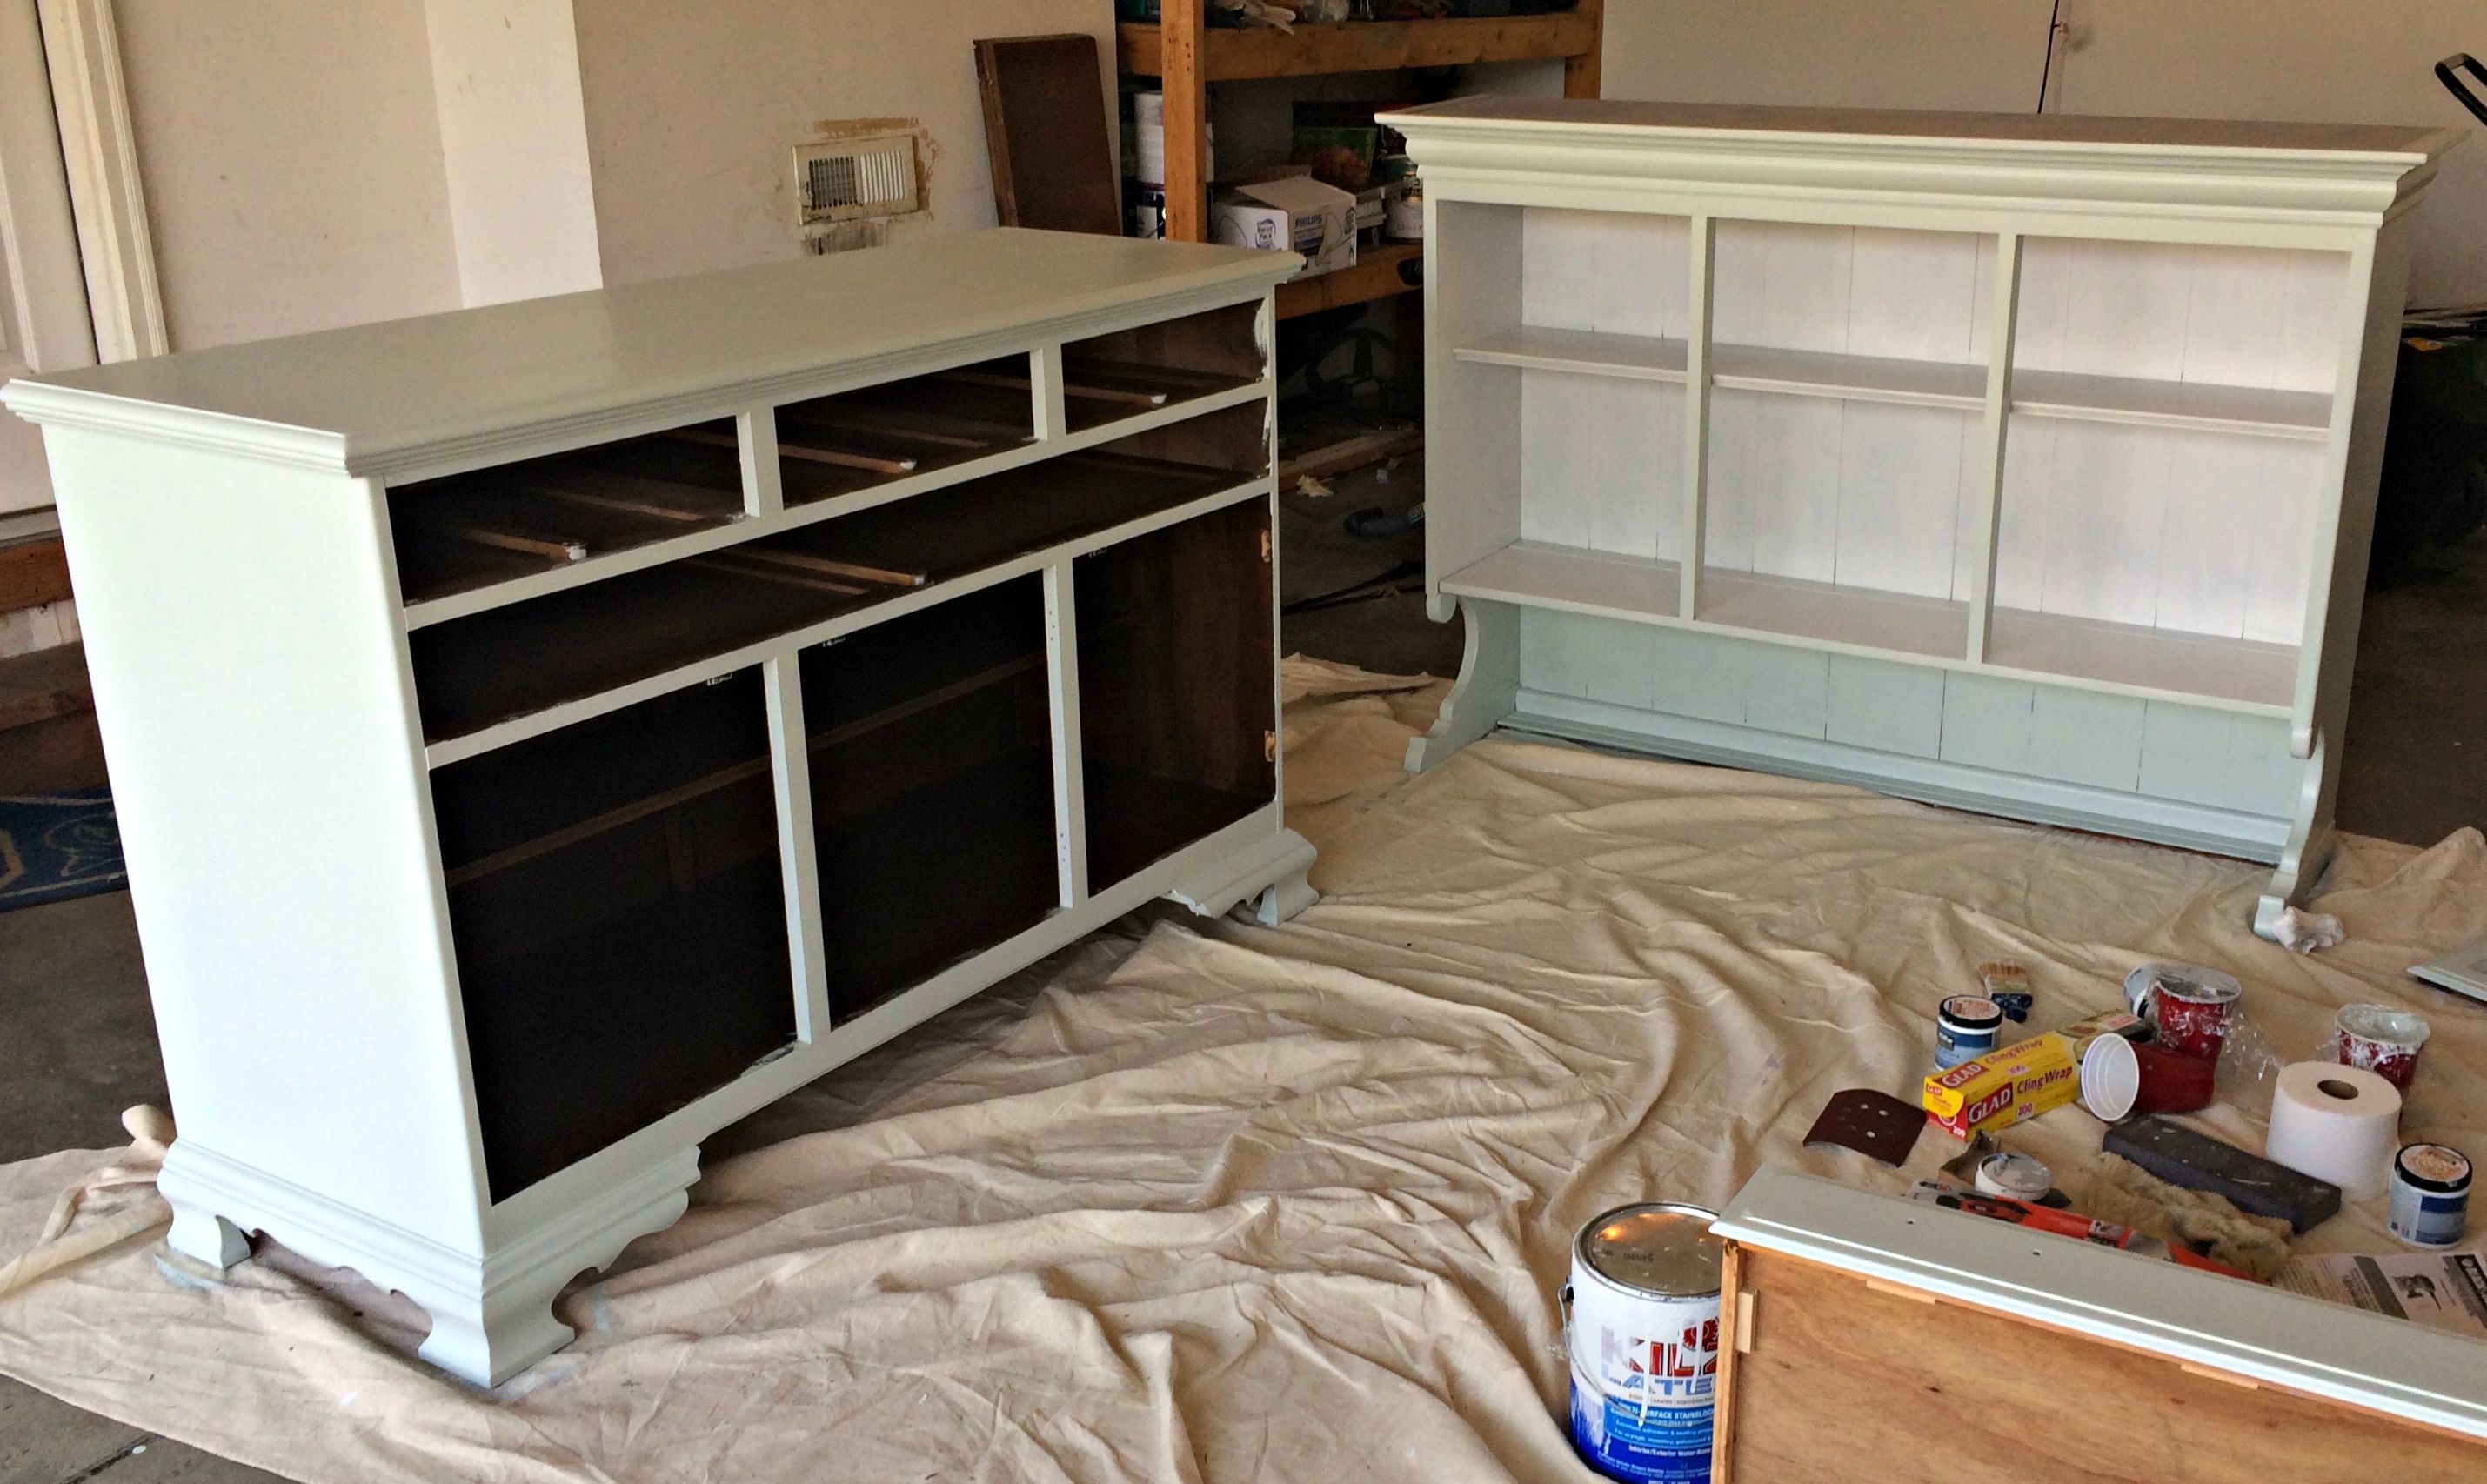
I wanted something bright and airy and leaning towards the blue-green family, like I shared in this post way back when. I ended up mixing two sample pots of Sherwin-Williams Sea Salt and Behr Valley Mist and painting two coats, letting the first coat dry an hour before I painted the second.
6) Lightly sand corners and raised lines.
After spending about two weeks on vacation so the hutch had plenty of time to dry, I started the distressing process. There’s several ways to go about this, but I usually use both sanding and a distressing glaze.
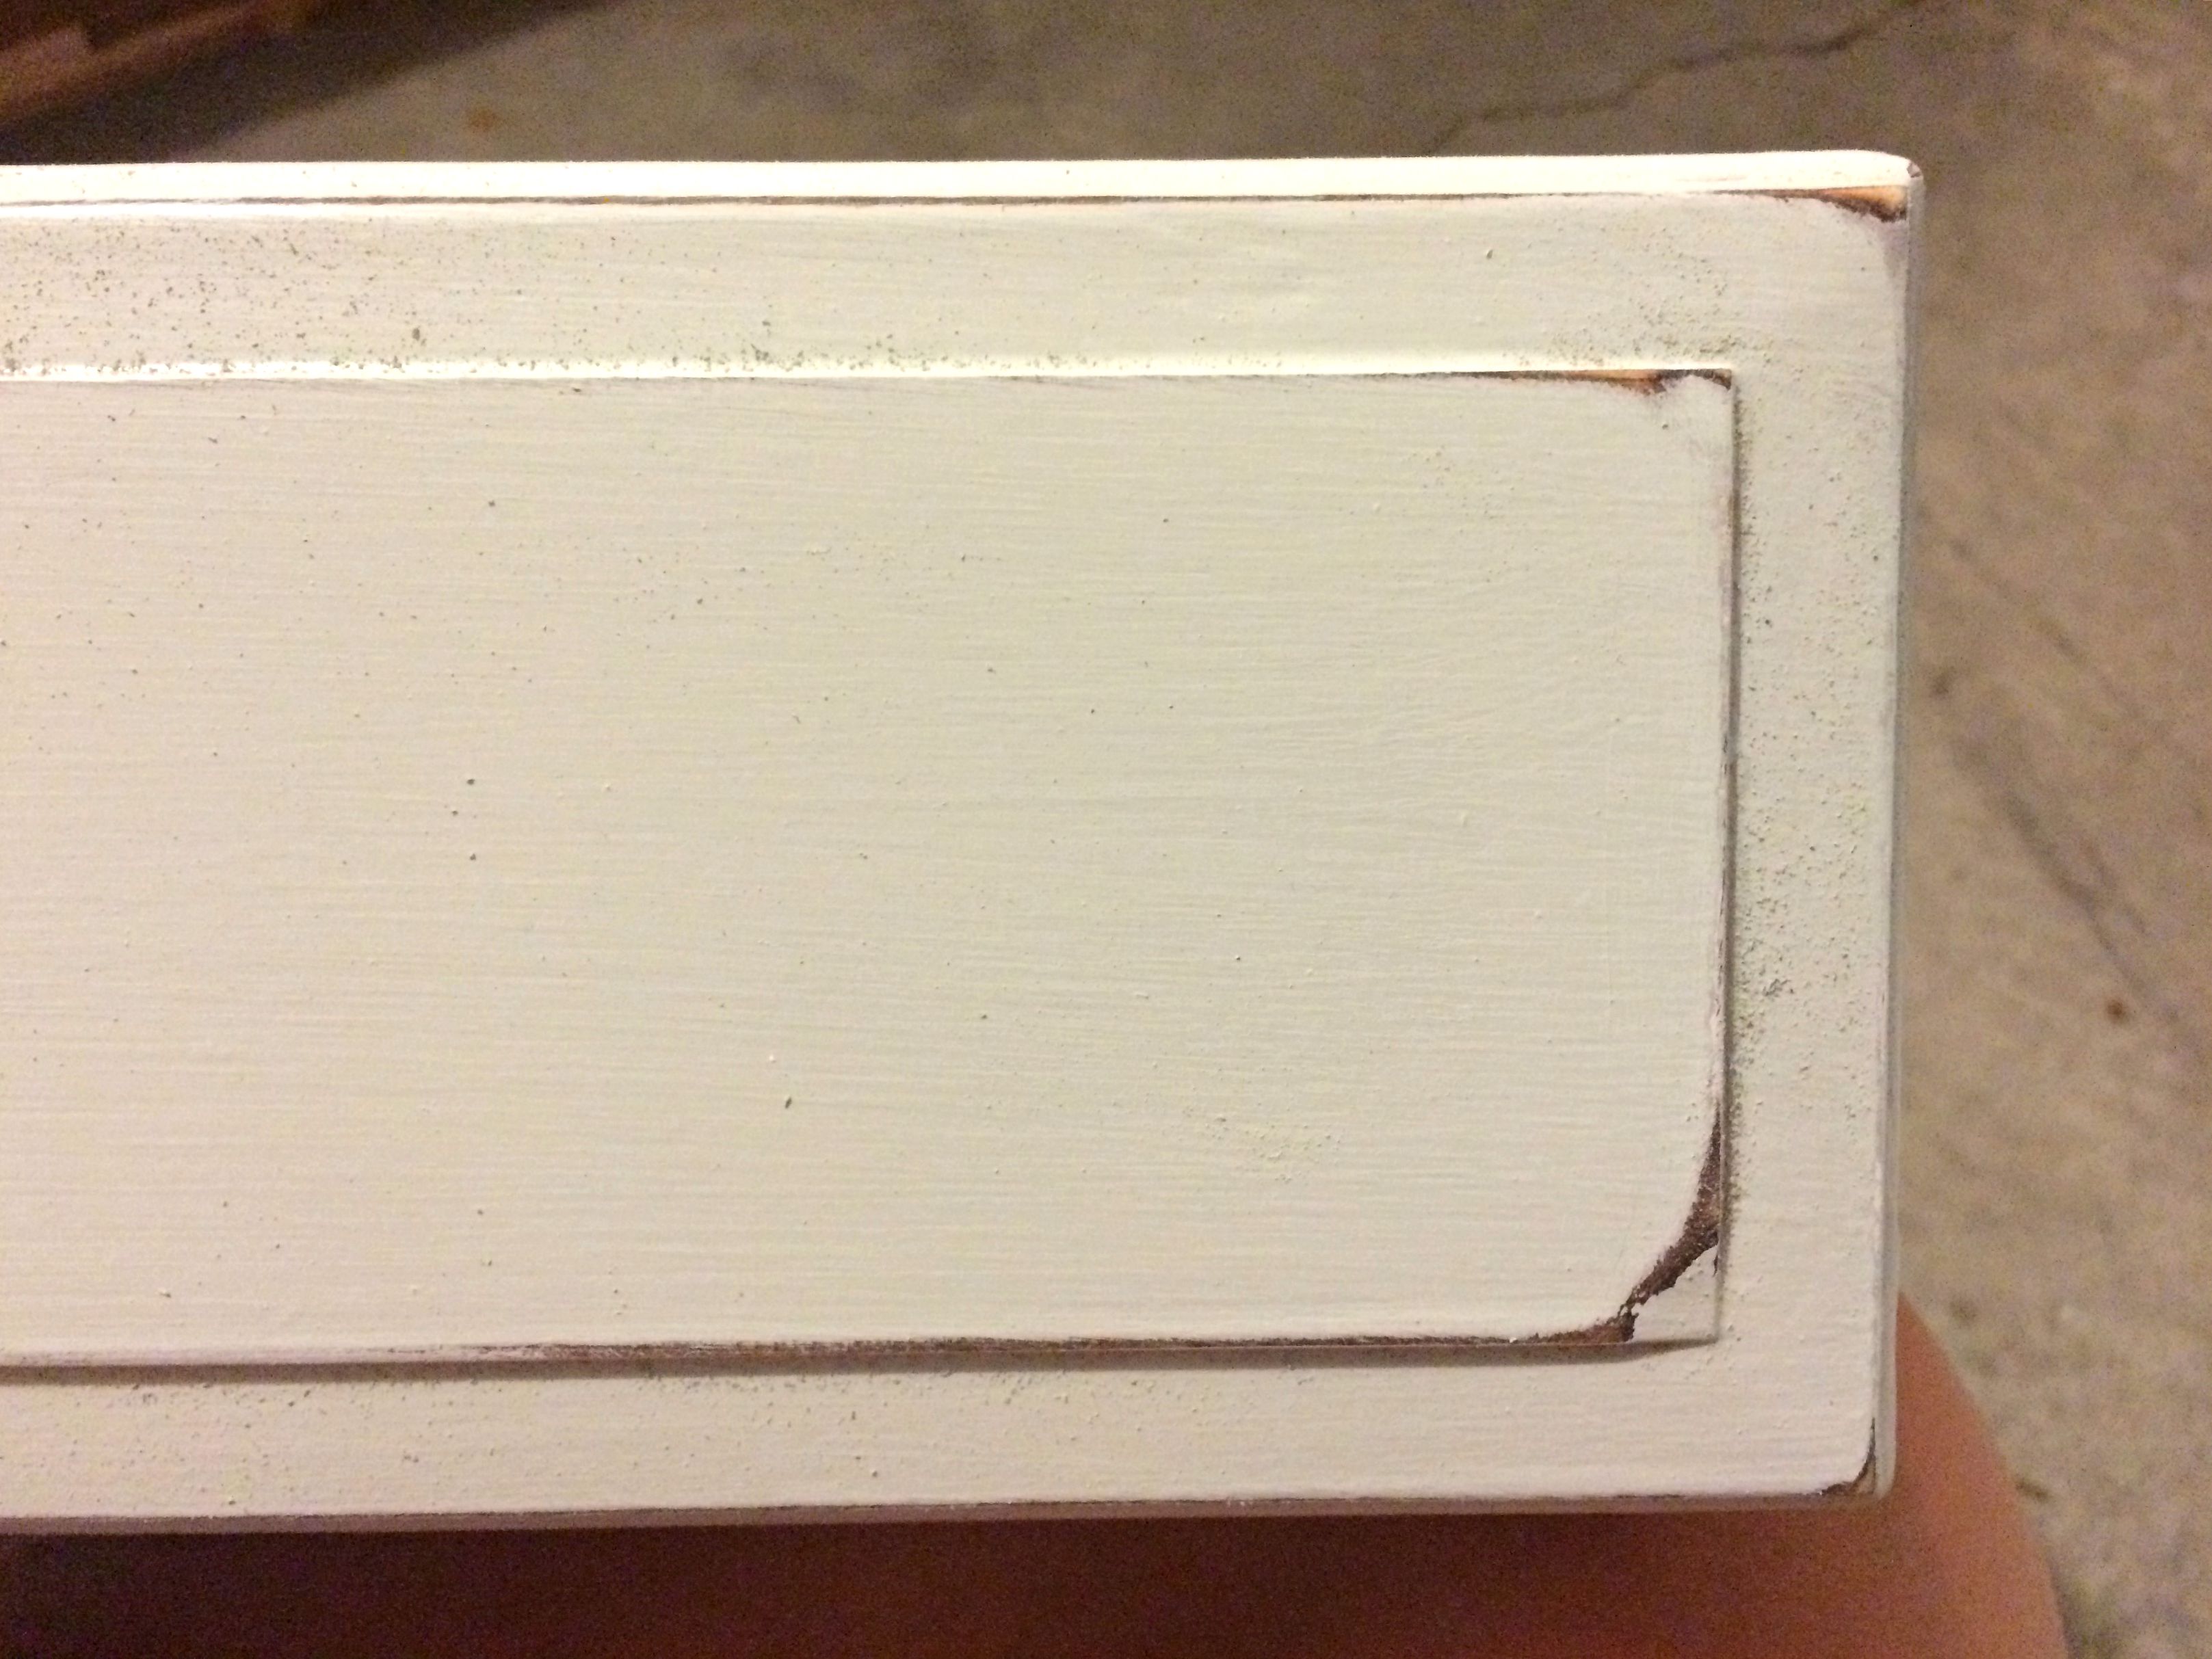
I started by using a 60 grit sanding block from Home Depot to sand the corners of the drawers and doors and any large flat surfaces on the hutch. I also sand along any raised edges to highlight them a bit, especially on the drawer surfaces and around the edges of the shelf. Basically, just do enough to emphasize some of the lines and corners of the hutch and to start to create some texture on the larger flat surfaces that the glaze can stick to.
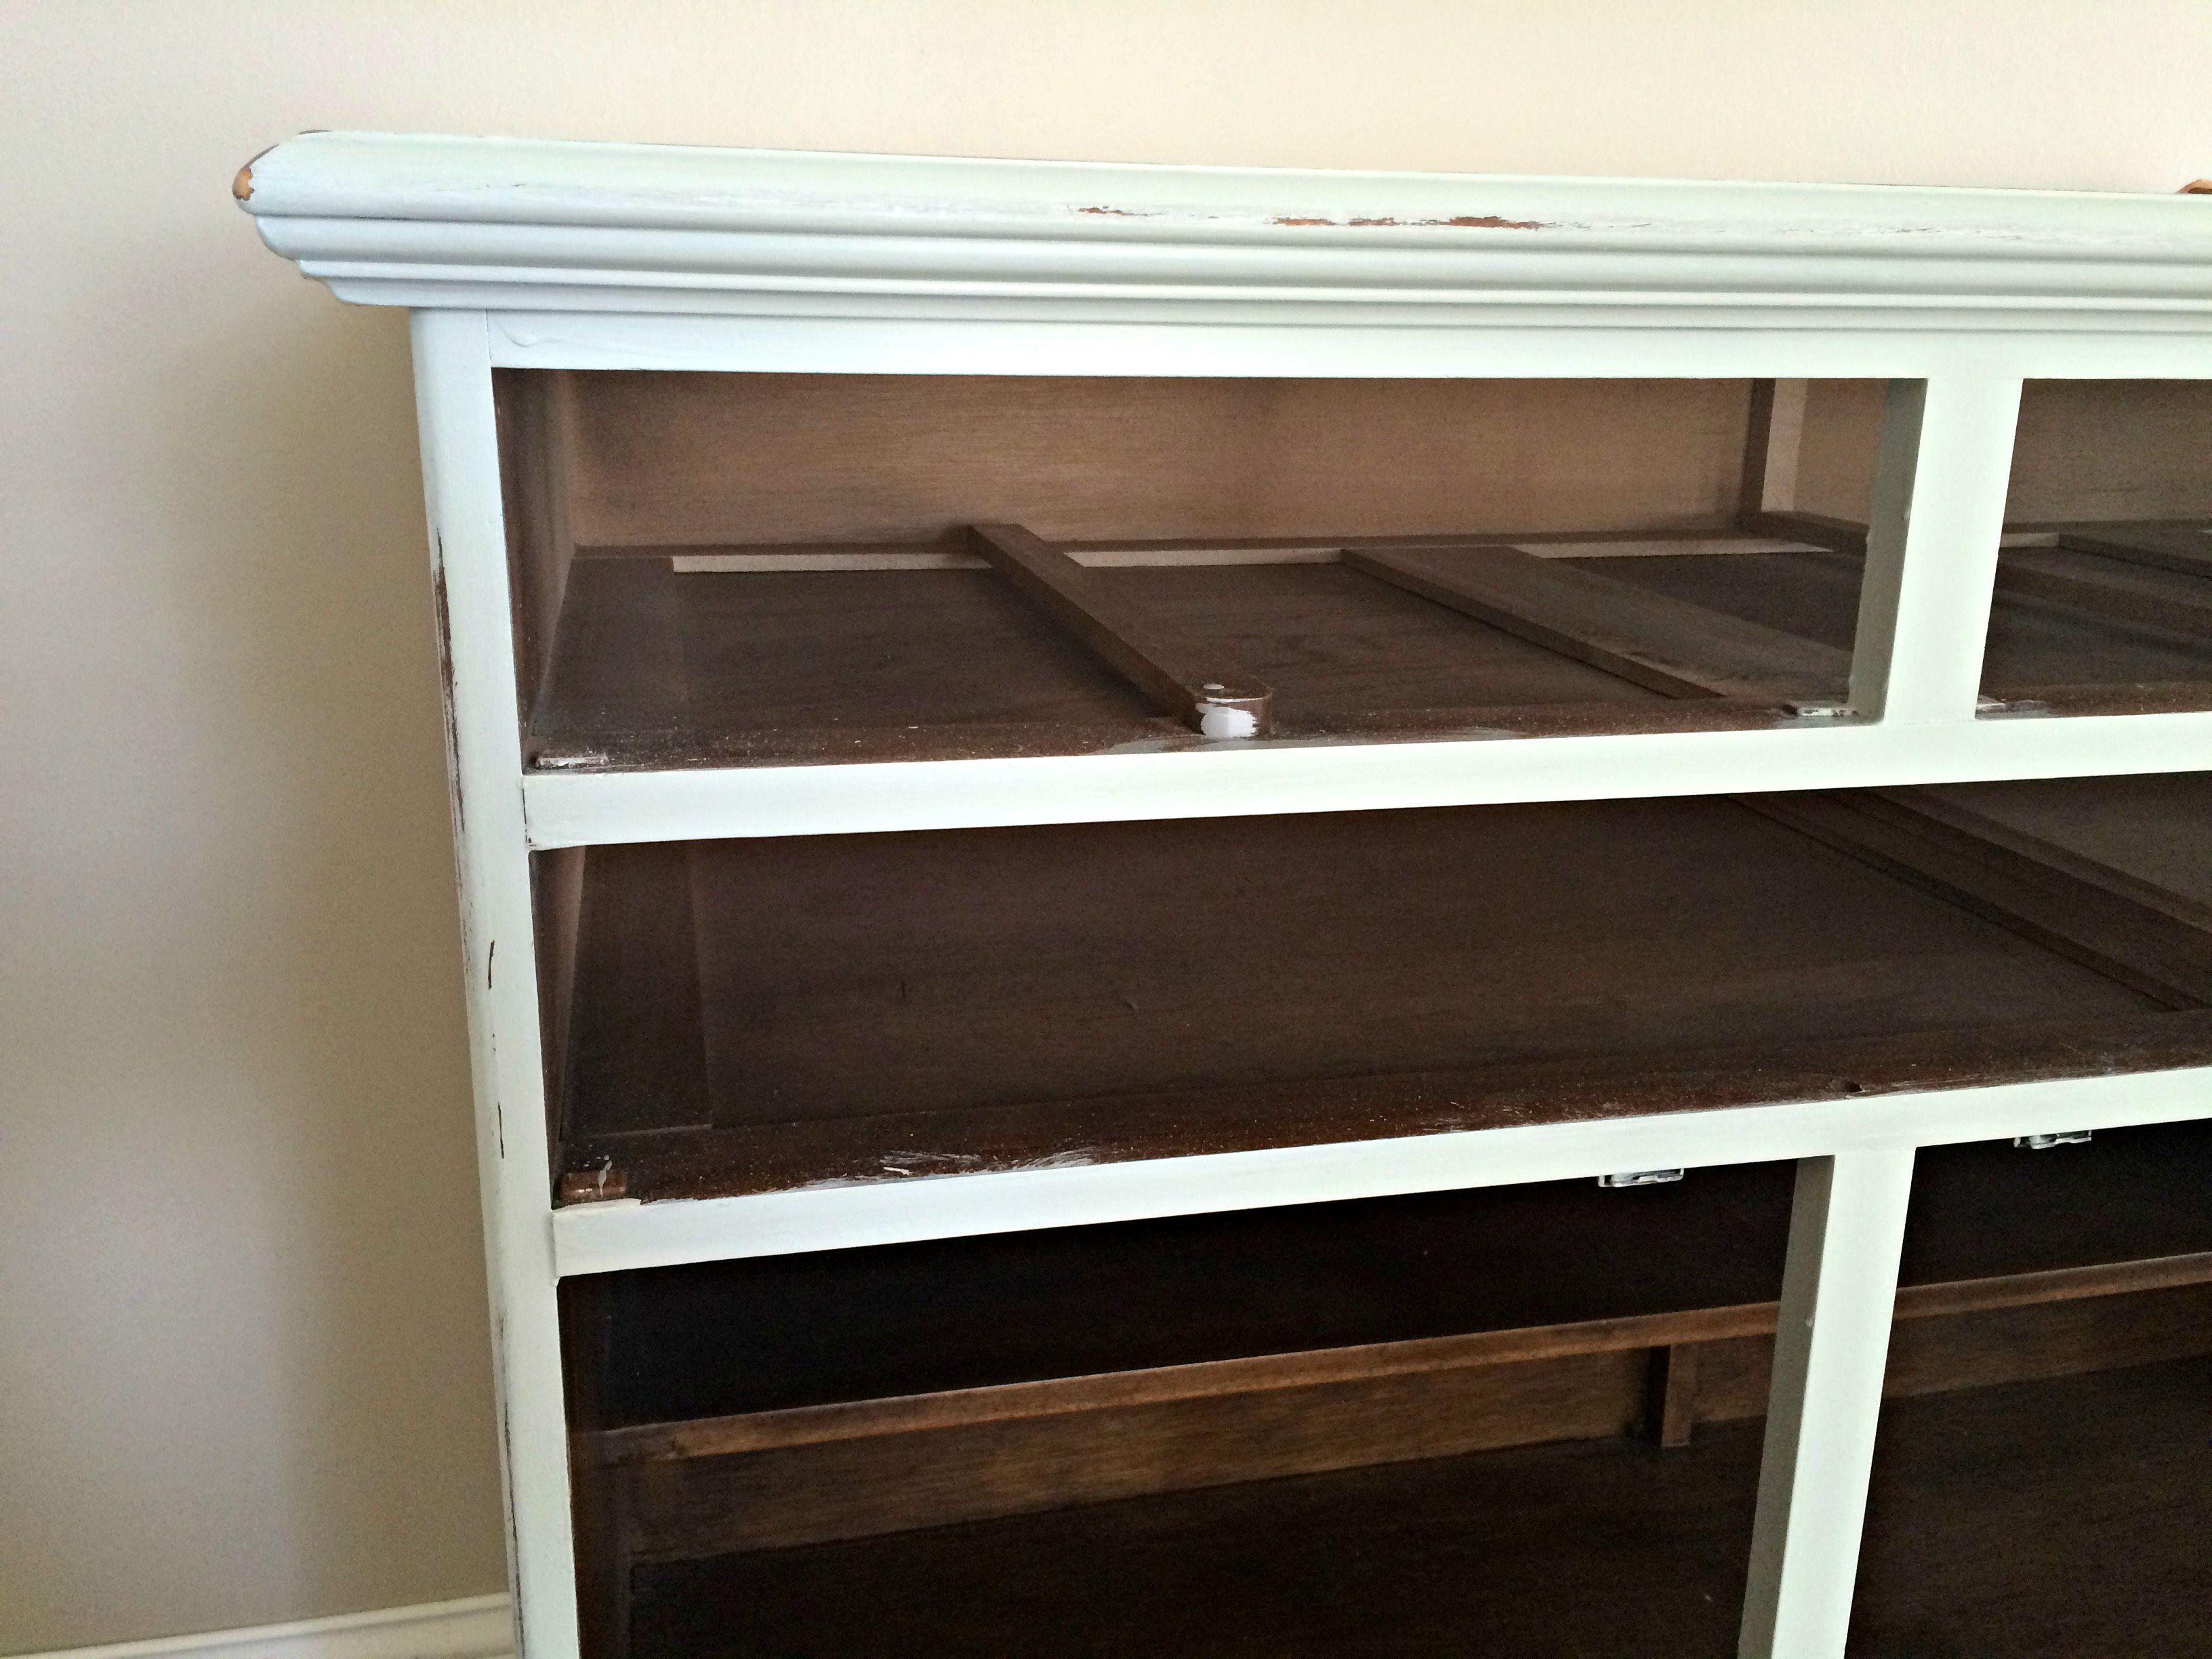
7) Apply antiquing glaze.
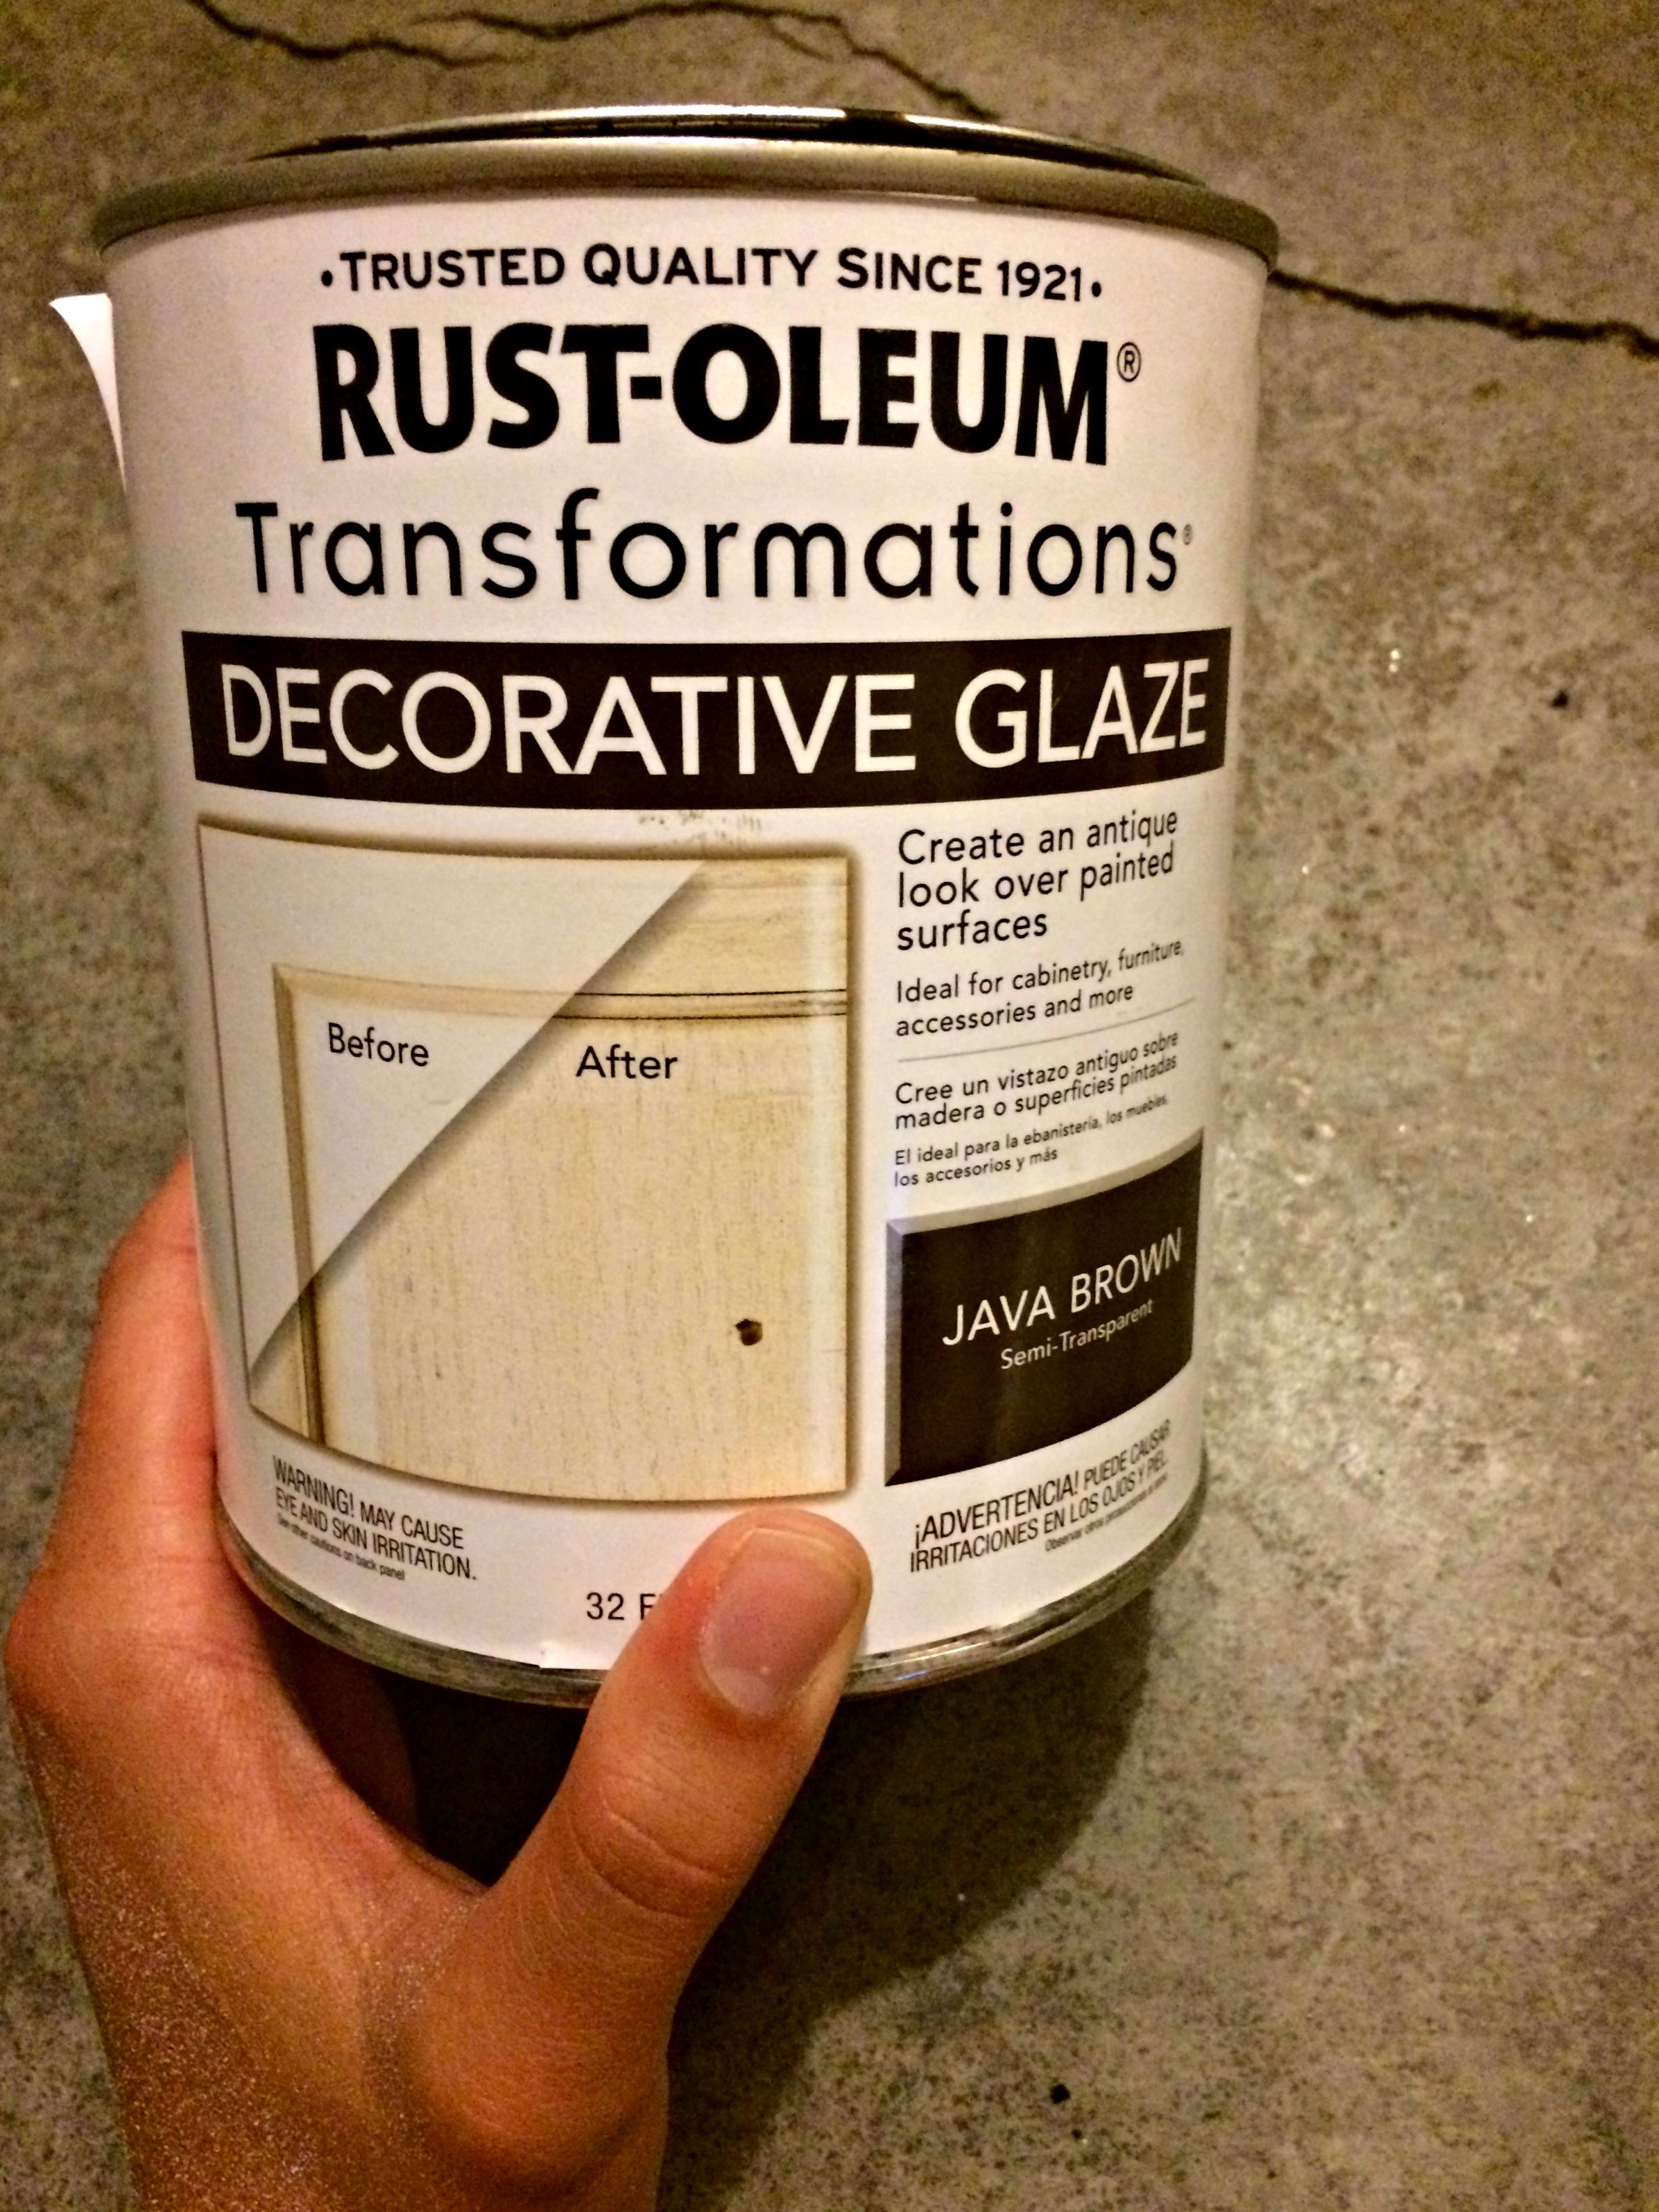
Next, use a decorative glaze to add some color and make it look more aged. I’ve had to try a few different ones in past projects to find one I like, and I’m a big fan of this one from Rust-oleum. I use a small, cheap foam brush to lightly brush on the glaze on the corners and raised edges, and then wipe it up with a paper towel almost immediately. It will add some darkness and texture to the wood, which I love. You can lightly sand it off if the color is too dark, so just keep playing around until you get a fade you like.
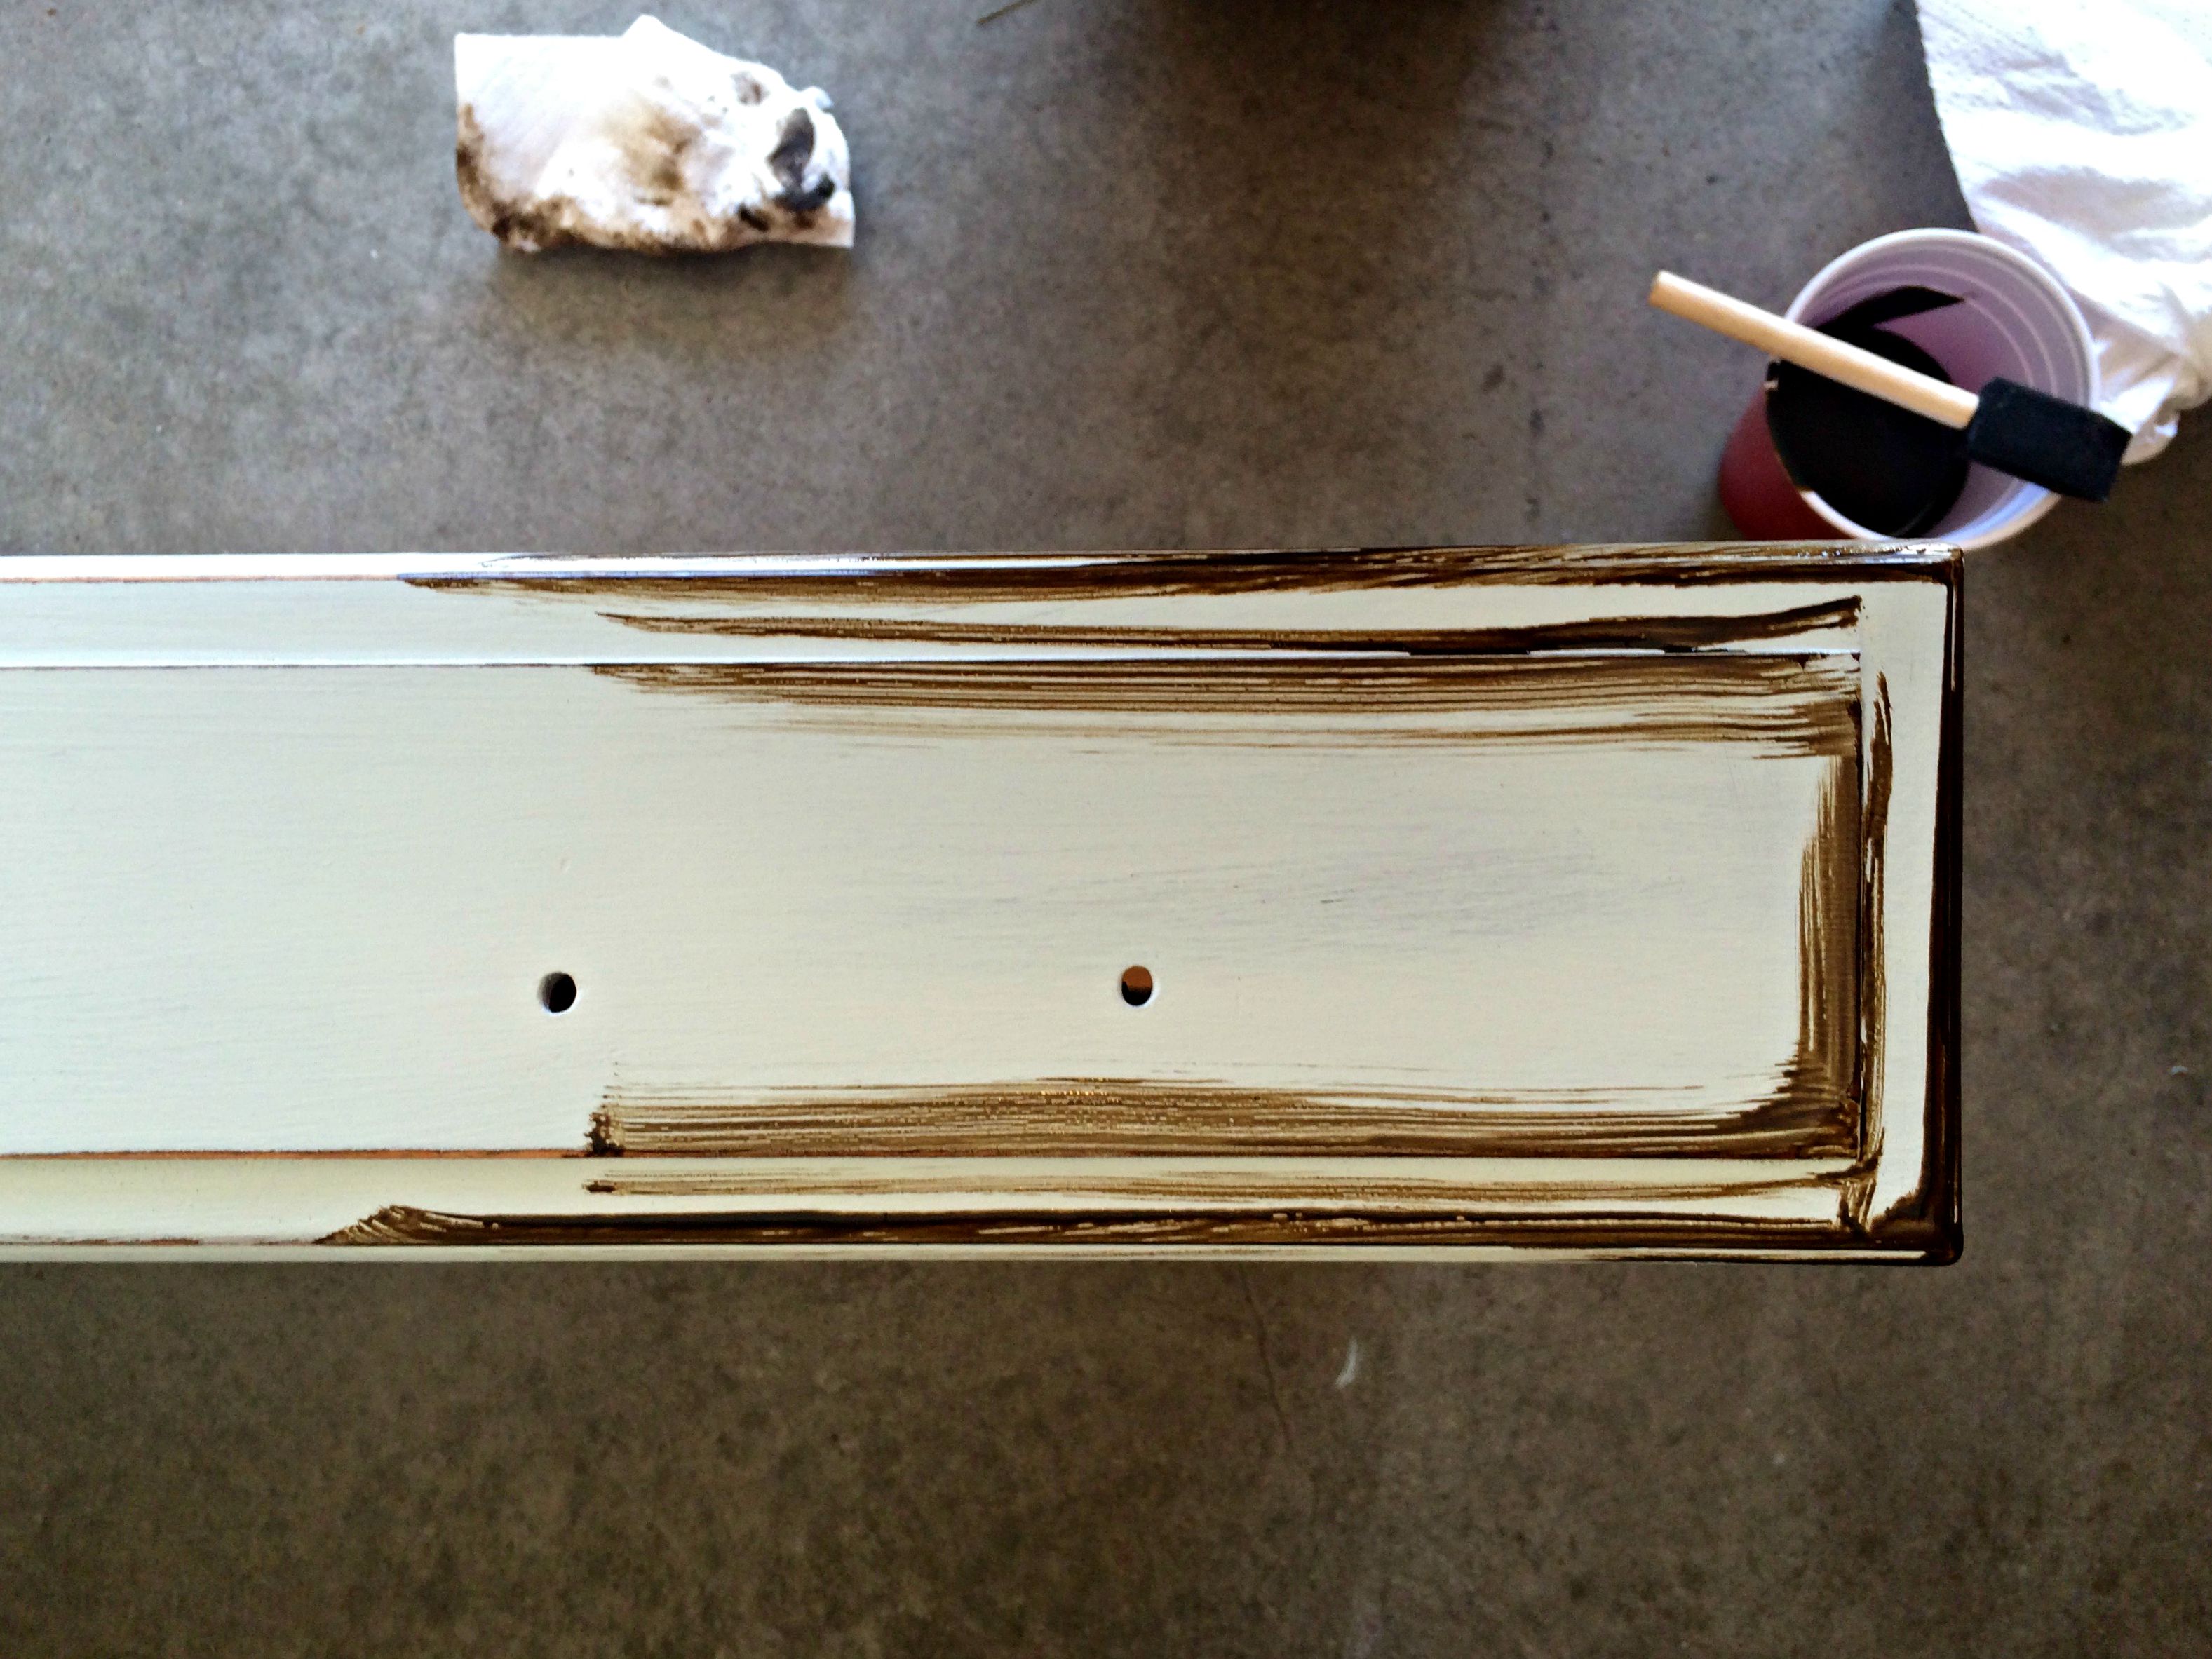
With the glaze on
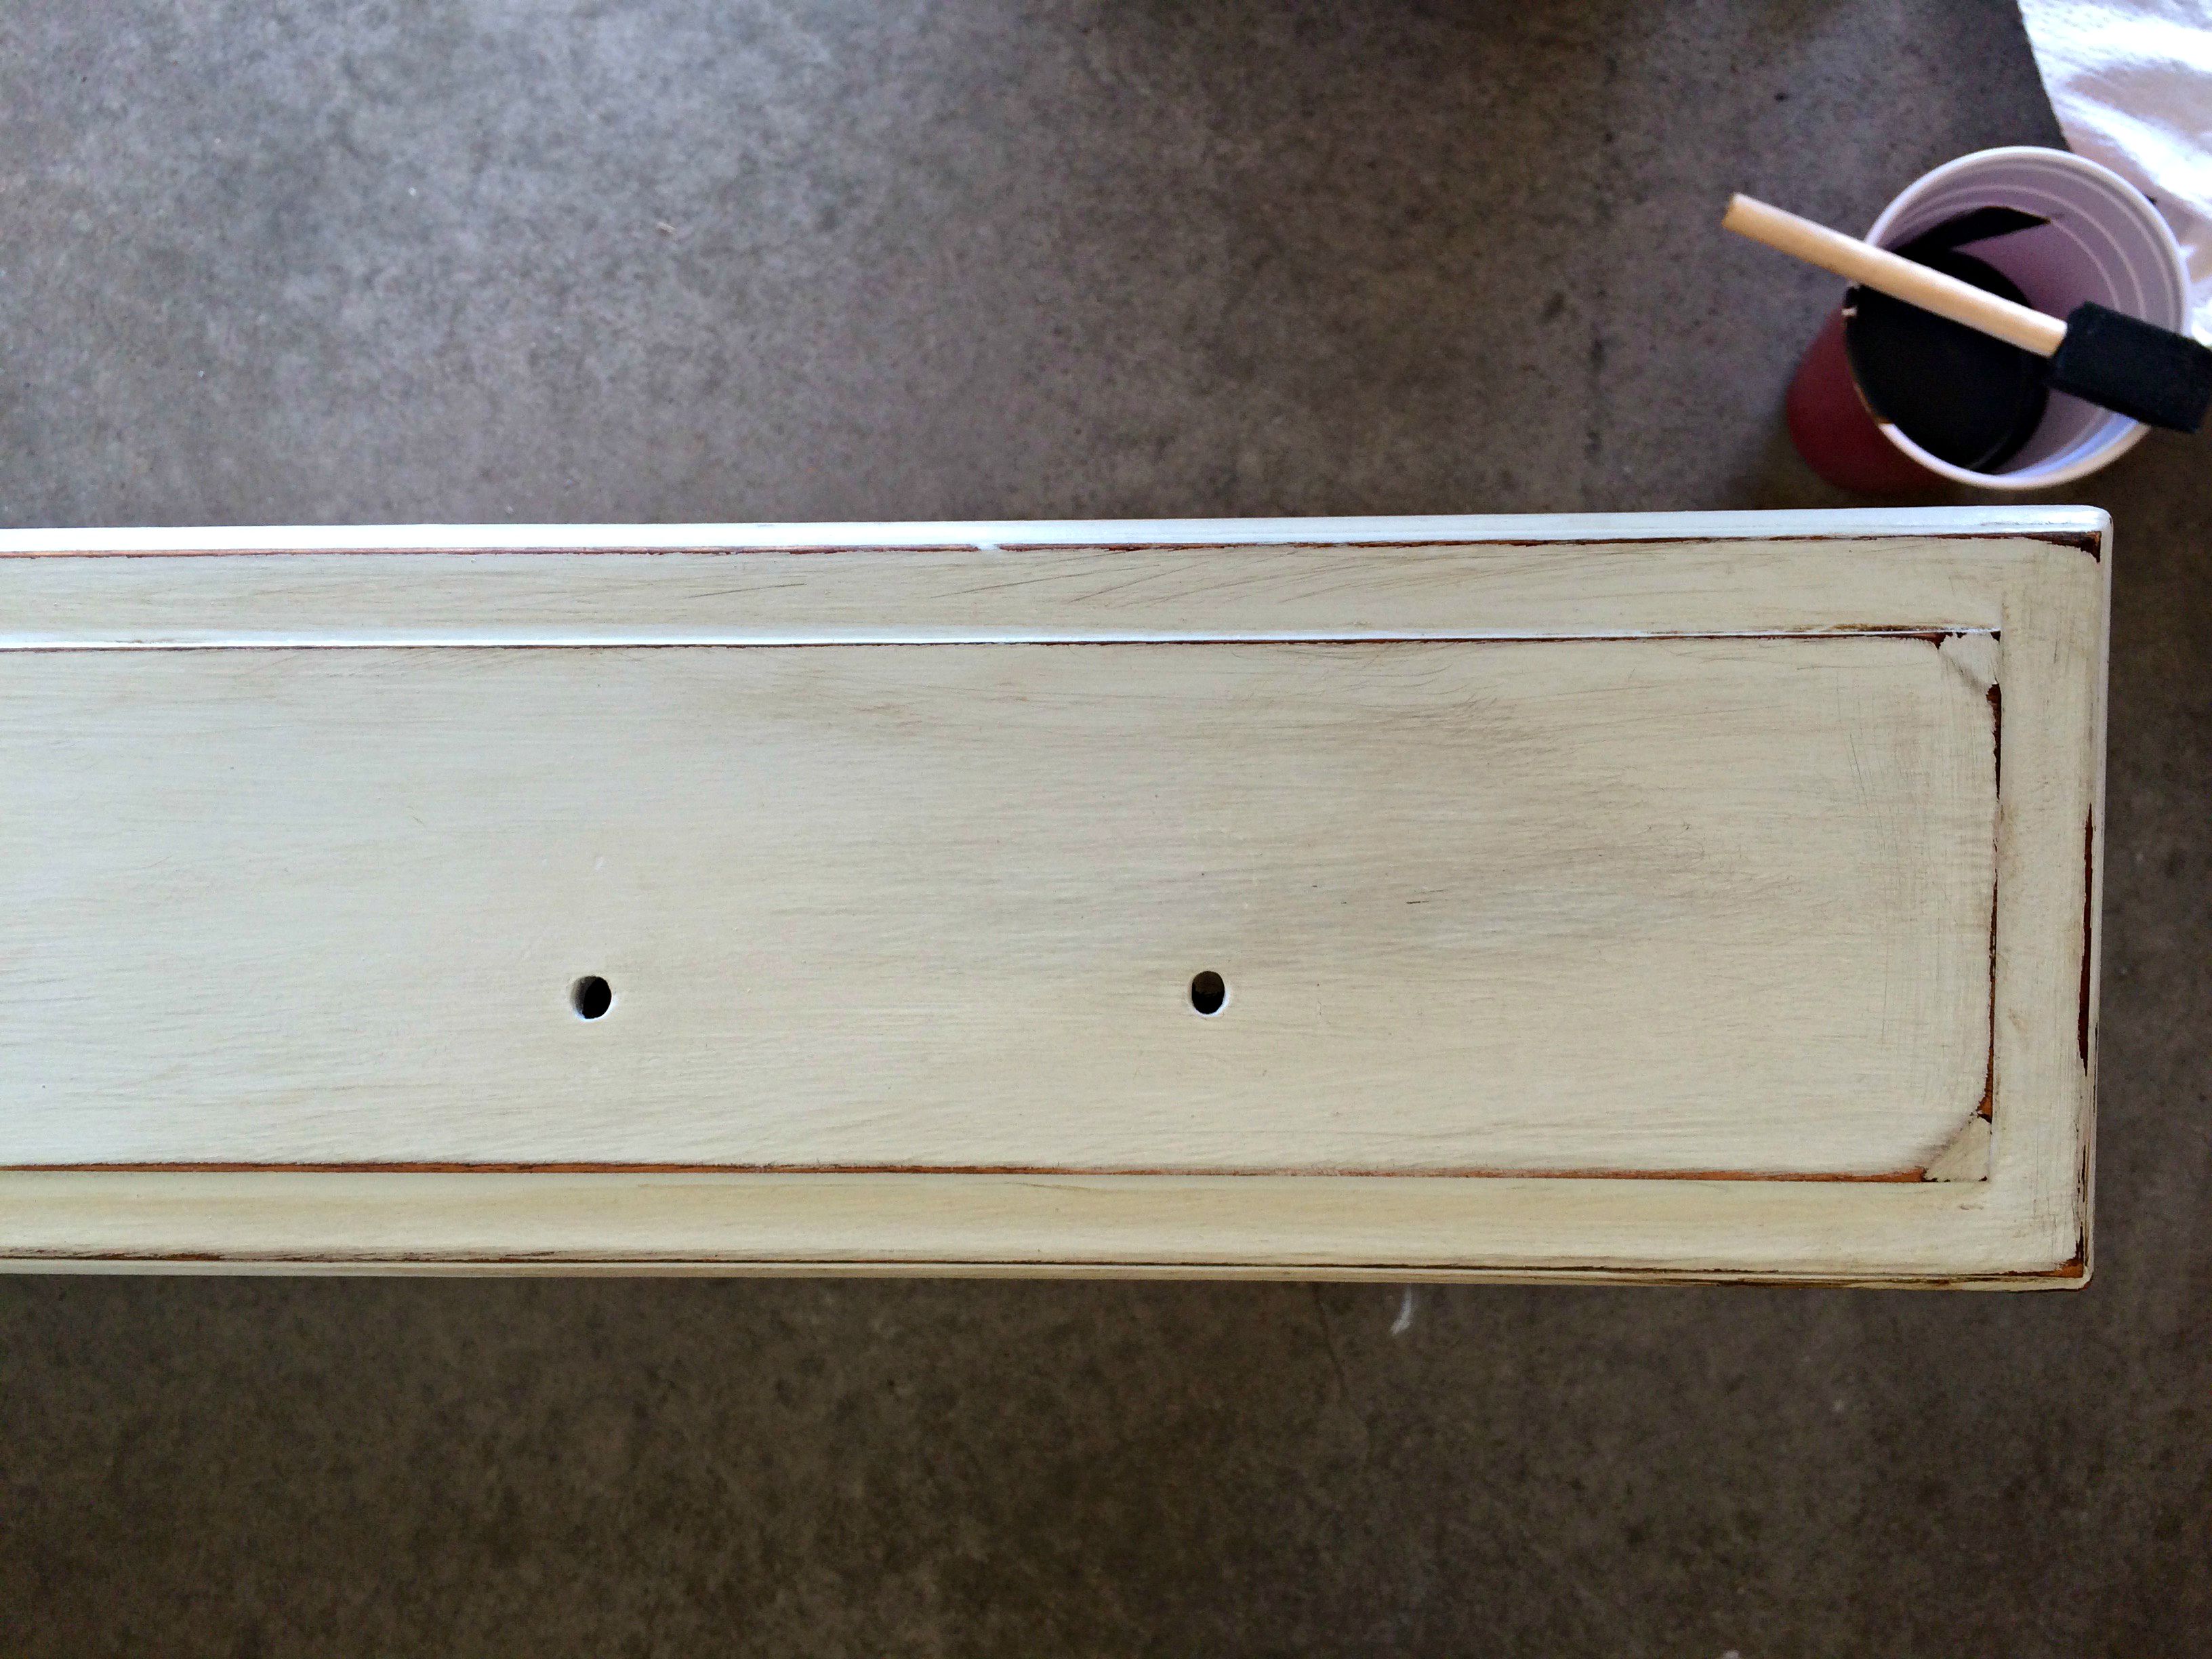
After applying the glaze!
7) Install new hardware.
If you’re like me, enlist the help of your husband to drill holes for the new hardware. I used some pulls from D. Lawless Hardware (the same ones I used on our Ikea Rast nighstands) and a few cheap knobs from Hobby Lobby. Unfortunately, I didn’t check the holes before I painted to see if they aligned (which they don’t), so we had to place the new pulls a little above center to make sure they covered the old holes. Not a huge deal, but maybe you can learn from my mistake(s)!
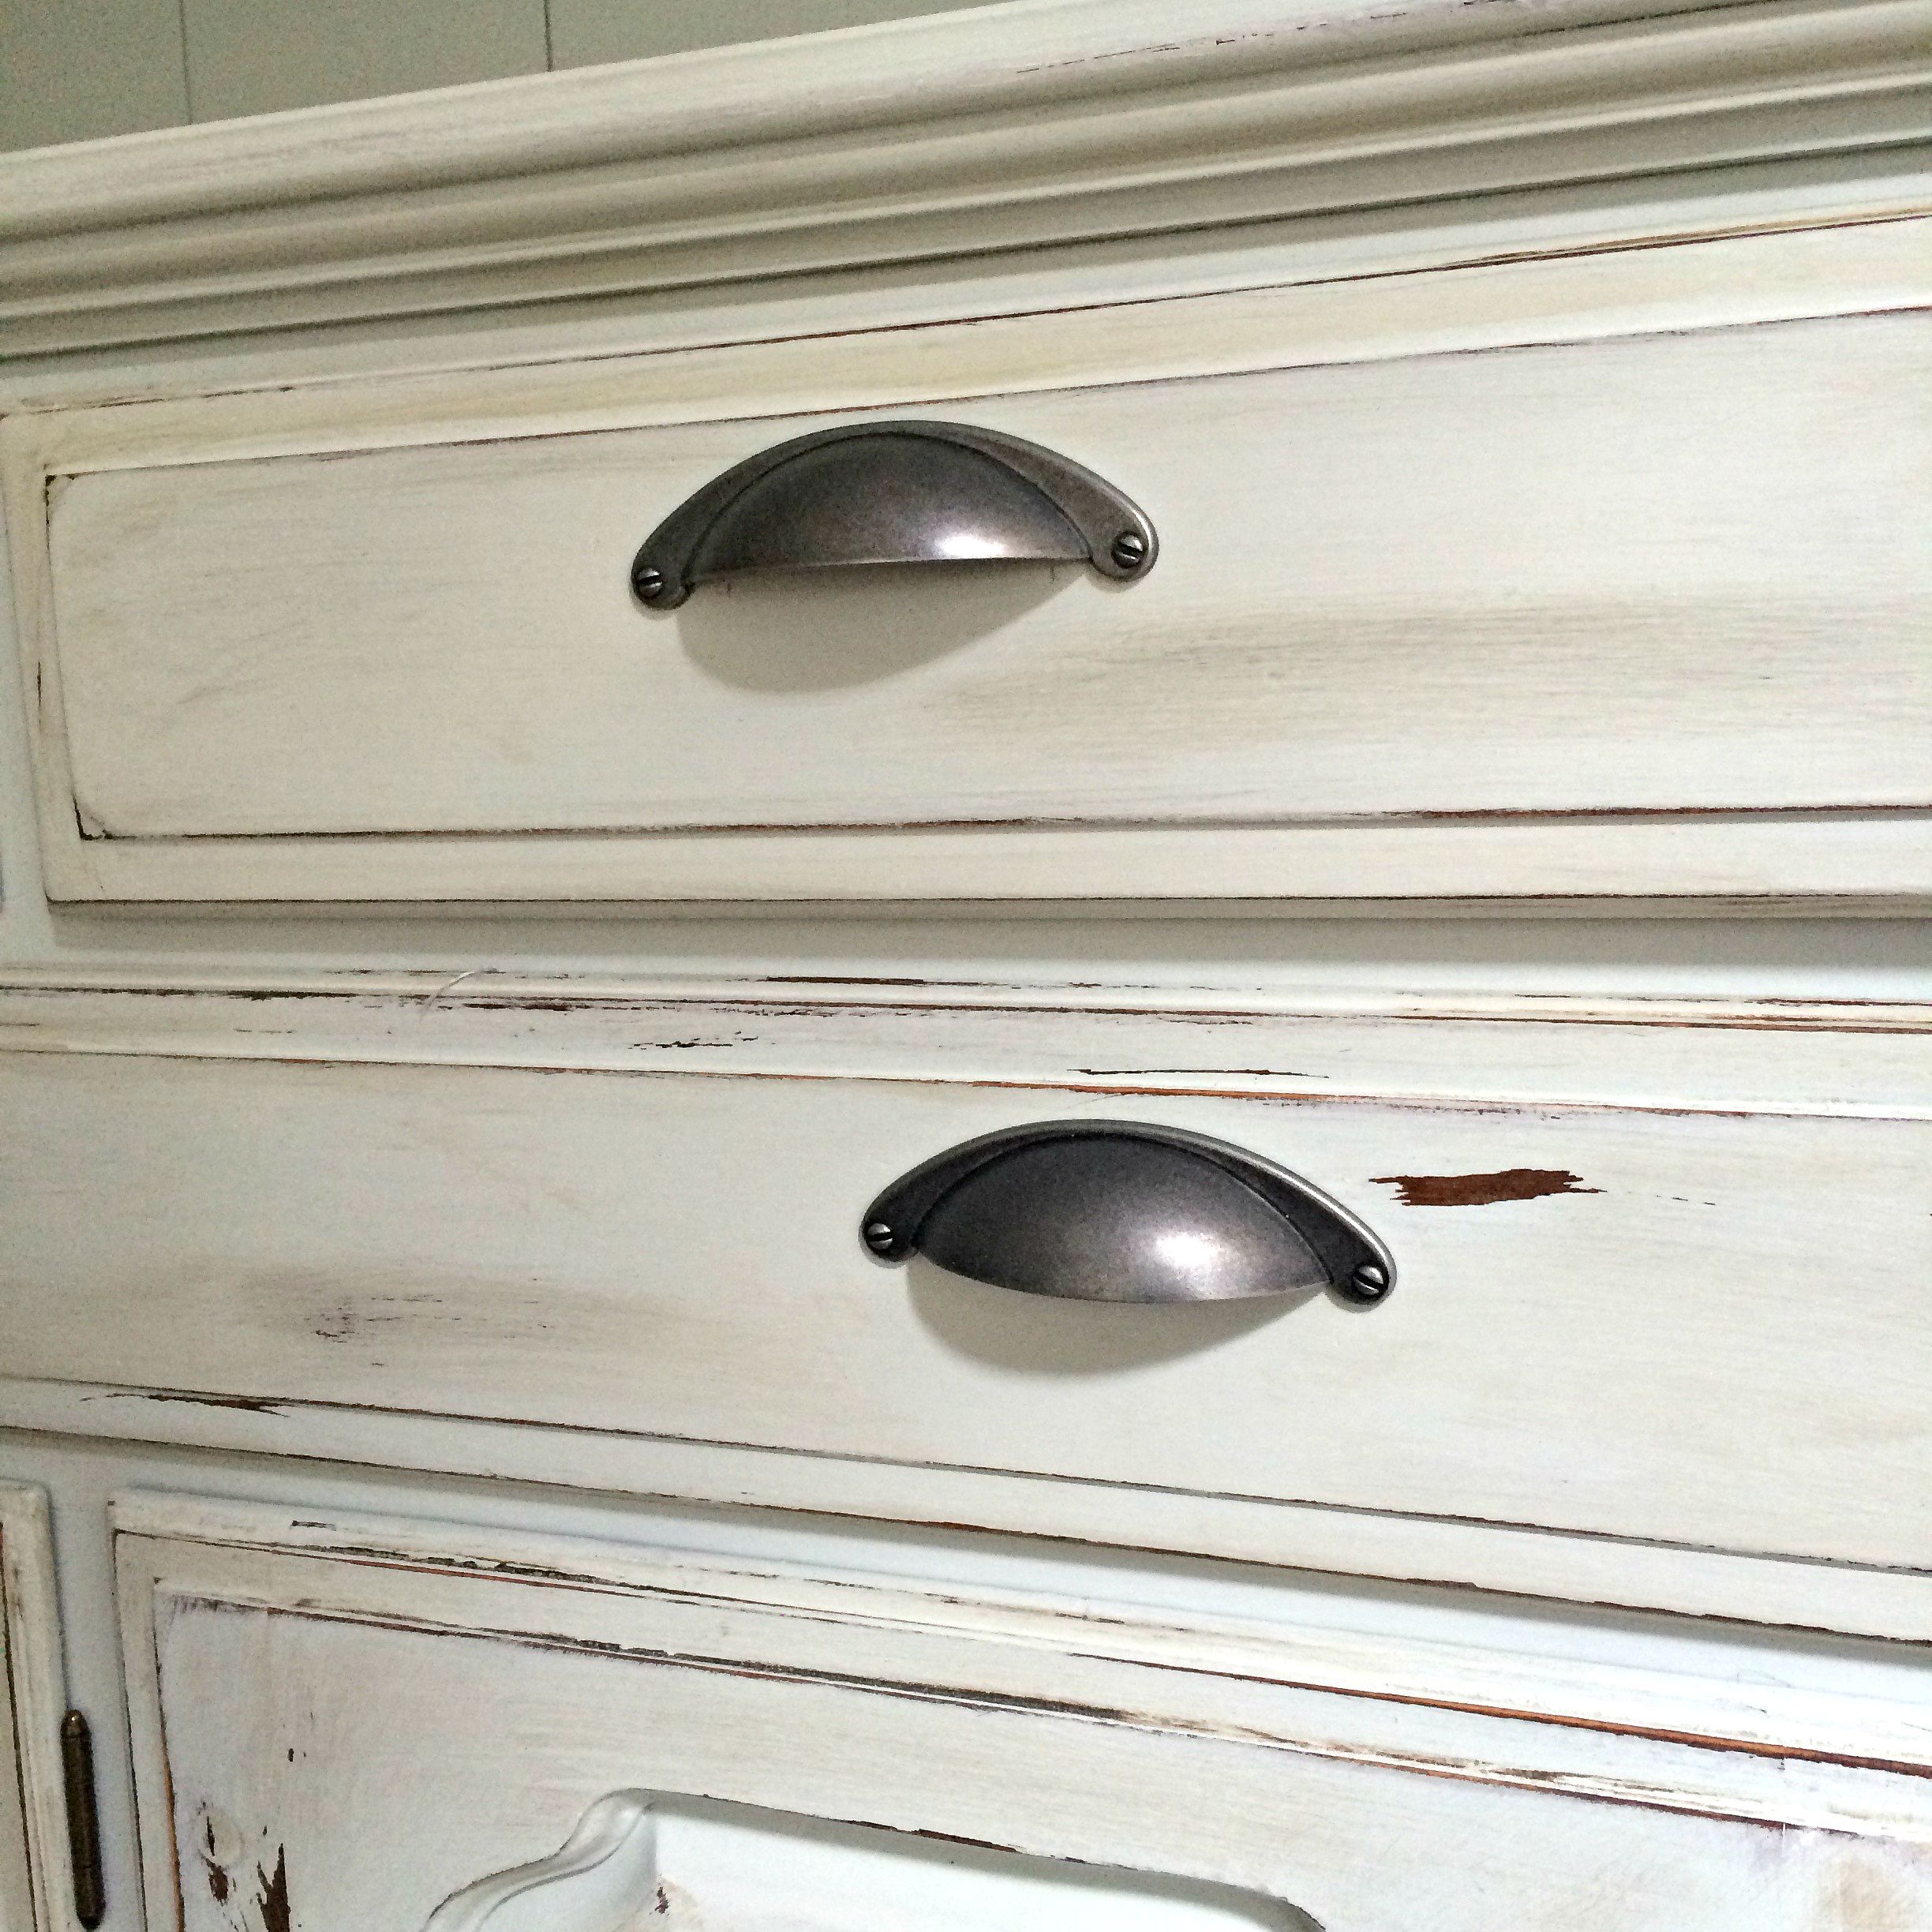
8) Step back and admire your handiwork!
Step back and look at what you’ve done. I felt like I had too much glaze, so I used some sandpaper to sand off a little of the glaze. There might be a few spots that aren’t 100% perfect, but overall, I have a feeling your newly painted hutch will be a great change in your space.
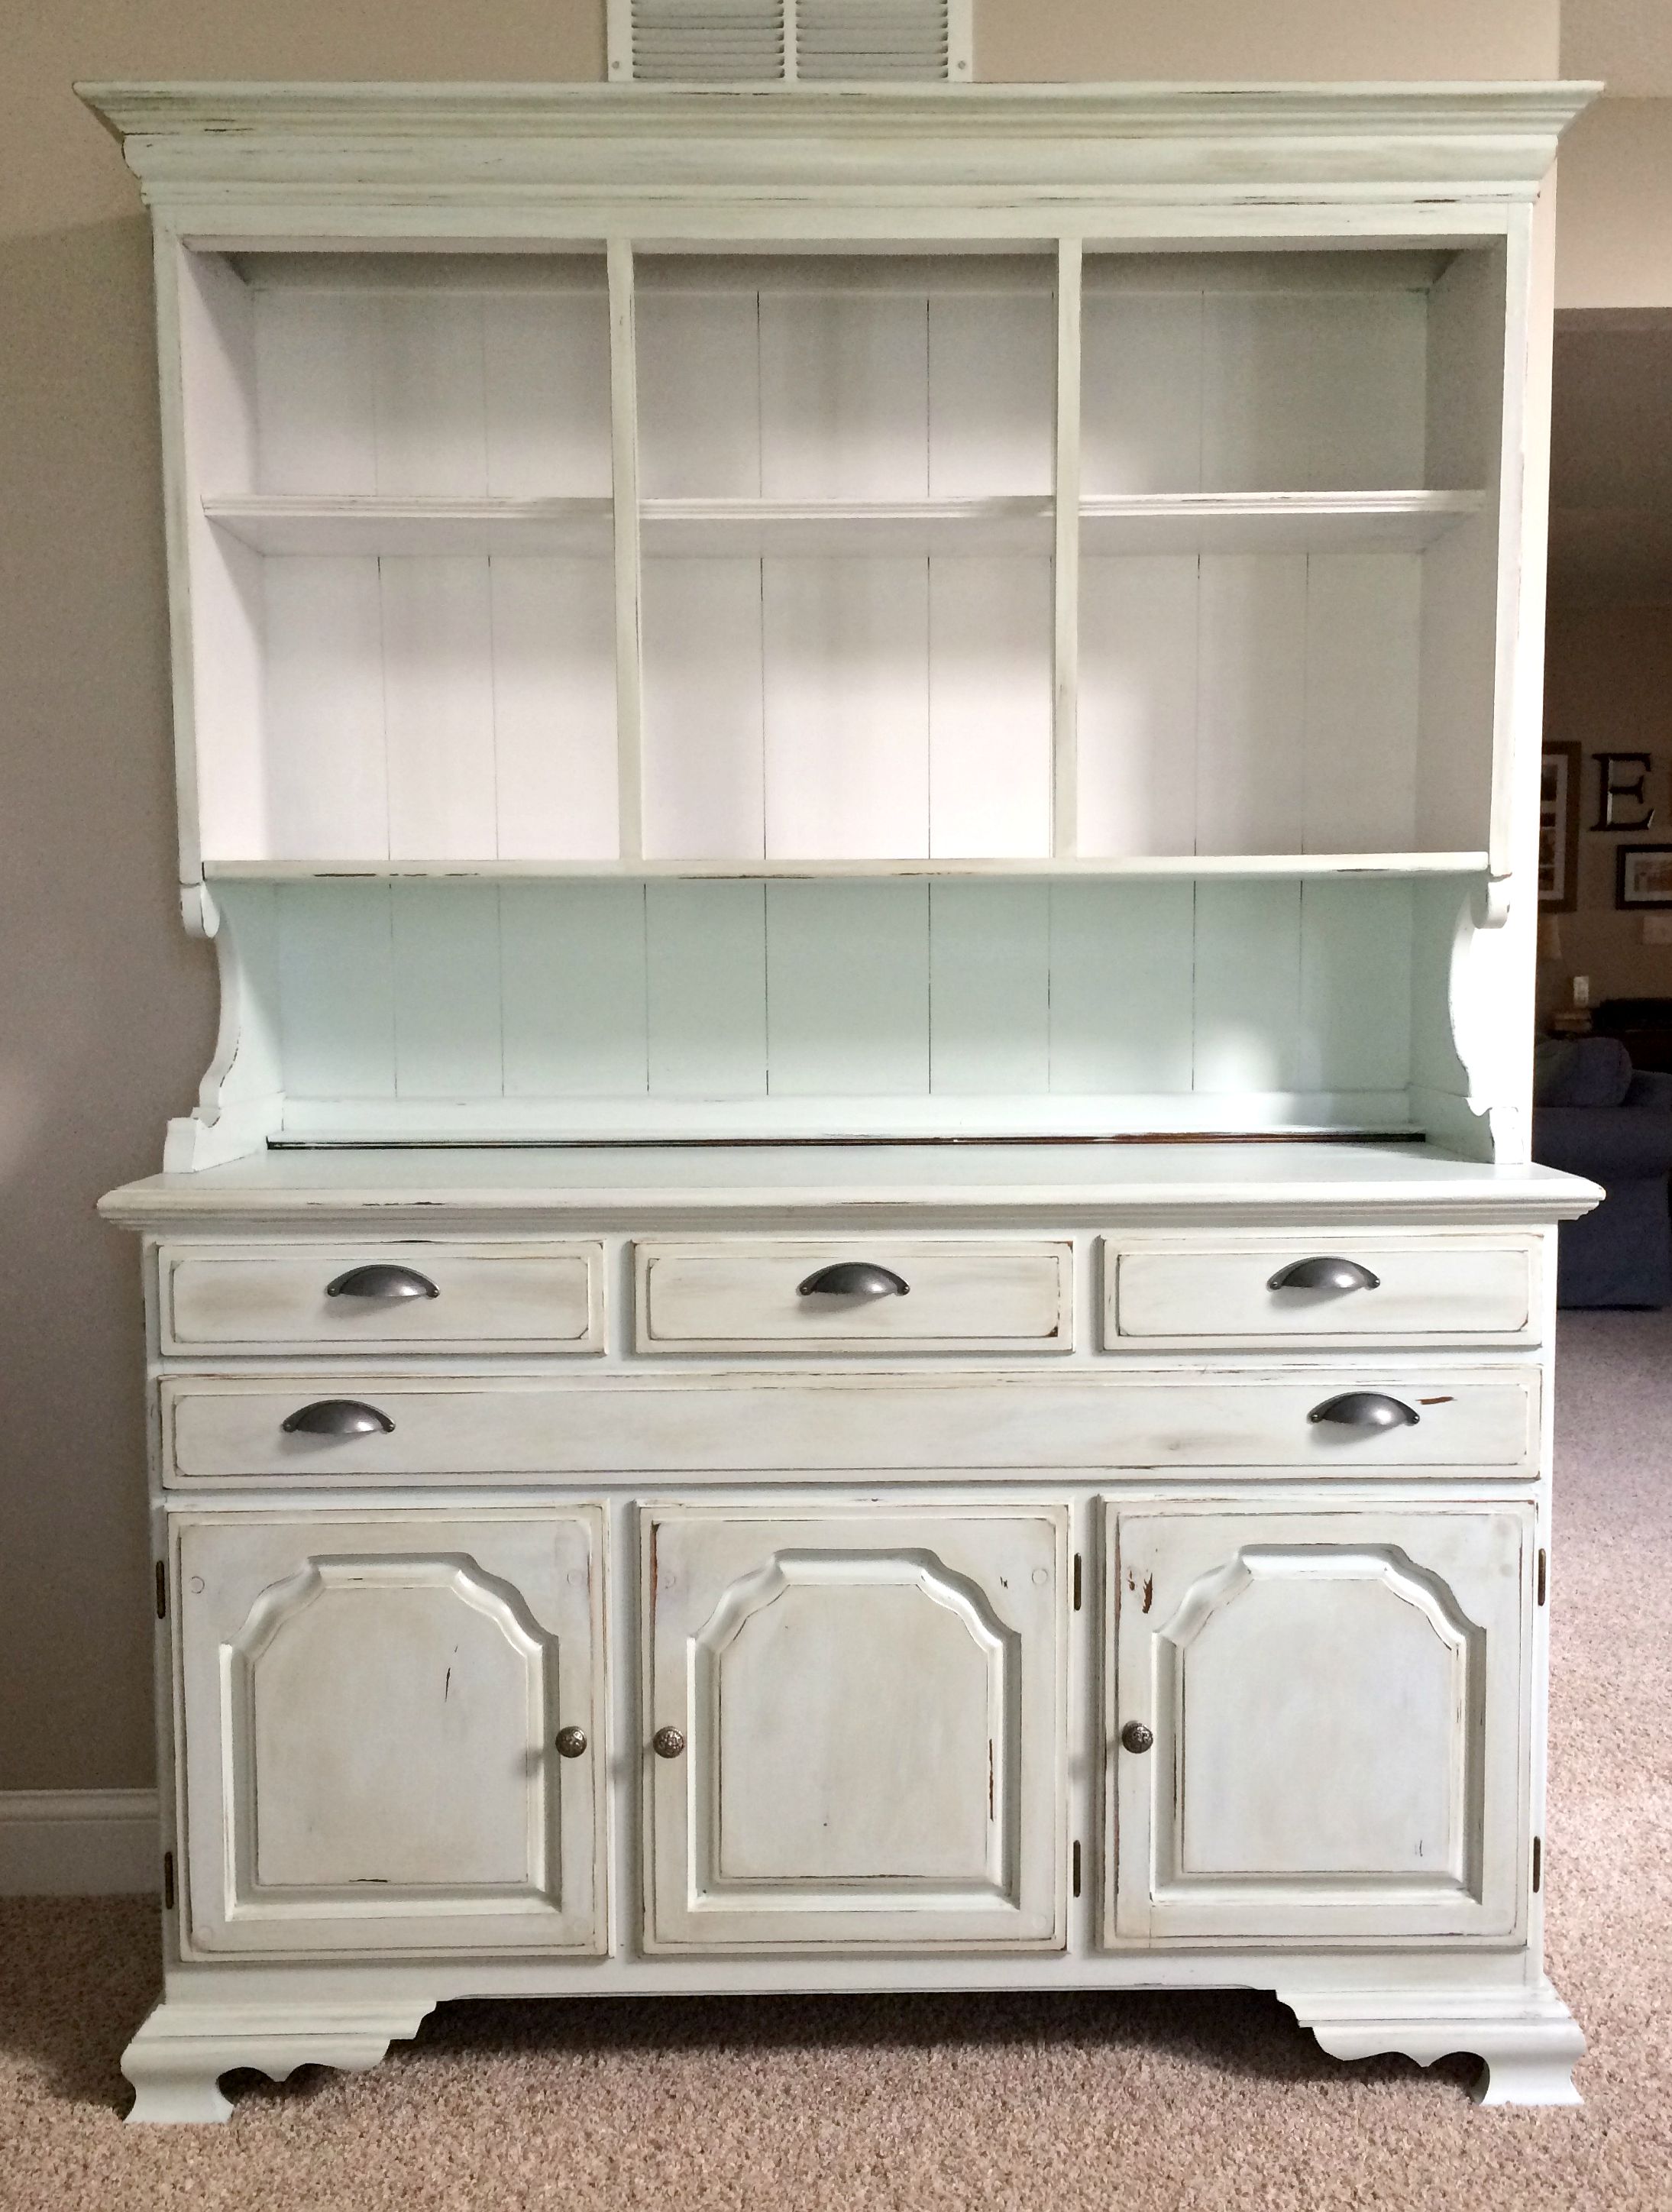
9) Style it with some fun knick-knacks!
I’m hoping to get some pretty white pitchers, bowls, and other things at thrift stores or on clearance over the next few months to fill this in an even crisper, brighter way, but for now, I “shopped my house” and found some knick-knacks that could use a new home for a while.
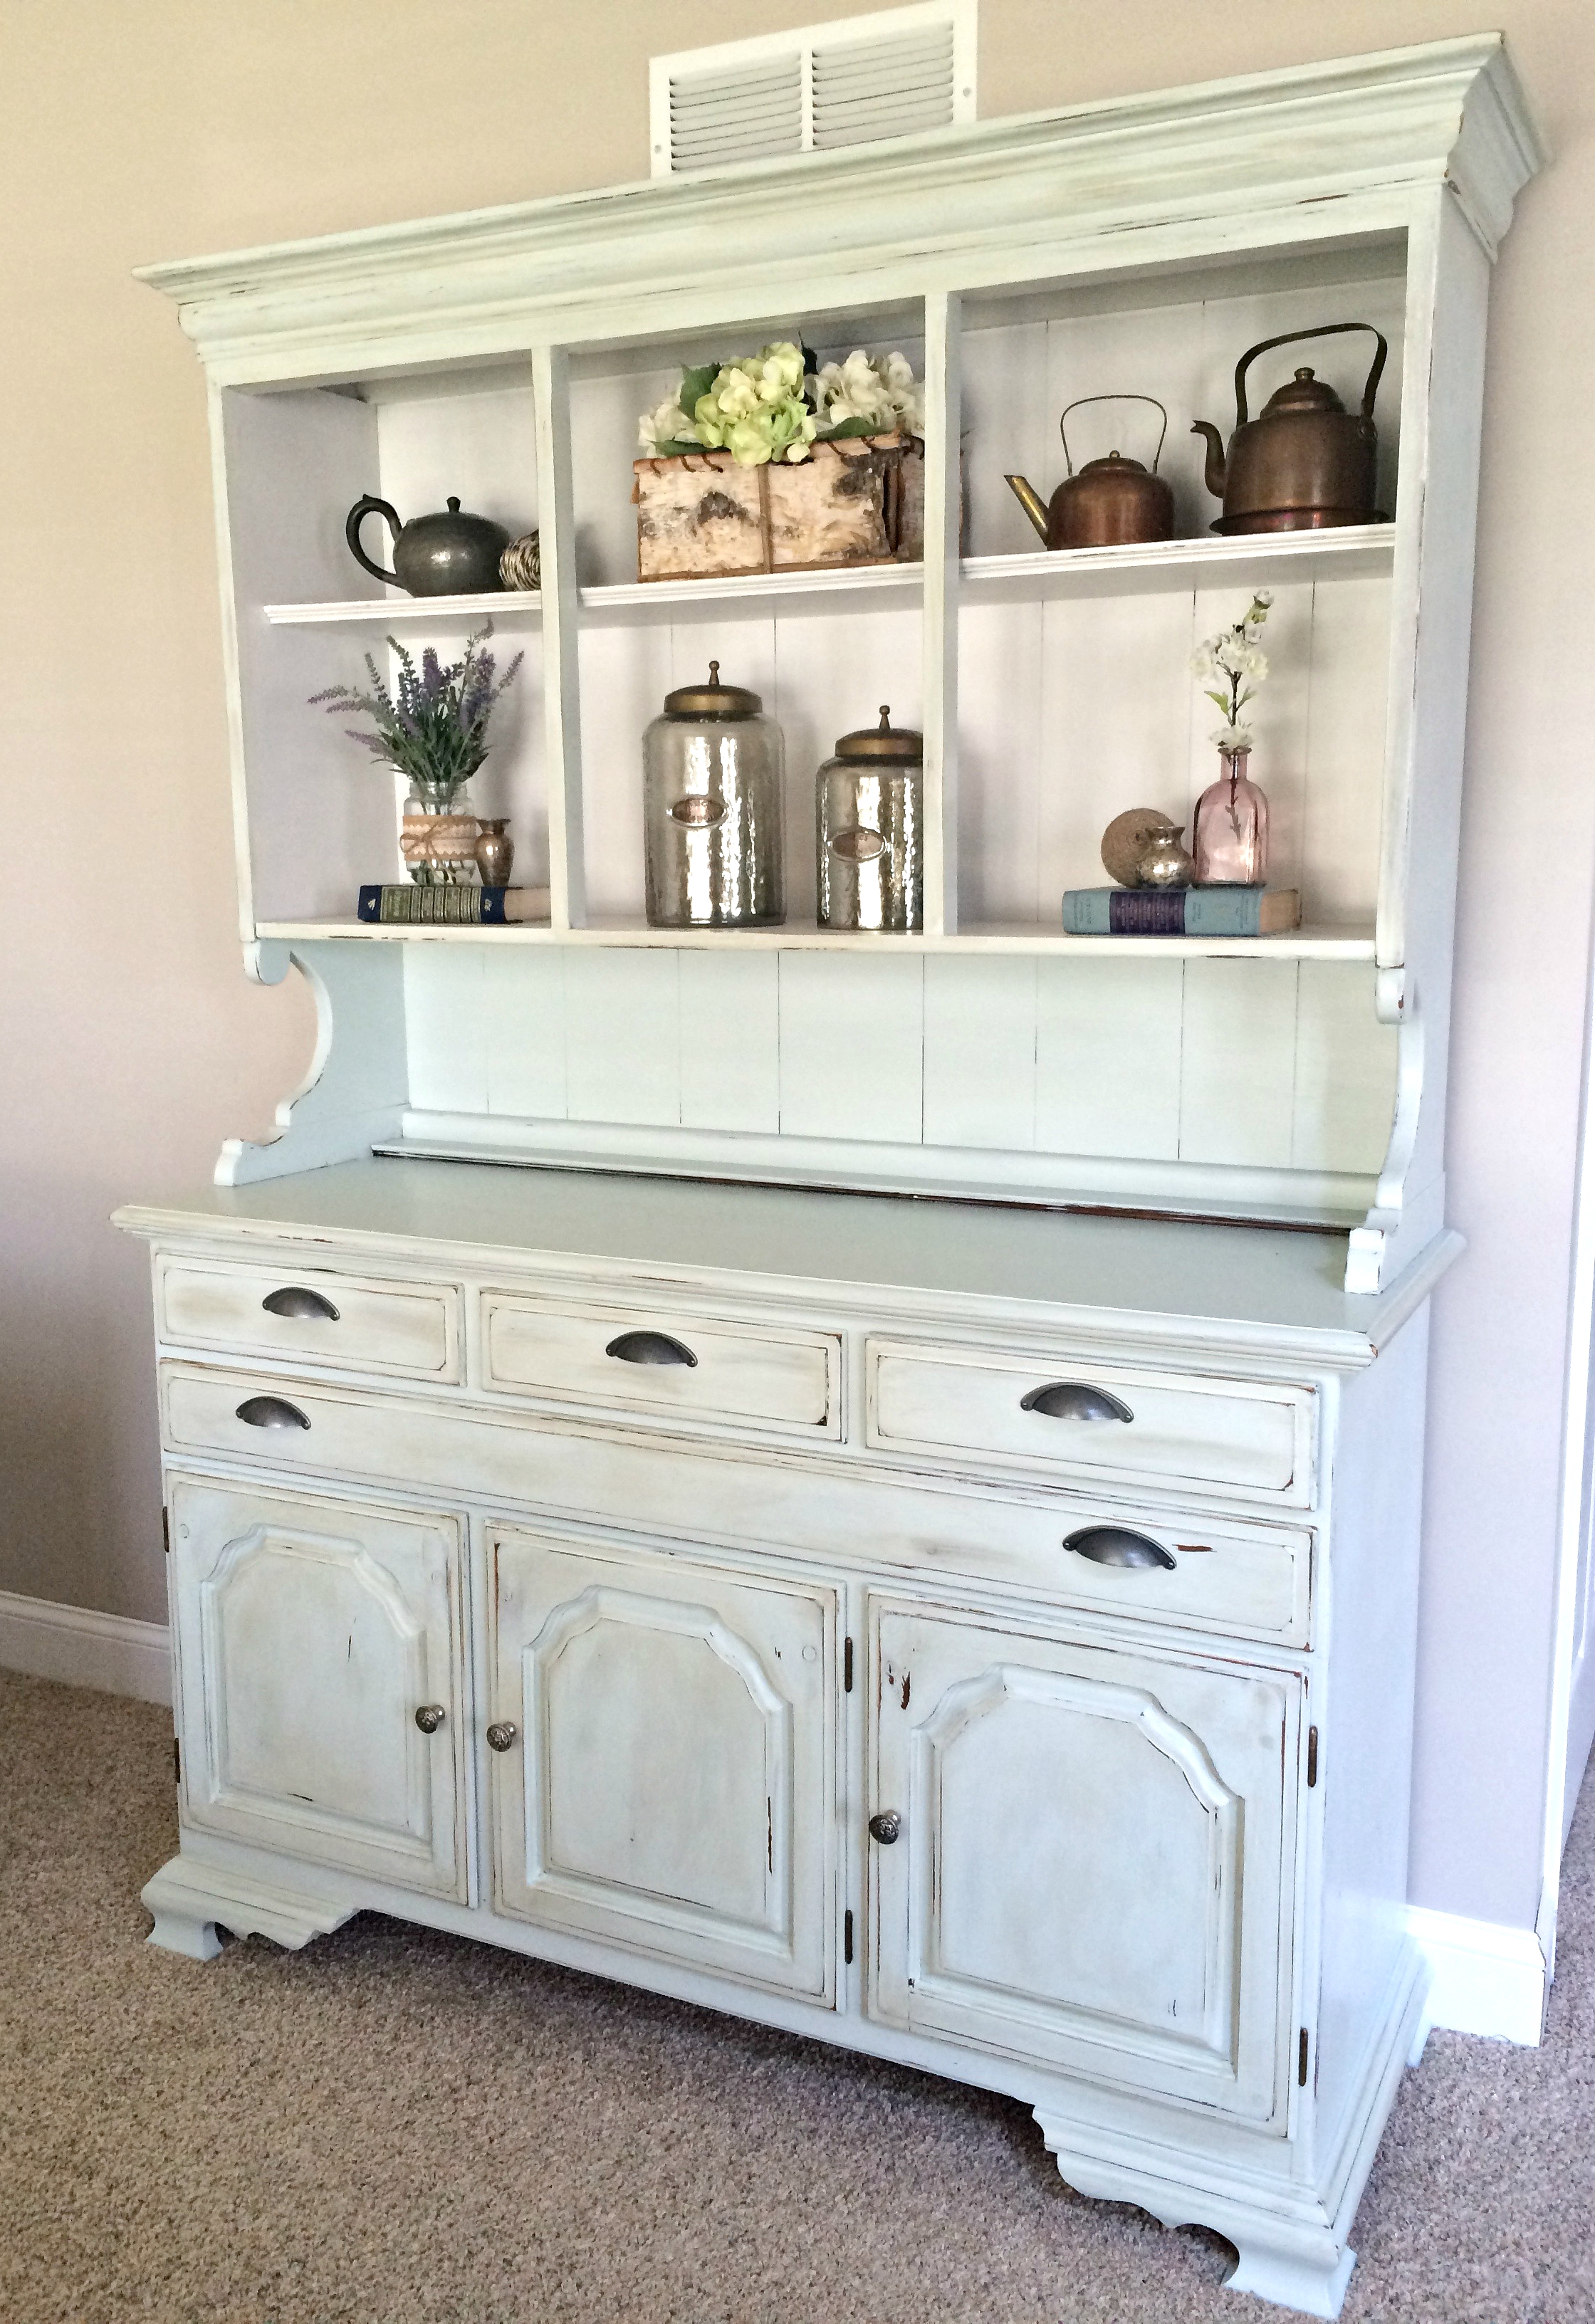

Like I mentioned earlier, I’m in the process of making over this whole front room, so I can’t wait to show you more pictures with the hutch in context. But trust me when I say it makes the whole room feel a million times brighter and it makes me happy every time I walk by it! I guess that makes it worth the hours and hours of effort!
What projects are you currently working on (or have been working on for a few months) that you need some motivation to finally finish?


I love antique furniture! You did a good job, it looks SO GOOD!
Emilie recently posted…Subscription Boxes: Don’t Waste Your Money
So beautiful! I’ve never tried this, but it had such an amazing effect…maybe I will!
Ashley recently posted…Seeing Small: Embracing the Ordinary Moments {#WholeMama}
You should, Ashley! It’s a lot of work but makes a huge difference.
Cool! Love that glaze and those pulls!
Linda Stoll recently posted…A New Home for Daddy & A New Home for Me
Thanks, Linda!
This hutch looks fab! It does take a lot of work though. I’ve been putting off a project myself. I just got inspired!
Thanks, Wendie! It definitely took a while but I’m glad I finally got motivated and did it!
I love this!! What a great color – and love the drawer handles!
Meg @ Green With Decor recently posted…An easy way to clean the bottom of the kitchen faucet
Thanks, Meg! I’m pretty excited about how it turned out! A lot of work, but definitely worth it.
awesome job! It came out really great!
Tianna recently posted…Endless Summer + LAST CHANCE to Shop the Nordstrom Sale!
Thanks, Tianna!
I love how it looks afterwards. it definitely does brighten the room, the brown was just too dark for the room.
liz @ sundays with sophie
Liz Joiner recently posted…own it
Thanks, Liz! I’m pretty happy with it 🙂
This turned out really well. I’m always amazed to see what crafty DIY people can do. I’m so inspired to paint a piece of furniture but I keep thinking I’ll totally mess it up lol.
Danielle recently posted…“Where Are the Forks?”…and Other Questions I Ask Daily
Thanks, Danielle! I have SO been there…it was a game changer for me when I read The Nester’s book and she said, “Why are we so worried about ruining something we didn’t even like in the first place?” I think you should take a risk and go for it. I bet it will turn out awesome!:)
LOVE THIS!!!!!!!!! It’s amazing!
Thanks, Shauna!
GORGEOUS!! Absolutely love this update!
LZ Cathcart@ The Summery Umbrella recently posted…How to Paint and Distress Metal Bar Stools
Thanks, LZ! 🙂 I’m pretty excited about how it turned out!
wonderful diy! I invite you to share at the Thursday Favorite Things blog hop. Hugs!
Katherines Corner recently posted…Thursday Favorite Things Blog Hop 201
Thanks, Katherine! I’ll have to go check it out 🙂
That is gorgeous!! I dream of completing crafts that well!
Thanks, Michelle! It was a lot of work but I love how it turned out!
The hutch turned out amazing.. I did something very similar to an old hutch of mine., its lots of work, but worth it, you hard work paid off. Thanks for sharing this on Dream Create and Inspire. We would love to be added to your party list as a link back! So appreciated! Maria
simple nature decor recently posted…QUILT INSPIRATION: GIVEAWAY
Thanks, Maria! I didn’t realize I hadn’t linked up to y’all in that list and will definitely go add it now. Thanks for letting me know and for letting me be a part of your linkup!
Lauren recently posted…Five On Friday: Some Favorites!
Beautiful hutch! I love the colors you chose. Great tutorial for those who don’t know how to distress and wax too 🙂 It would be a piece I would love to have in my home!
Brooke Riley~Re-fabbed recently posted…My First Fabric Painted Chair {A Learning Experience}
I have been putting off refinishing my hutch for months. I placed it in the garage in October to be my winter project which has now become my spring project. Thank you for your amazing blog which has helped me get some courage back to tackle my project!
I love the look of the finished hutch!! Good job!! I have a few pieces of furniture that I am going to be refinishing as well. I did an item a while ago and my concern is the brush strokes that are left behind. With the brush you mentioned using.. will this be an issue?
Afraid to start the project for fear of brush strokes showing!! Thanks Lauren
Wonderful and inspiring!! I love that you point out your mistakes or what you should have done differently. So honest and shows that you are human. That allows us to learn and grow from your mistakes!! I’m excited to start a project of my own!
Well thanks, Heather! You are so sweet. Good luck with your project! 🙂
Thanks, Heather. I’m all about using our mistakes to help us grow! Progress over perfection, right? Good luck on your projects!