Before I taught Spanish, I taught two years of English as a Second Language and loved every minute of it. I worked closely with a small group of students from all around the world and they made my world a million times brighter. They made me laugh every day, like when my wonderful Nigerian student Rasheed asked me what “nipple” means because he’d heard it in the hallway. Try explaining that one without pictures or gestures! My ESL students taught me how to make a delicious pozolé (a Mexican soup), how to be resilient in the midst of incredibly hard circumstances, and how to see the world around me with curious eyes. One of those students, a sweet girl from rural Mexico named Lucía, also taught me a more practical skill: how to make Mexican tissue paper flowers the way her mamá in Mexico had taught her.
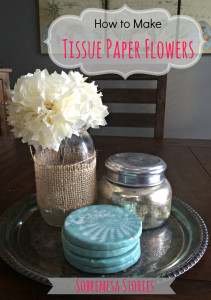
These tissue paper flowers are a traditional decoration at Mexican celebrations of all sorts, and Lucía and I made bunches of them that day while other students finished their standardized testing. Since then, I have made about a thousand of these for our house, for baby showers or other parties, or to celebrate Cinco de Mayo with all my students. These are beautiful in a vase, strung on a string like a garland, or tied together to make big puffy decorations for parties or bridal/baby showers!
The process below is what I’ve refined after teaching a couple hundred unruly middle schoolers how to make these. I will say it is an art form, not a science, so feel free to play around with these until you find a style that works for you! All you need is tissue paper, scissors, and some sort of wire/pipe cleaner to tie the middle and you’ll be good to go.
The Process
Step 1: Cut Your rectangles
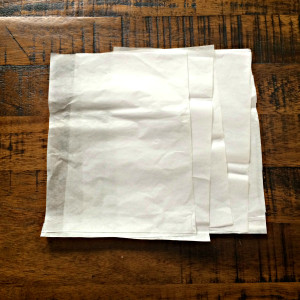
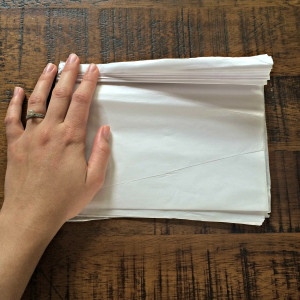
Cut the tissue paper into rectangles of the same size and lay them on top of each other.. I typically use 6-8 rectangles of tissue paper per flower. The size you choose depends on how big you want the flower to be, but I usually recommend starting with smaller rectangles first since these are less likely to fall apart (I promise…I have seen this happen a million times with my students). A general rule is the bigger the rectangles, the more sheets of tissue paper you need to make the flower fluffy and pretty! A good rule of thumb is to use around as many sheets of tissue paper as the measurements of the rectangles you’re cutting (If your rectangles are 6×8 inches, use 6-8 sheets of tissue paper).
Step 2: Fold
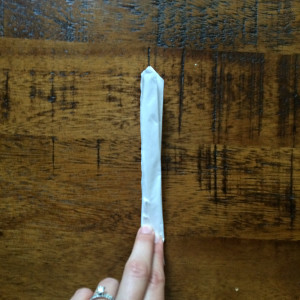
Start folding the rectangles together accordion/fan/back and forth style (like the old fans we used to make in elementary school). Make sure to make these folds small and very tight. This part is what forms the texture of the petals, so small folds (about 3/4 inch) are key.
Step 3: Cut your petals
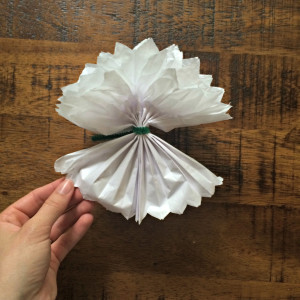
This step plays a huge role in determining what your flower will look like. Trim the rectangular edges to have a triangular, round, inverted triangle, or other shape. I usually use a triangle shape like in the picture above and like the look of that the best. You could also use rounded edges or experiment with other shapes.
Step 4: Tie the center with a pipe cleaner
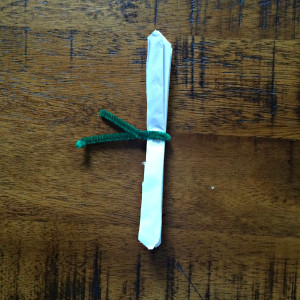
Once you have your tissue paper folded accordion style, take the pipe cleaner and wrap it around the middle to tie it. Tie it just tight enough to cinch the paper a little bit, but not enough to rip the paper. I like to leave 2-3 inches of pipe cleaner to attach the flower to a garland or whatever I’m using as a stem.
Step 5: Spread out the paper like a fan
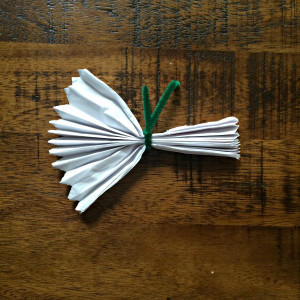
Step 6: Separate the layers of Paper
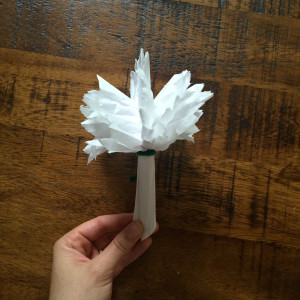
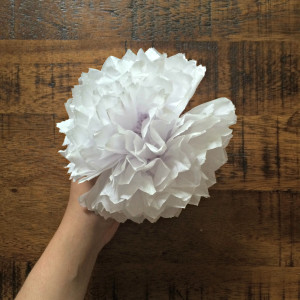
Now comes the part that requires the most creativity and just plain messing around. Spread the tissue paper out like a fan so you can see the folds. Slowly and gently start pulling at the layers of tissue paper, starting to spread them and fluff them so there is a little space between each layer. Do this to both sides of the flower. I can’t say it enough: this is an art form, not a science. I am such a perfectionist, and this step is challenging for me sometimes. Just keep pulling at the tissue paper to separate the sheets and fluff it up until you get a look you like. You can cut any unruly petals that look funky or even staple parts together if you need to. Do whatever it takes to make it work!
Step 7: Show it off!
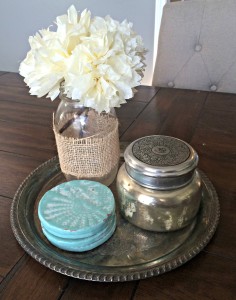
You did it! This next step is up to you. You can use the pipe cleaners to attach the flower to a string or wire for a garland or to hang from the ceiling (if you’re making bigger ones), attach it to a stem of some sort (I’ve grabbed old sticks from our backyard and tied these flowers to them), or just set them on a table as part of a tablescape of some sort.
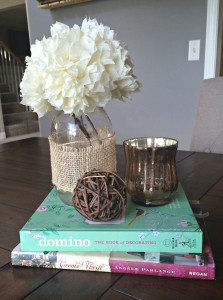
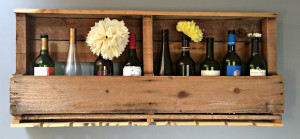
These tissue paper flowers are cheap, easy, and so beautiful. And if you mess ’em up…just grab more tissue paper and keep trying. It can take a while to get the hang of it, but once you’ve got it, you’ll probably be like me and want to fill your whole house with them. Like this picture below, where we had so many of these that my husband started sticking them in wine bottles (and they’ve been there ever since). Gotta love it.
Happy creating!
I’m linking up to Just a Girl And Her Blog, Life on Virginia Street, Miss Mustard Seed, Remodelaholics Anonymous, Cedar Hill Farmhouse, Cupcakes and Crinoline, Home Stories A to Z, Sand and Sisal, Kleinworth & Co, Coastal Charm,Between Naps On The Porch,, A Fresh Start On A Budget, Mad In Crafts, New Nostalgia, Funky Polka Dot Giraffe, Mabey She Made It, Ladybug Blessings, Hope Studios, Posed Perfection, Live Laugh Rowe, Common Ground, Bloom Designs, Chic By Tab, Dwellings Amaze Me Monday, Sugar Bee Crafts, The Charm of Home, and Live Randomly Simple. Check out those blogs for more great crafts, recipes, and DIY projects!


I love these! They turned out amazing and you styled them so great! Thanks for sharing!
Marie recently posted…DIY Wooden Baseball Bat Guest Book
Thanks, Marie! They’re such a fun and easy craft and I’m glad you like them!
Such an easy decor idea!!! Love it. Please come share this at my party, http://chicbytab.blogspot.ca/2015/06/chic-by-you-wednesday-linky-party-10.html. Hope to see you there.
Tabatha
Tabatha@ChicByTab recently posted…Chic By You Wednesday Linky Party #10
Thanks, Tabatha! I’ll have to go check it out! 🙂
Your flowers are so pretty. They remind me of the peonies that so many people have blooming in their flower beds right now.
Thanks, Stacey! That’s kind of what I was going for, especially since peonies are expensive to buy and hard to grow for a novice gardener like me. Thanks for stopping by!
Thank you for this, Lauren! I made a huge batch of this for my daughter’s first birthday a few months ago, and it took me forever (I was a perfectionist when it comes to making them look just right as well). Your tip about making smaller squares and how many sheets to use vs the size of them is a genius! I never thought of that, but will now be keeping it in mind for the future. Glad I found you on Totally Terrific Tues. blog hop! Lovely of you to share such a great tutorial!
Maria recently posted…16 Things I Can’t Wait to do with My Daughter {A Mother-Daughter Bucket List}