After heading to Mexico last week, Jordan and I flew to California for my younger brother’s wedding. My brother and his fiancee met in middle school and got married on their seven-year anniversary. How awesome is that? It’s one of my favorite things in the world to tell that story to my middle-schoolers and then remind them that they could be sitting next to their future spouse. Gets ’em every time.
Anyway, when we arrived, my understandably overwhelmed mama asked me to take on decorating for the rehearsal dinner. They were doing a more casual dinner at a local park and wanted a few things to dress up the park shelter and make it a bit cuter. I spent an hour wandering through Hobby Lobby (one of my favorite pastimes and my husband’s least favorite pastimes) and threw anything burlap, gingham, and lace into the cart that I could. And y’all, it all turned out so cute!
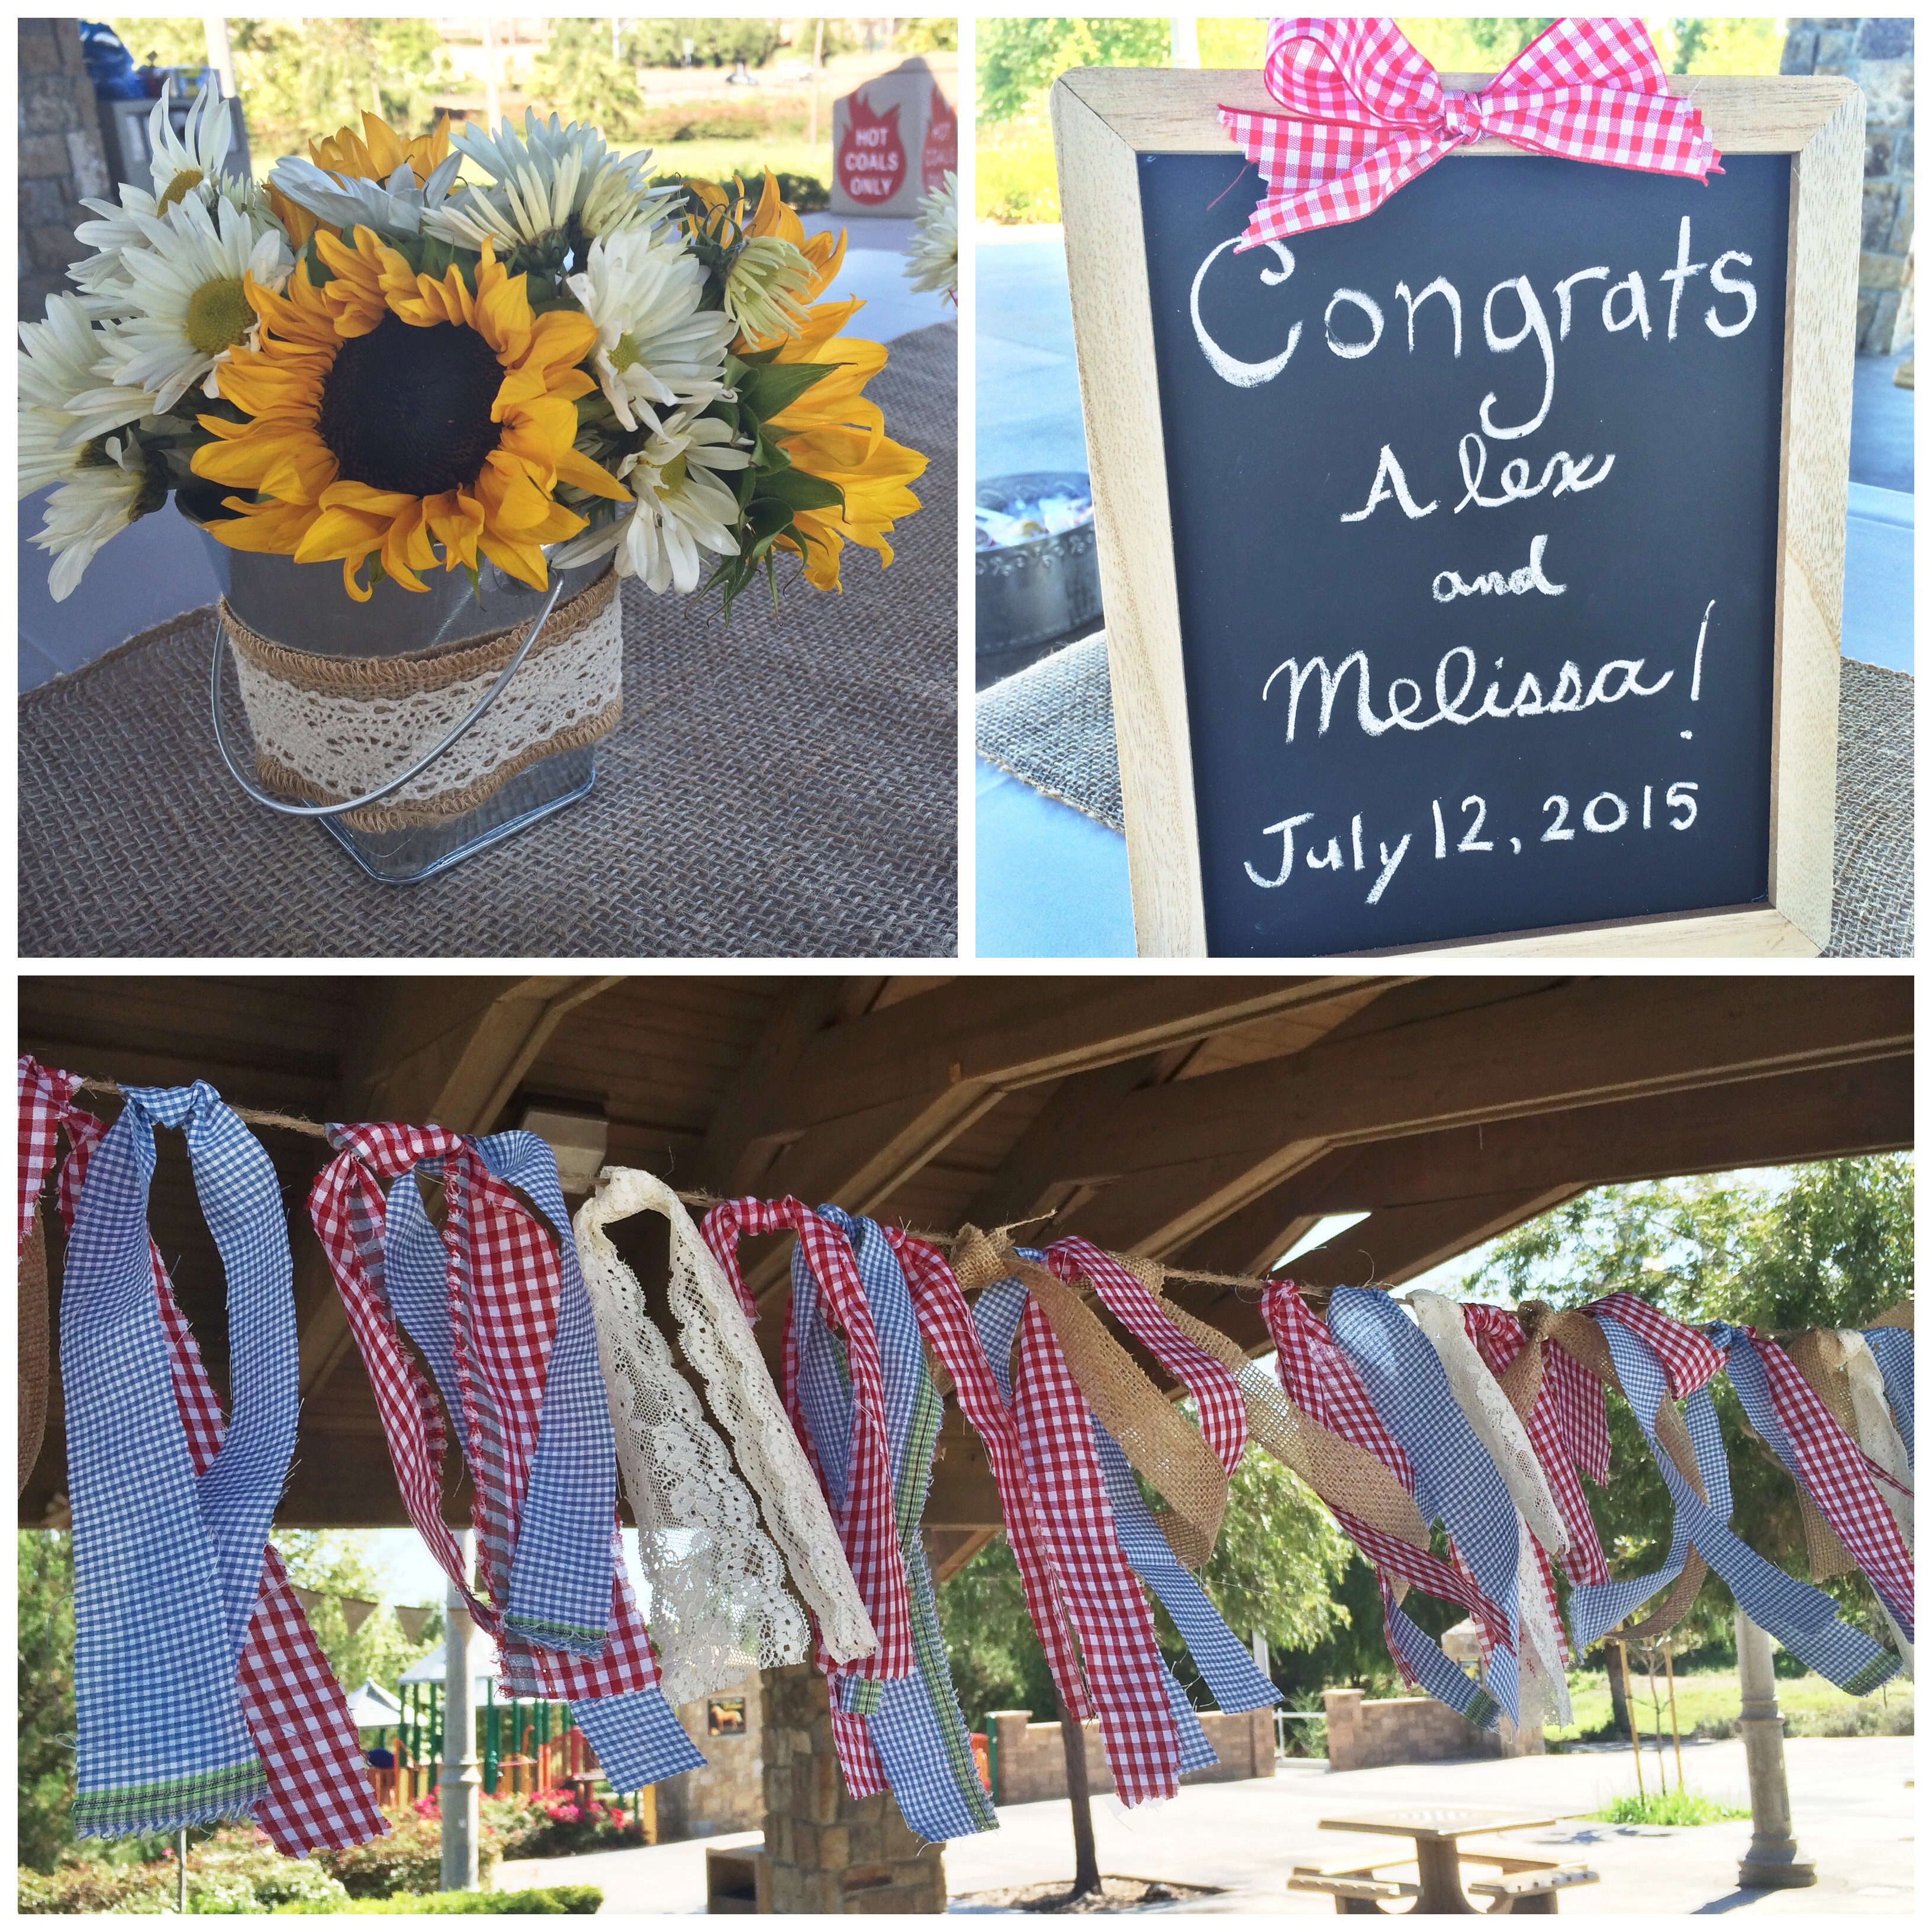
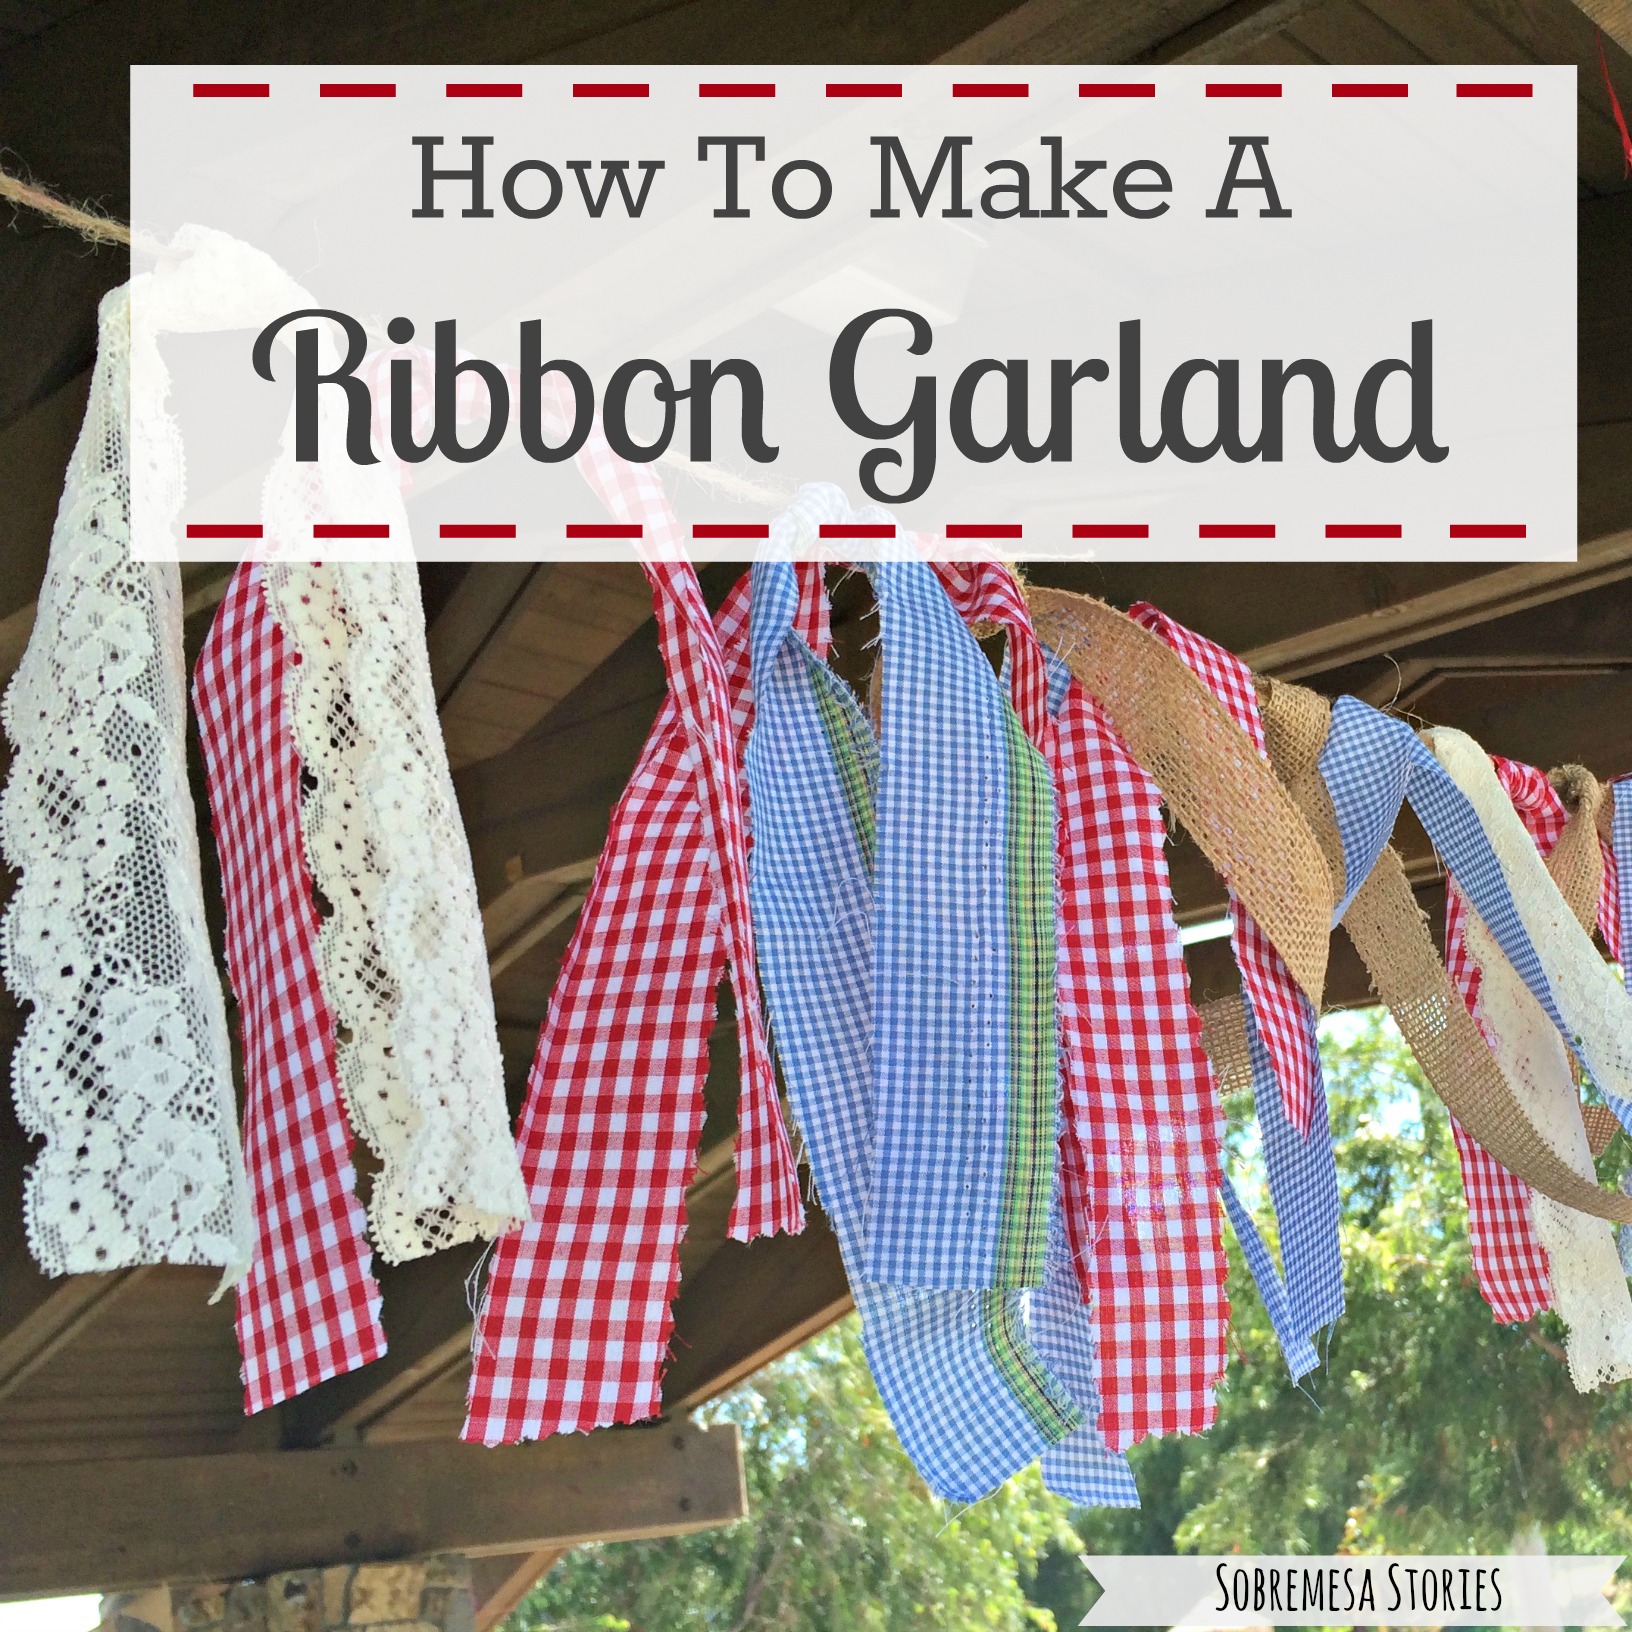
I’m not always super confident when it comes to parties and decorating, but I loved how this turned out. My favorite decoration was a ribbon garland made up of a few yards of fabric and rolls of ribbon, and the project took about 1.5 hours and $20 bucks to create! I’m pretty sure I now want to make one of these for every room in our house and every party we ever throw because they are so easy but turn out so cute. The steps below are what I did to make a picnic themed garland, but I am excited to mix things up and do this with pretty fabrics for baby showers, bridal showers, or other parties in the future!
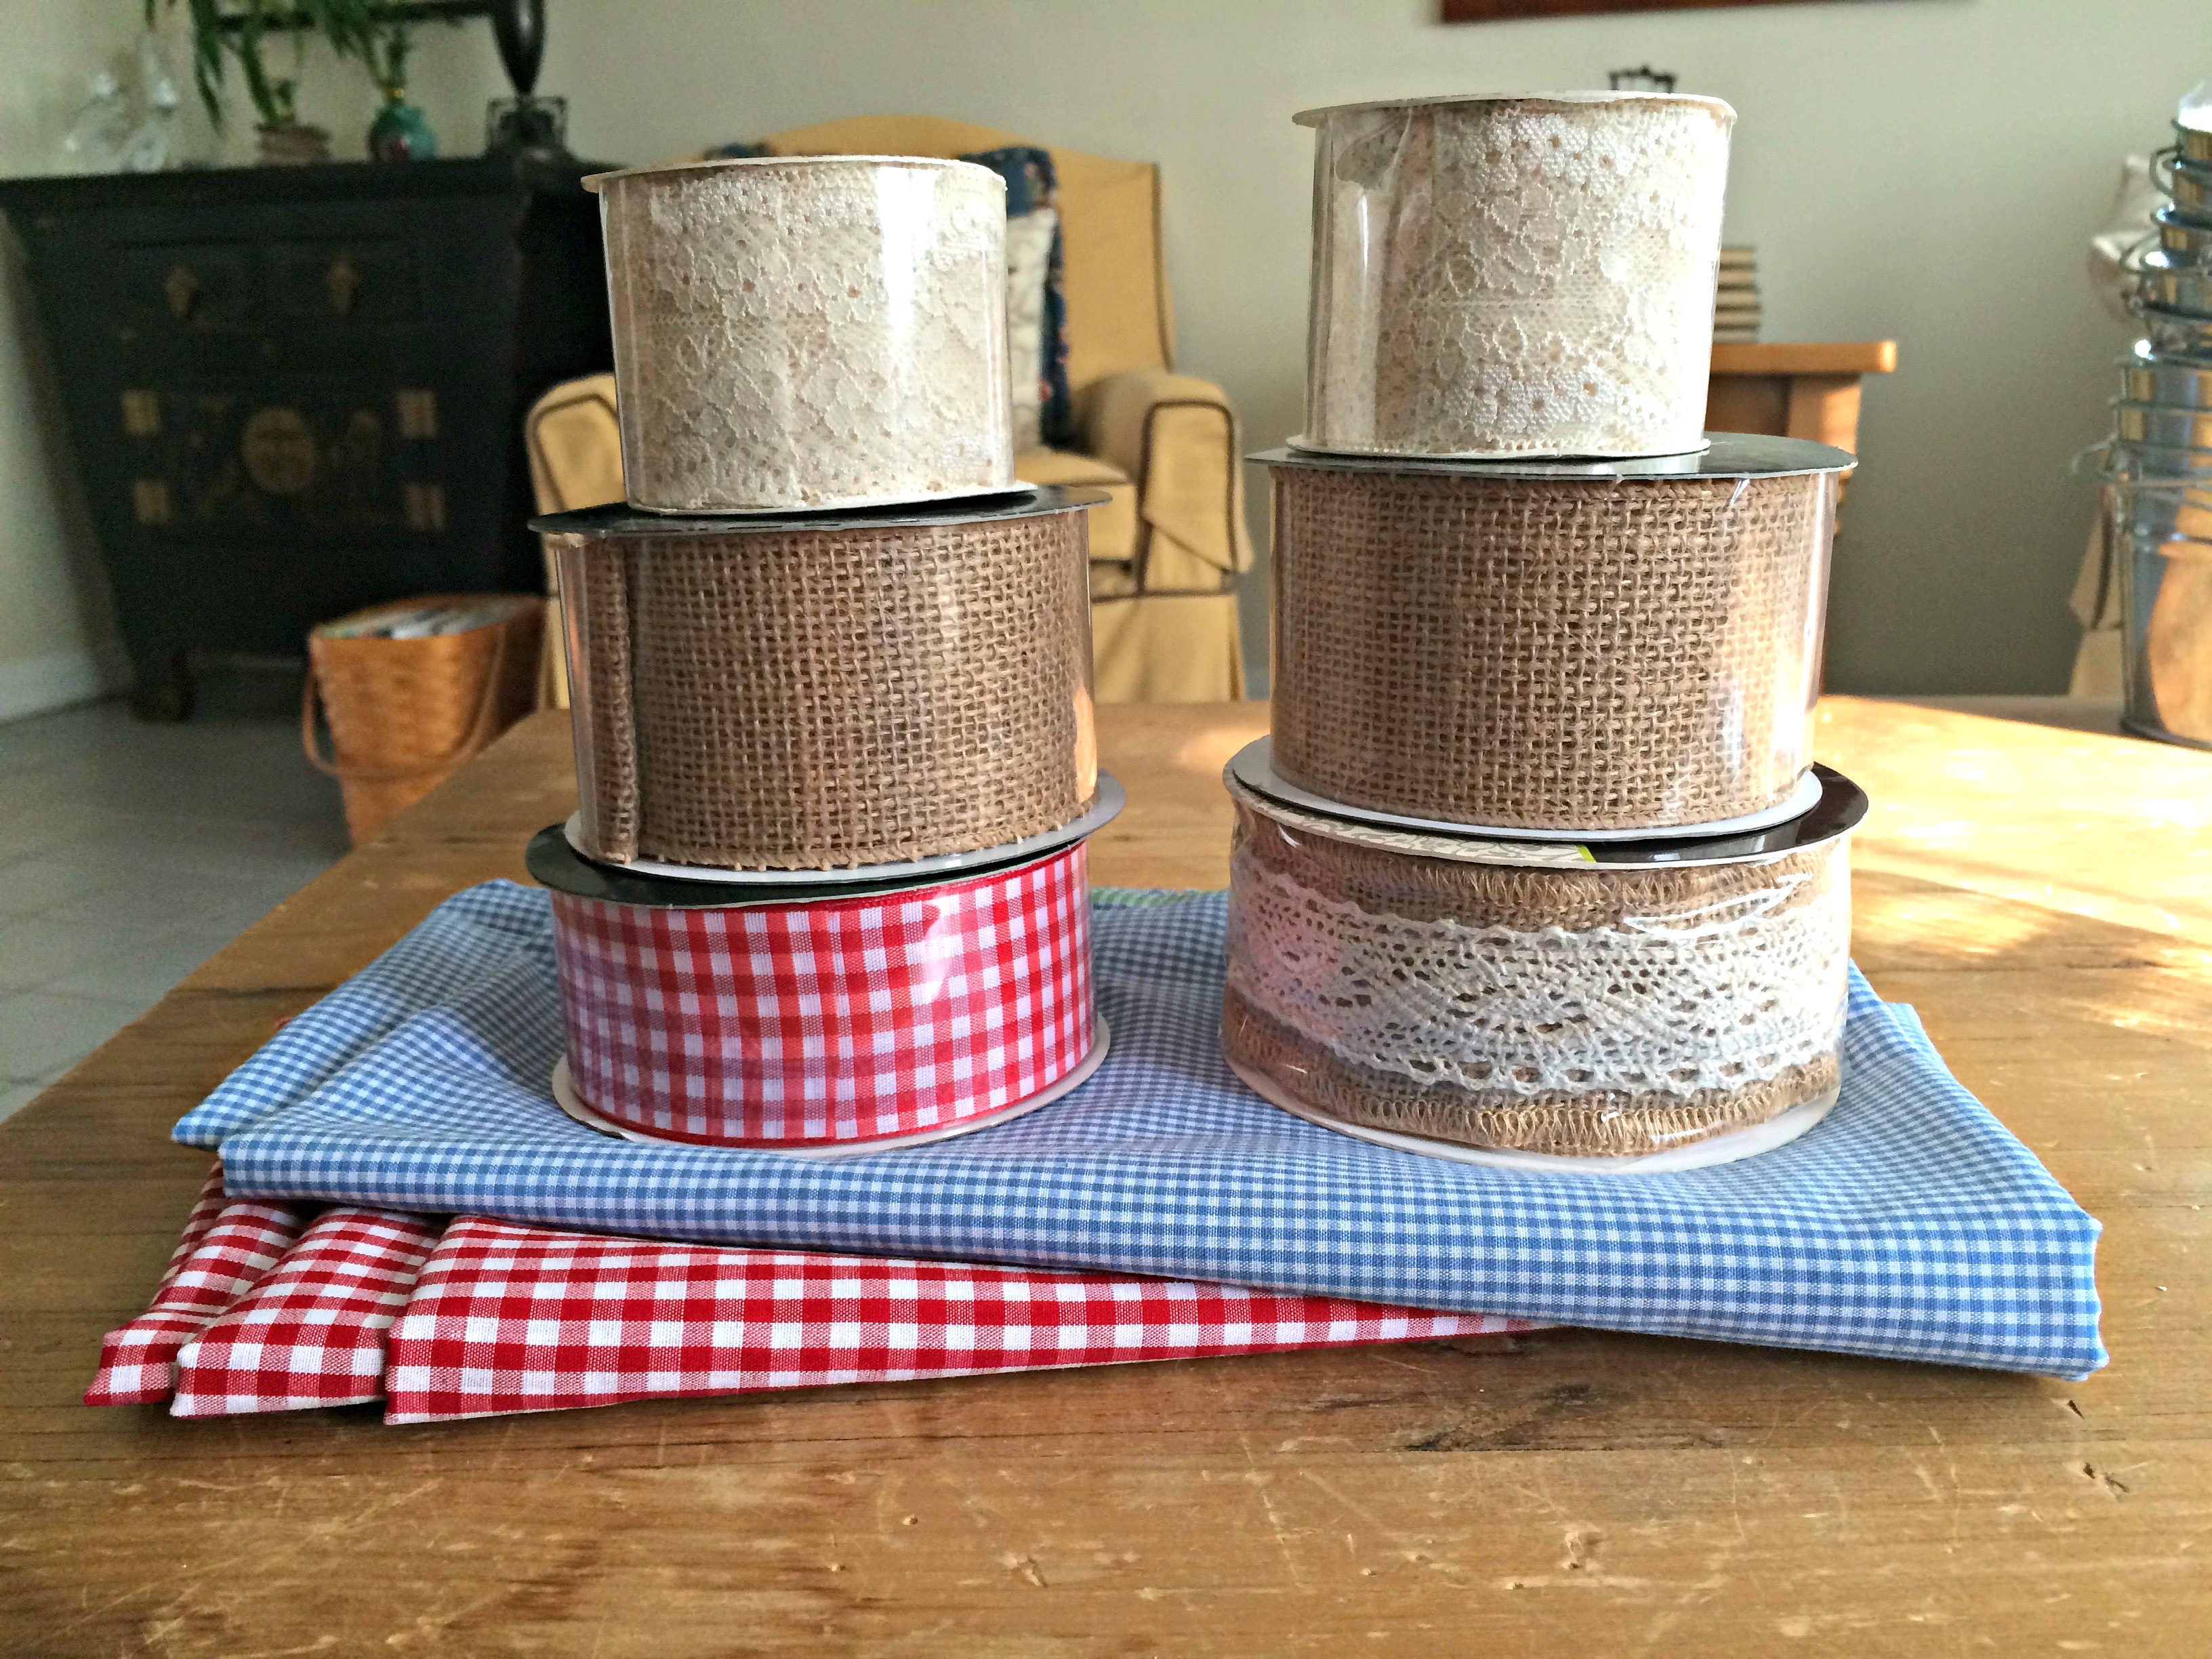
1) Choose Your Materials
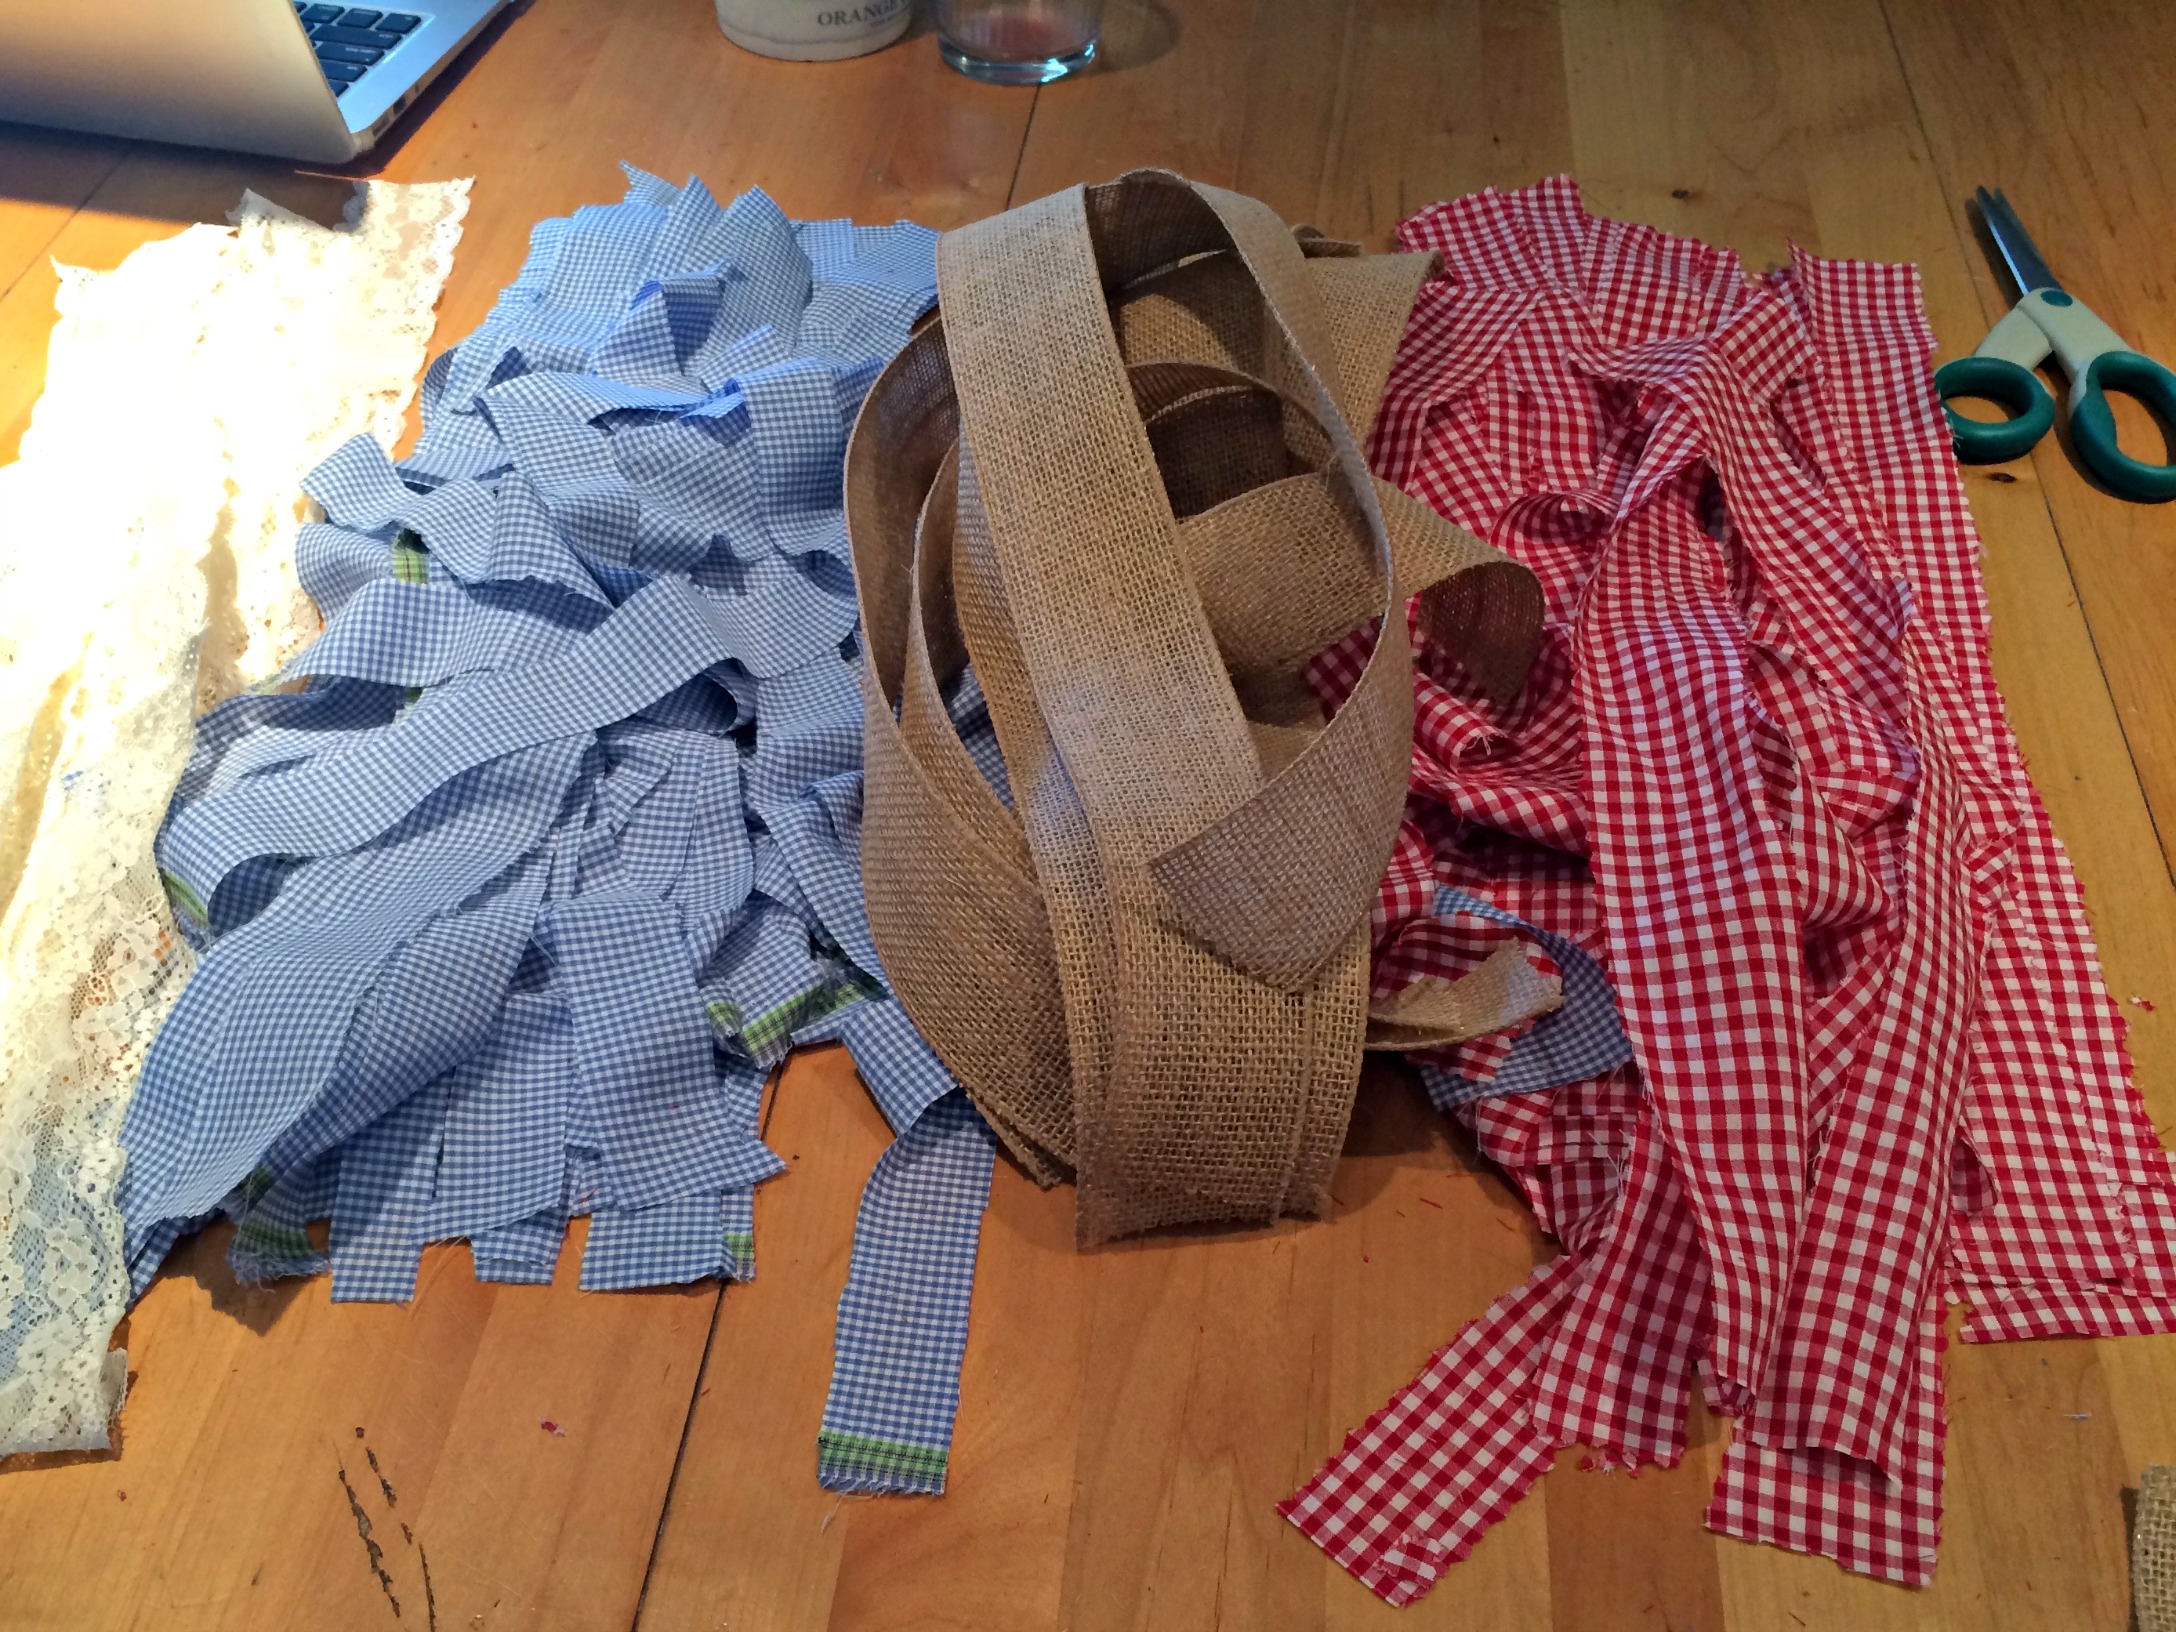
You can choose as many colors and patterns as you like, but I would recommend including 1-2 neutrals like burlap and lace as well to give it some texture. To make a ribbon garland that was about 15-20 feet long, I used 4 rolls of ribbon and two yards of fabric (plus some jute rope from the dollar section at Target).
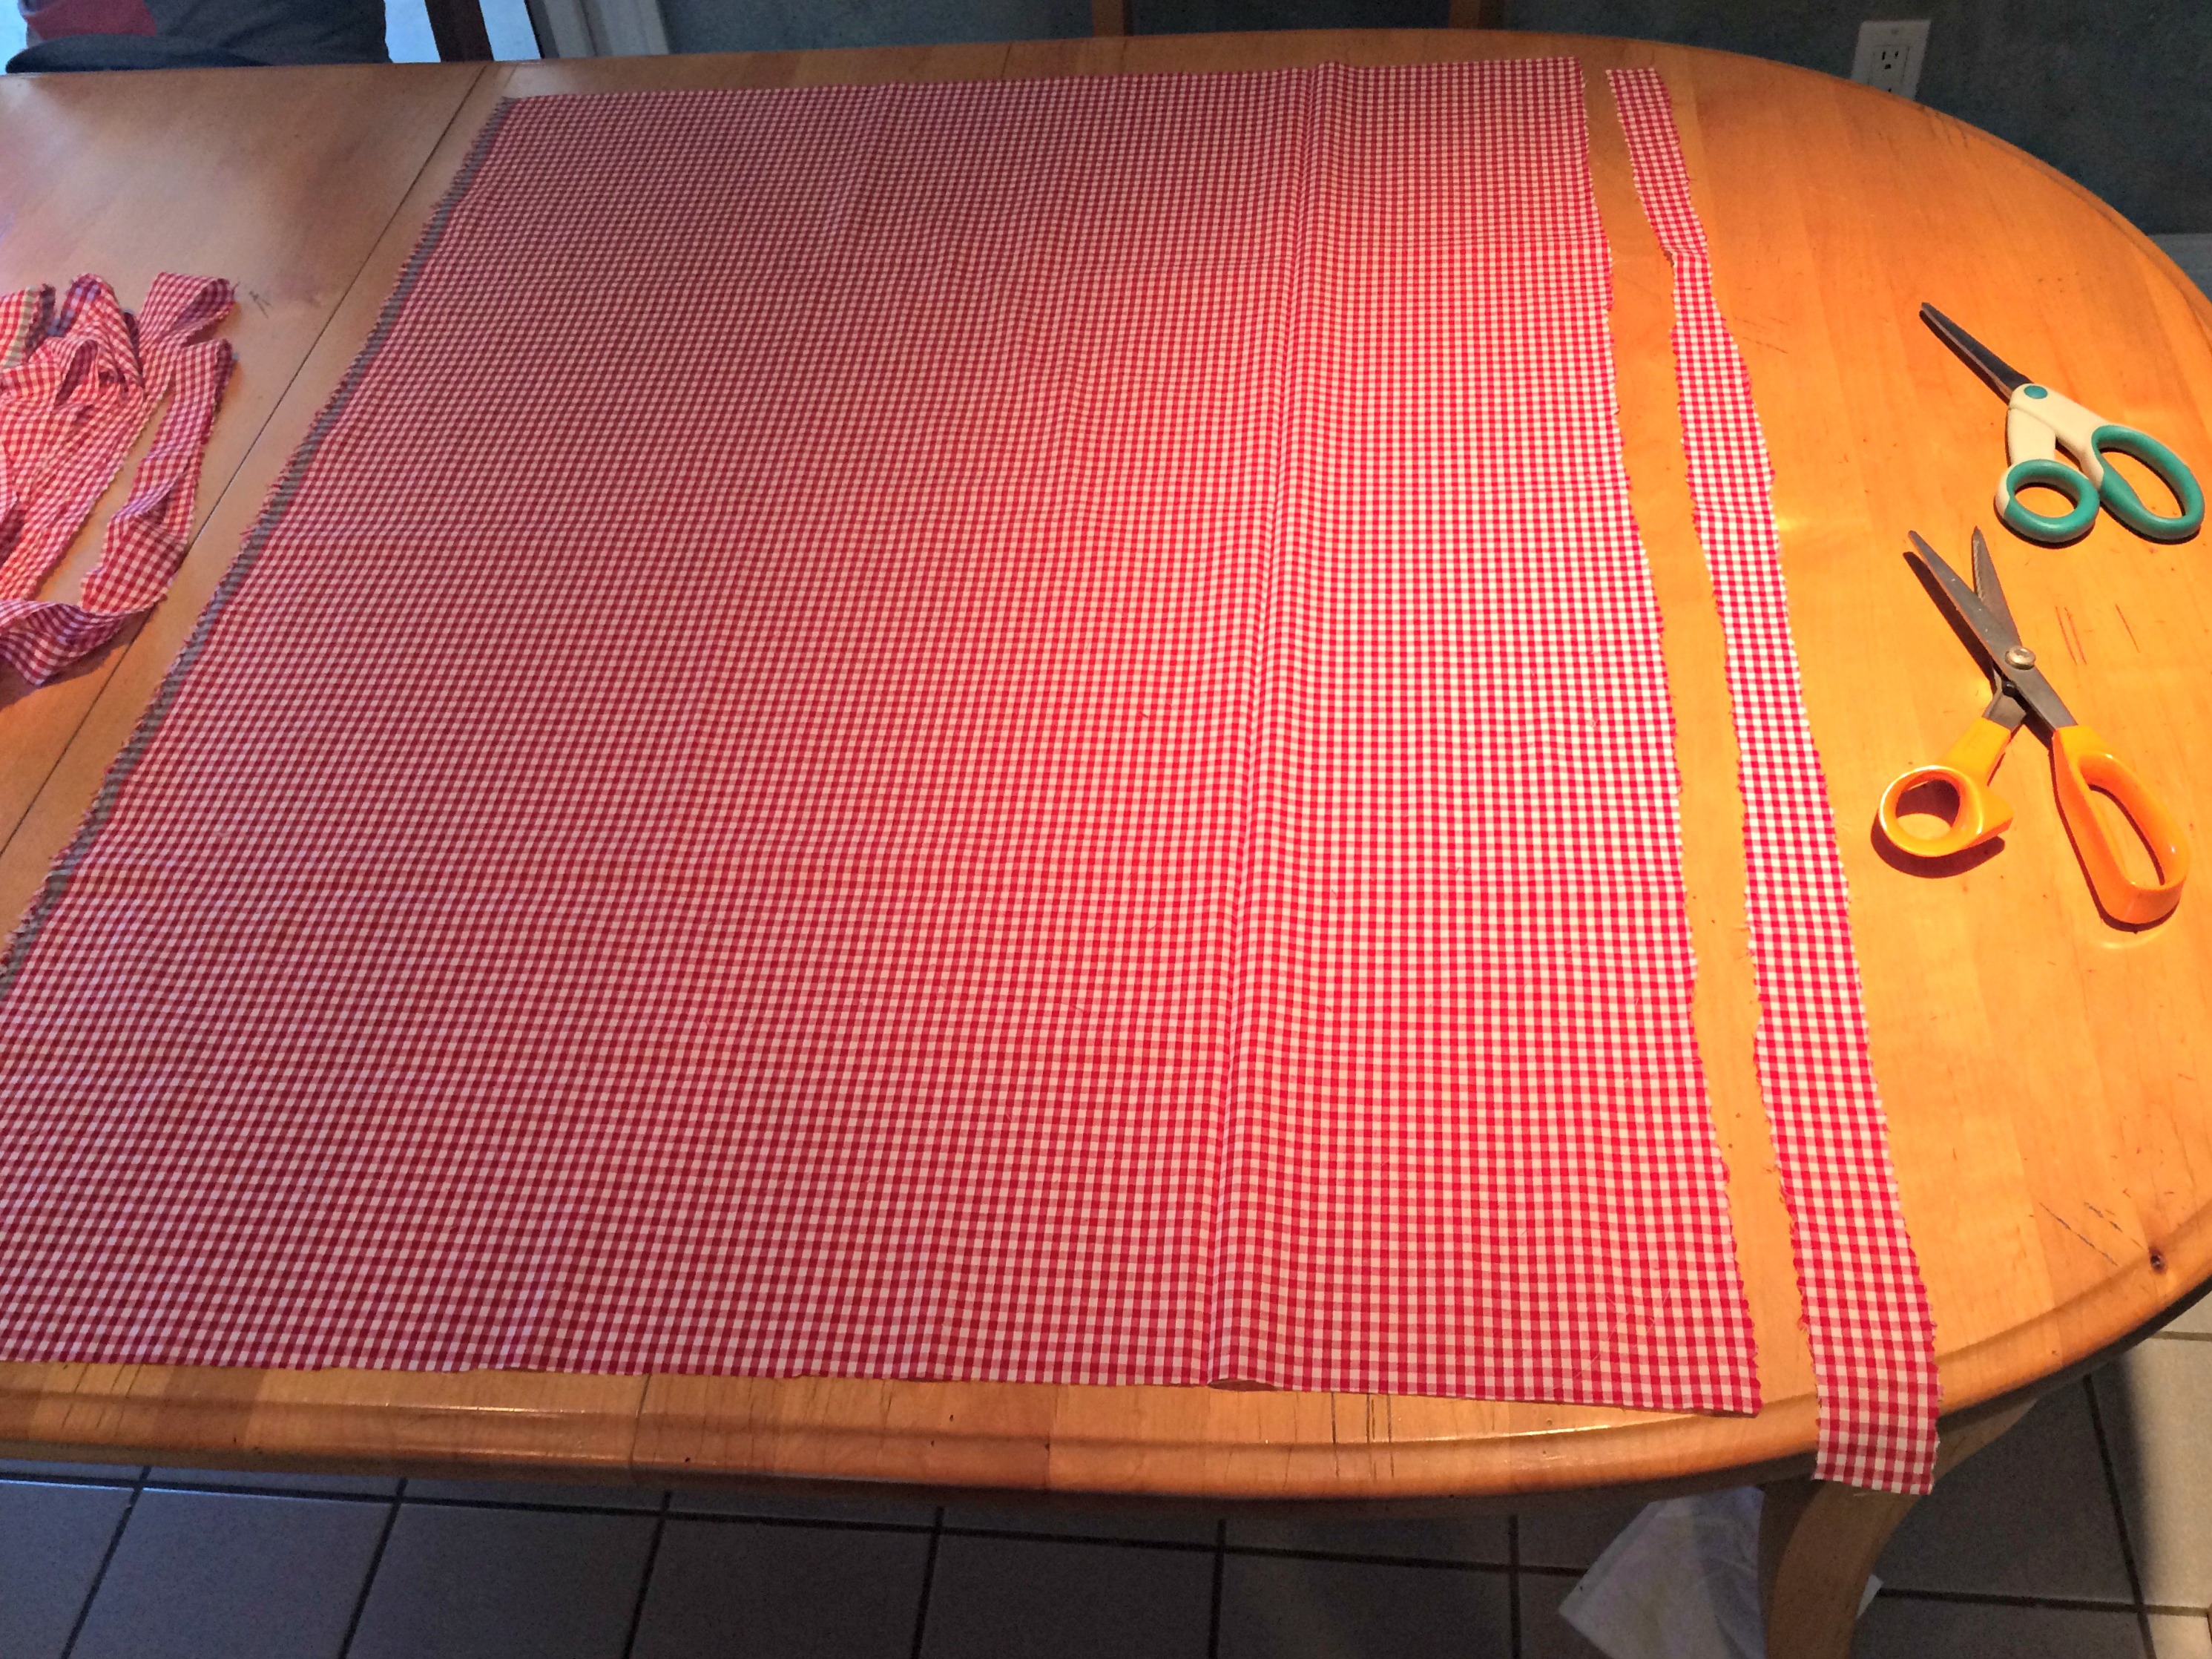
2) Cut Strips of Fabric and Ribbon
My mom and I laid out the two yards of fabric on the kitchen table (while the rest of the family drank their coffee and ate breakfast around them) and started cutting long strips about 1-2 inches wide. How wide you make them is really up to you! Don’t worry if your lines are uneven, the strips are different sizes, or the fabric frays. It will actually give the garland some texture and fullness, so the more uneven and imperfect the better (projects like this are my FAVORITE).
Next, we cut each of these fabric strips in half to make the pieces we would tie on the garland. How long you make them just depends on what size garland you want. Our pieces were about a foot long. After this, we cut the lace and burlap ribbons to match.
3) Tie Ribbons and Fabric On Rope
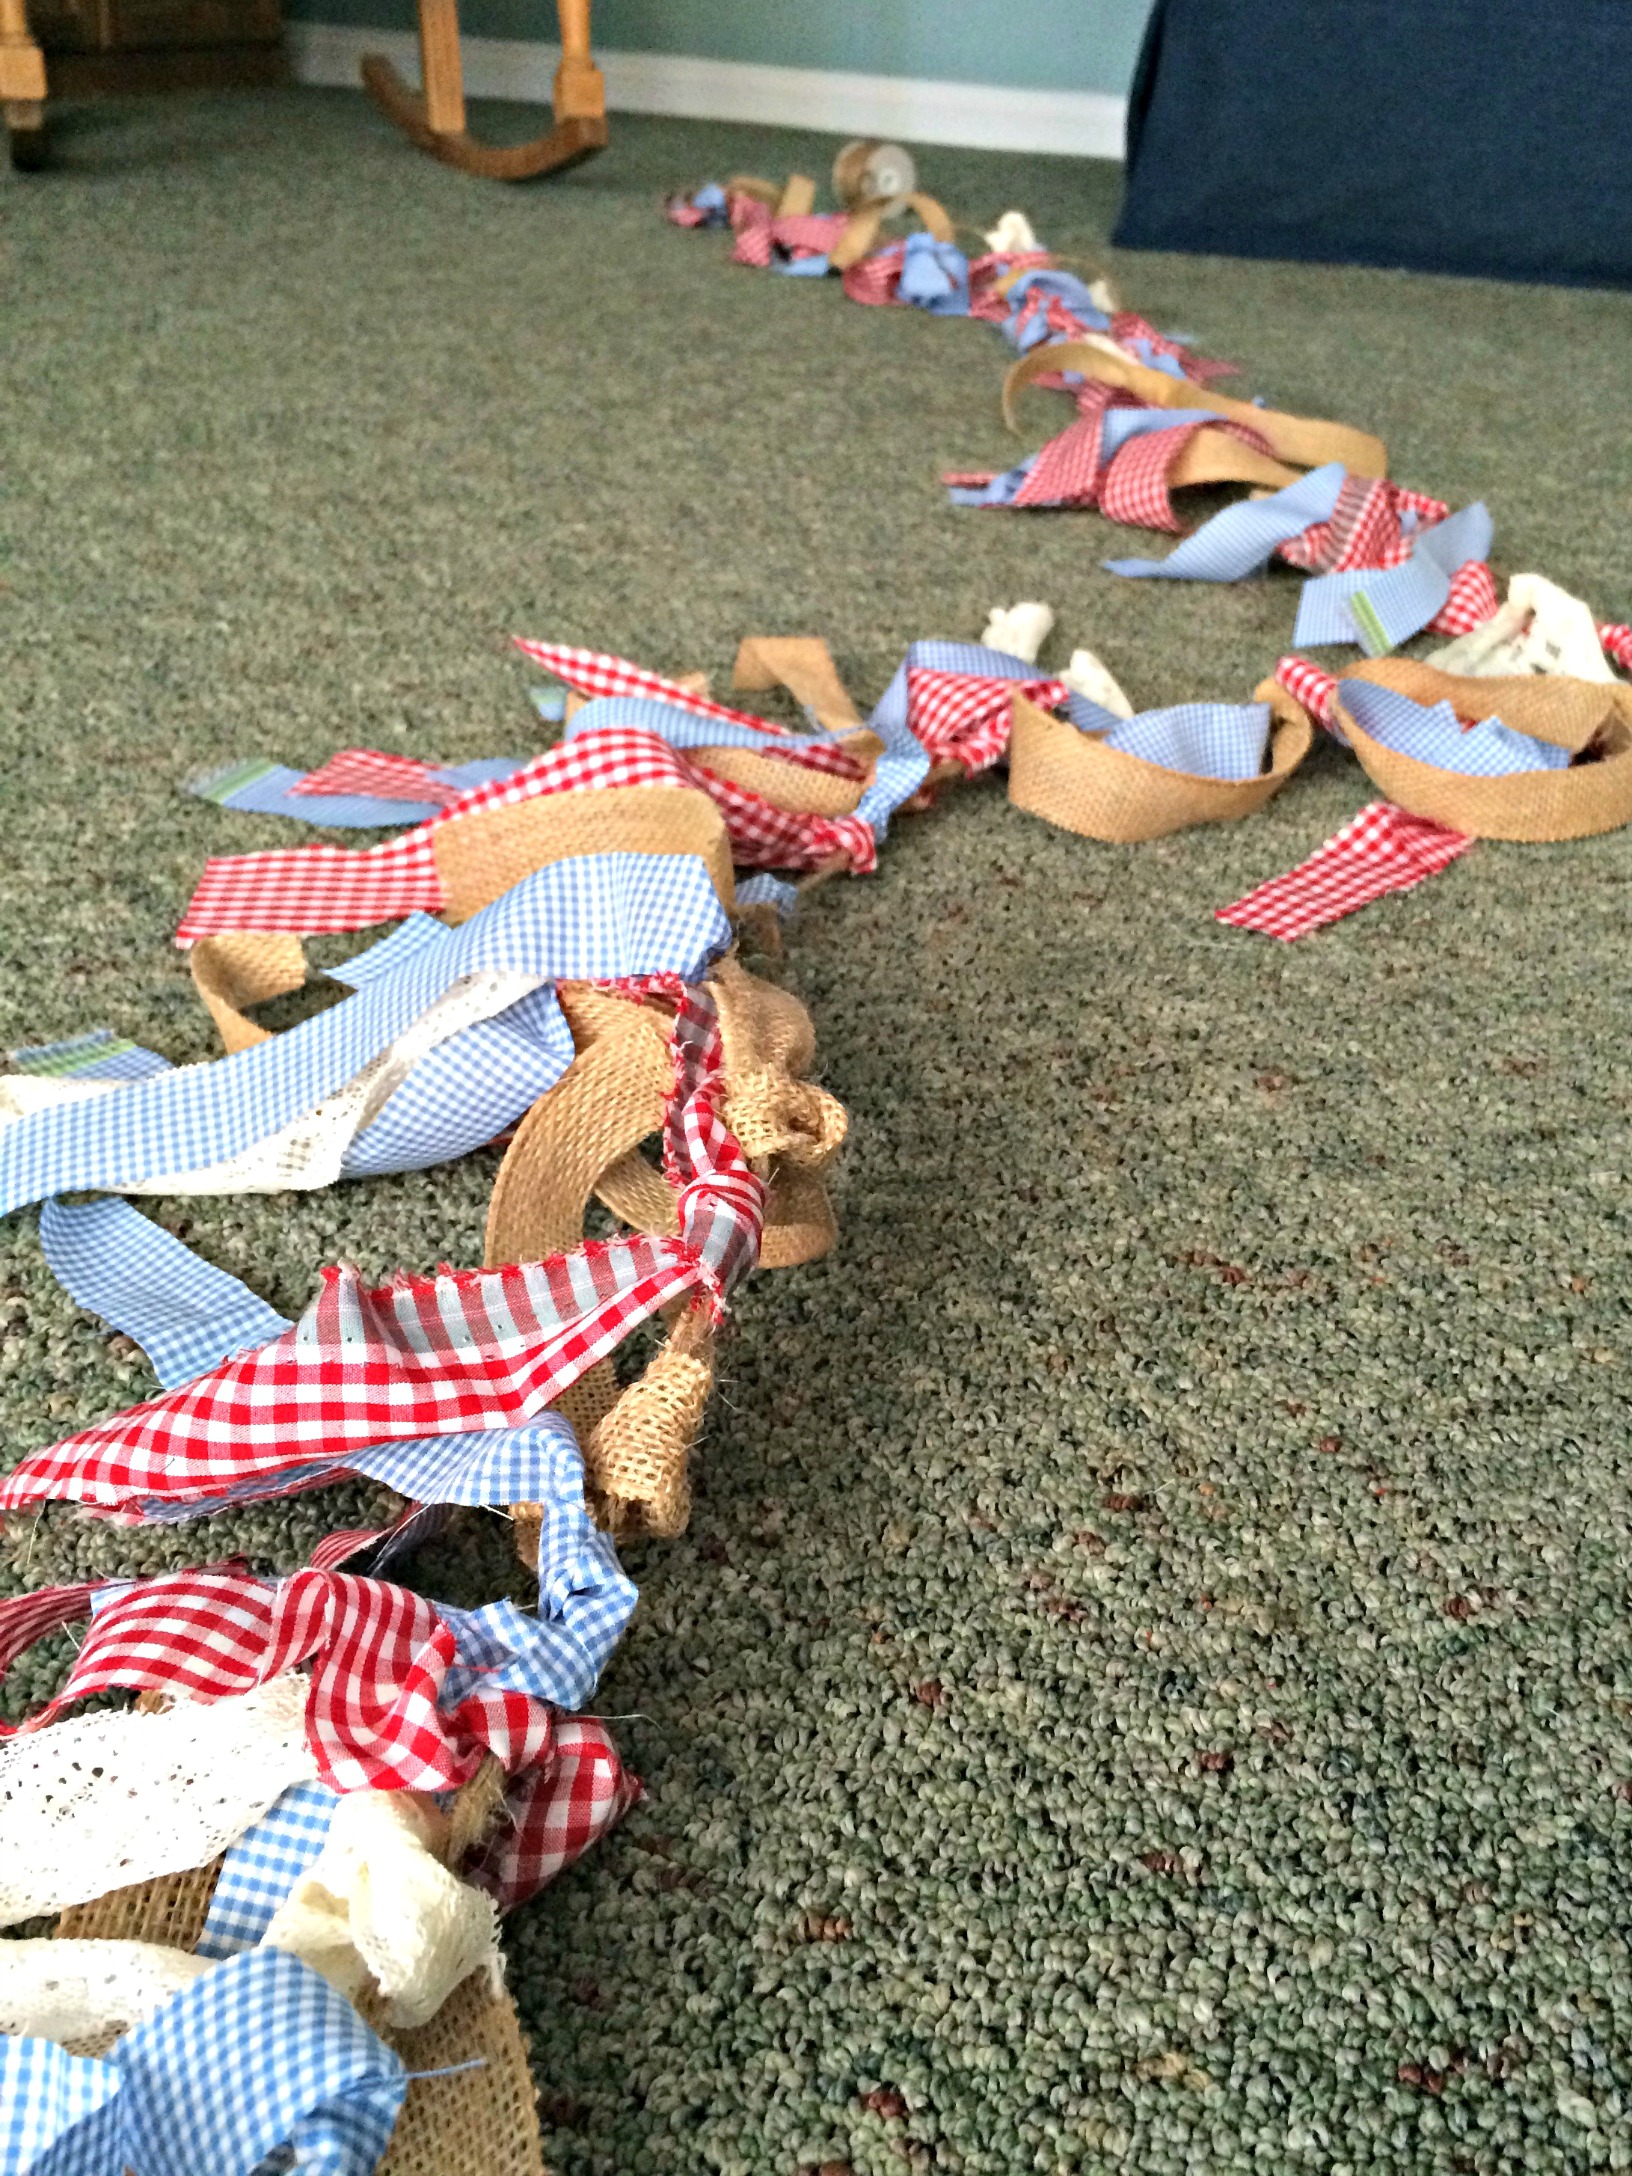
I unrolled several feet of jute rope across our living room floor and started tying on the red and blue fabric strips across the rope to spread things out. I just did one tie (not a full knot) on the rope and that was perfect. We had fewer burlap/lace strips then I thought, so I tried to spread these out evenly between the red and blue. I also realized that the burlap ribbon was too wide and ended up cutting all of those pieces in half. It really doesn’t matter that there’s a perfect pattern…just keep adding strips until you like the look and it feels as full as you want it too!
4) Hang it somewhere and admire your handiwork!
You can hang it against a wall, on a mantel, or anywhere where people and see it and admire your awesome craftiness and skills. I’m excited to keep this one and use it for future patriotic or summer holidays!
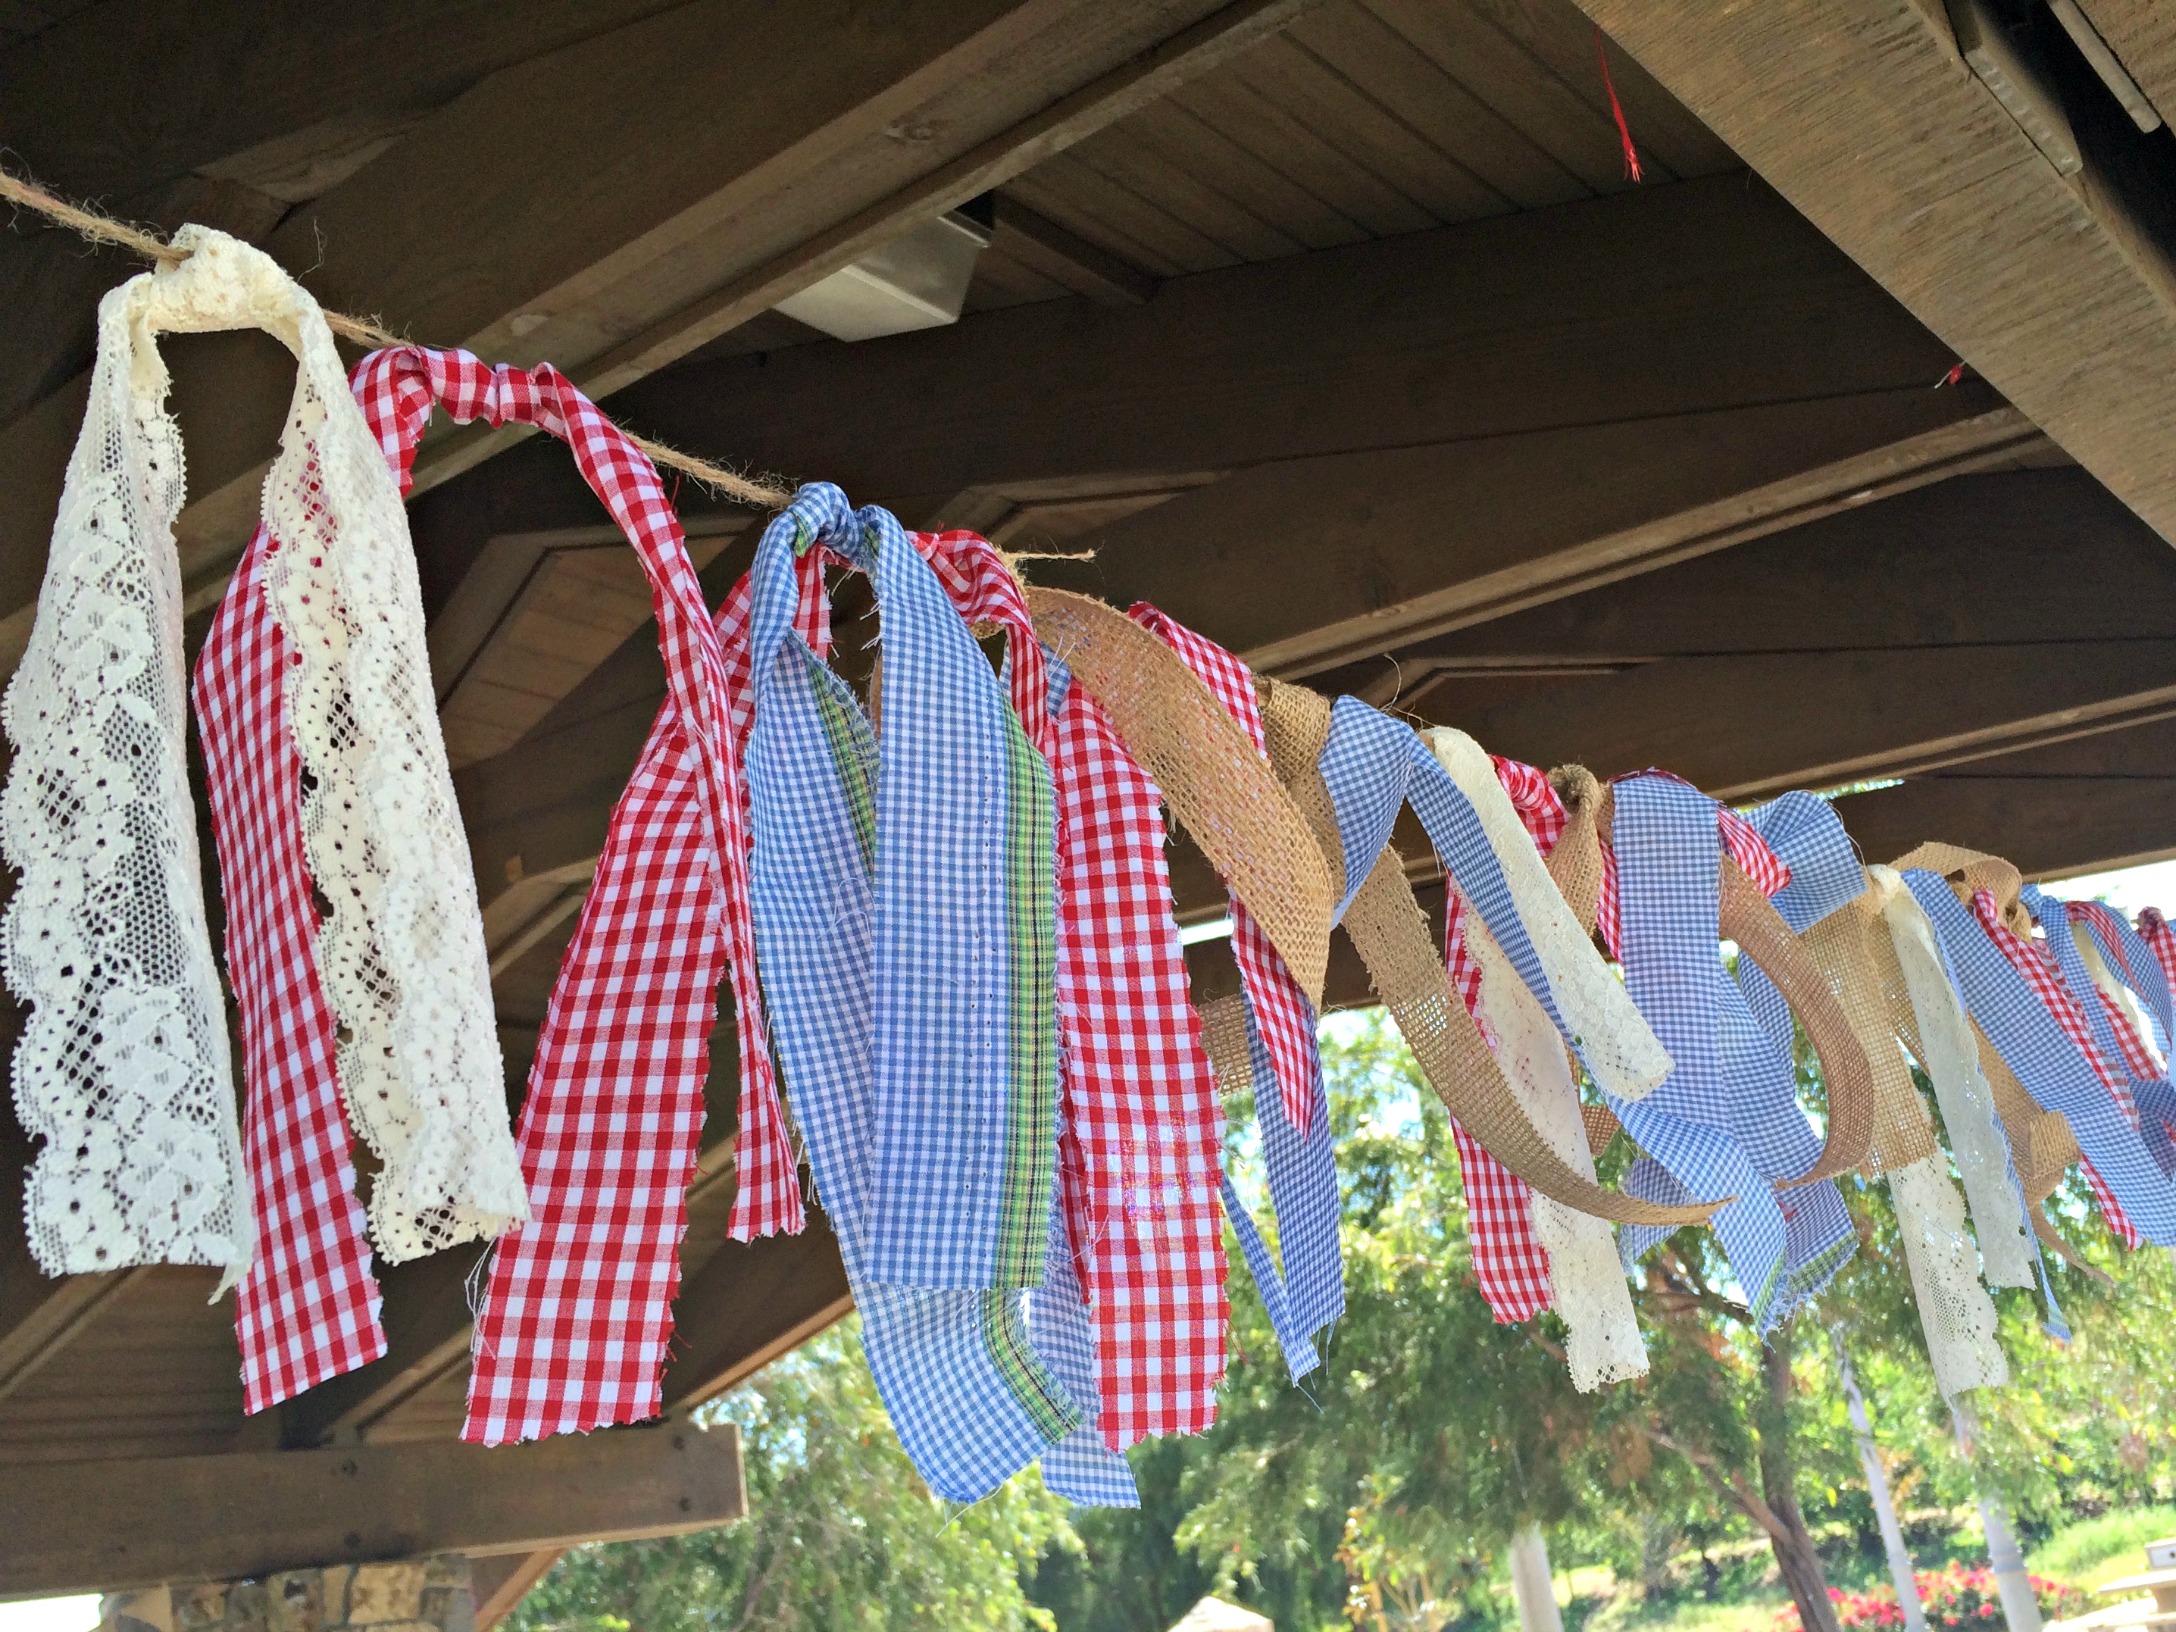
This project was so easy to make and took about 1-2 hour of labor plus about $20. I will definitely be doing it the next time I throw a gathering of some sort!
What are some of your go-to crafts or projects for parties and other celebrations? Please share in the comments so we can all steal your great ideas for the next time we need something!

I’m linking up toJust a Girl And Her Blog, Life on Virginia Street, Miss Mustard Seed, Remodelaholics Anonymous, Cedar Hill Farmhouse, Cupcakes and Crinoline, Home Stories A to Z, Sand and Sisal, Kleinworth & Co, Coastal Charm, Between Naps On The Porch, A Fresh Start On A Budget, Mad In Crafts, New Nostalgia, Funky Polka Dot Giraffe, Mabey She Made It, Memories By The Mile, Ladybug Blessings, Hope Studios, Posed Perfection, Common Ground, Anderson and Grant, The Charm of Home, Dwellings Amaze Me Monday, Sugar Bee Crafts, and Elizabeth and Co Vintage, The Charm of Home, Sweet Little Ones, Friday Letters, Meet-up Monday, Common Ground,Share Your Style, This Is How We Roll, AKA Design,Creativity Unleashed Thursdays, The Painted Drawer, and Live Randomly Simple. Check out those blogs for more great recipes, projects, and ideas!


Super cute! I’ll wander through Hobby Lobby with you anytime 😉
Kelsie Kleinmeyer recently posted…How to Fly to Europe for (Almost) Free
Ha deal! 🙂