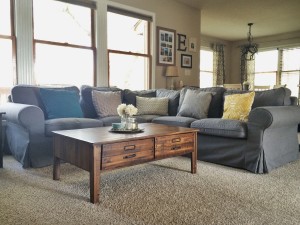
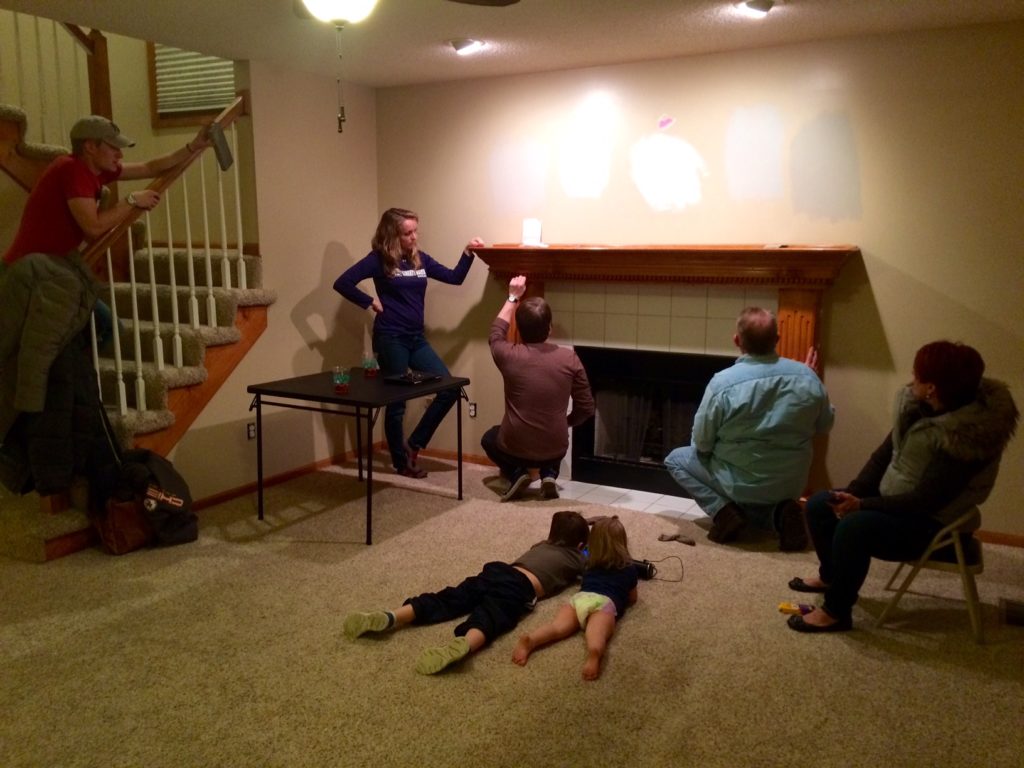
When we moved into our house almost two years ago, one of the first things we wanted to decorate was the living room. We spend so much time there and wanted it to feel cozy and homey as quickly as possible! Like most spaces in our house, everything about it was pretty much beige and orange-oak colored. These are two of the only pictures I have from the very first weekend before we moved in and I painted it all (that was before my blogging days when I pretty much never took pictures).
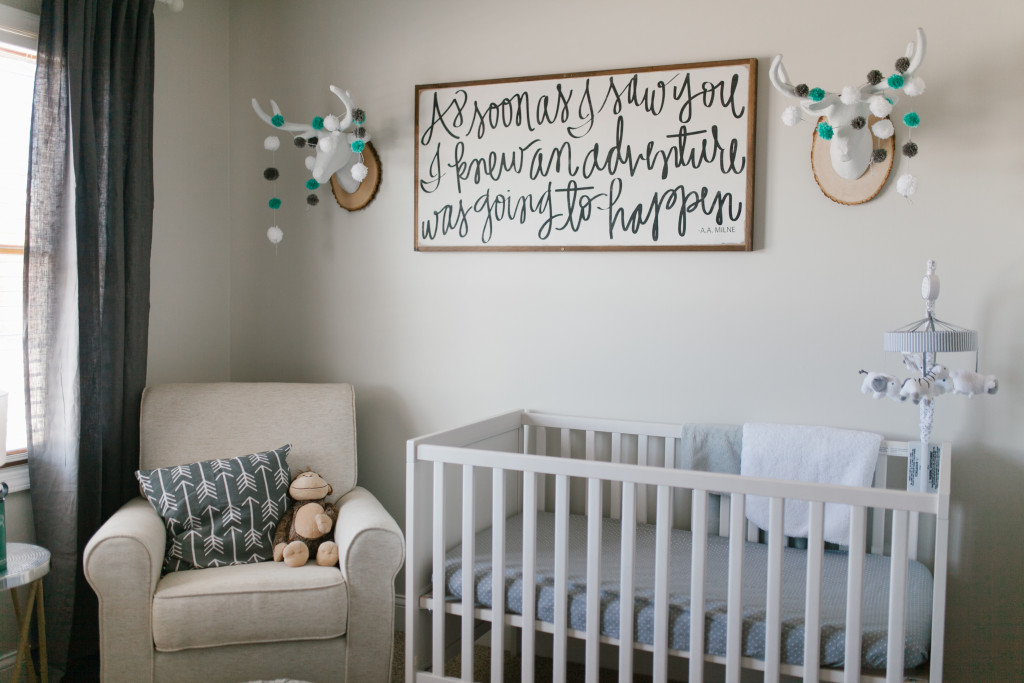
DIY White Mounted Deer Head
When I envisioned our little one’s nursery, I imagined something calm, neutral, and airy with fun pops of color and whimsy. I love the look of DIY white mounted deer heads and wanted to incorporate them in a way that still fit with the bright feel of the whole room (you can check out the reveal of our son’s nursery in this post!). I threw these bad boys together using a few supplies from Hobby Lobby and an hour or so of work and I love how they turned out! They are so easy that I almost felt silly typing out the steps to make them (because it’s basically just spray paint and glue).
If you already have a can of spray paint and catch Hobby Lobby when they’re having a sale (or you’re smart and use that 40% off coupon on your phone!), you can make this project for super cheap and with very little work. And aren’t those kind of projects the best kinds?
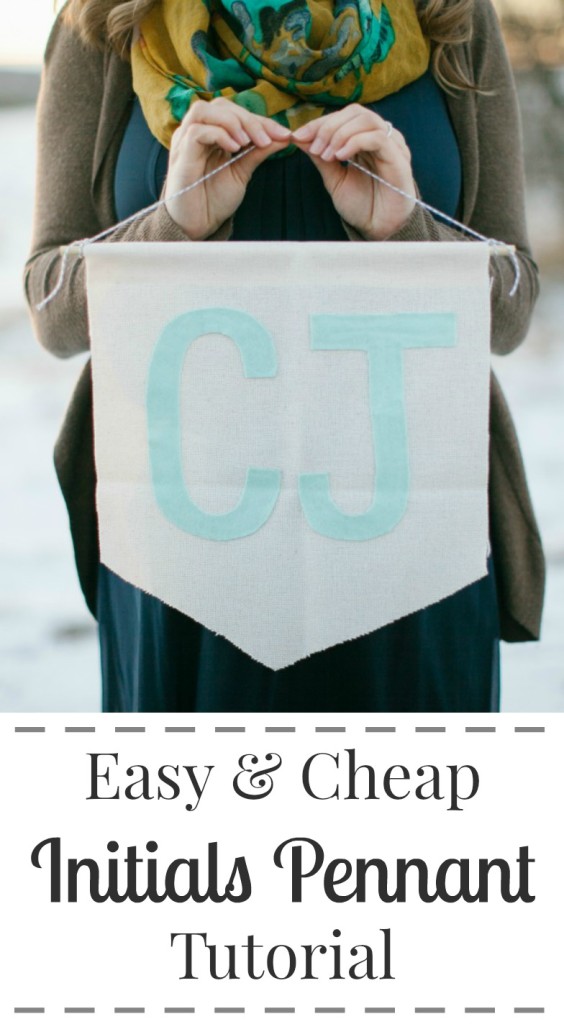
Easy Initials Pennant Tutorial
As I’ve been working on the nursery for our little man, I’ve gone through what seems like hundreds of ideas of what I wanted on the walls (you can check out the finished nursery here!). Since I was putting a bigger statement piece over the wall with the crib and glider, I wanted something with smaller pieces for the opposite wall over the changing table to balance things out. The idea for this little, easy initials pennant with our boy’s initials would be the perfect addition to the gallery wall!
I picked up a few random materials on clearance at Hobby Lobby and got to work, pretty much just making it up as I went. It is the perfect pop of color in the gallery wall and was a great prop for our maternity shoot. I love how it turned out and it was SO easy!
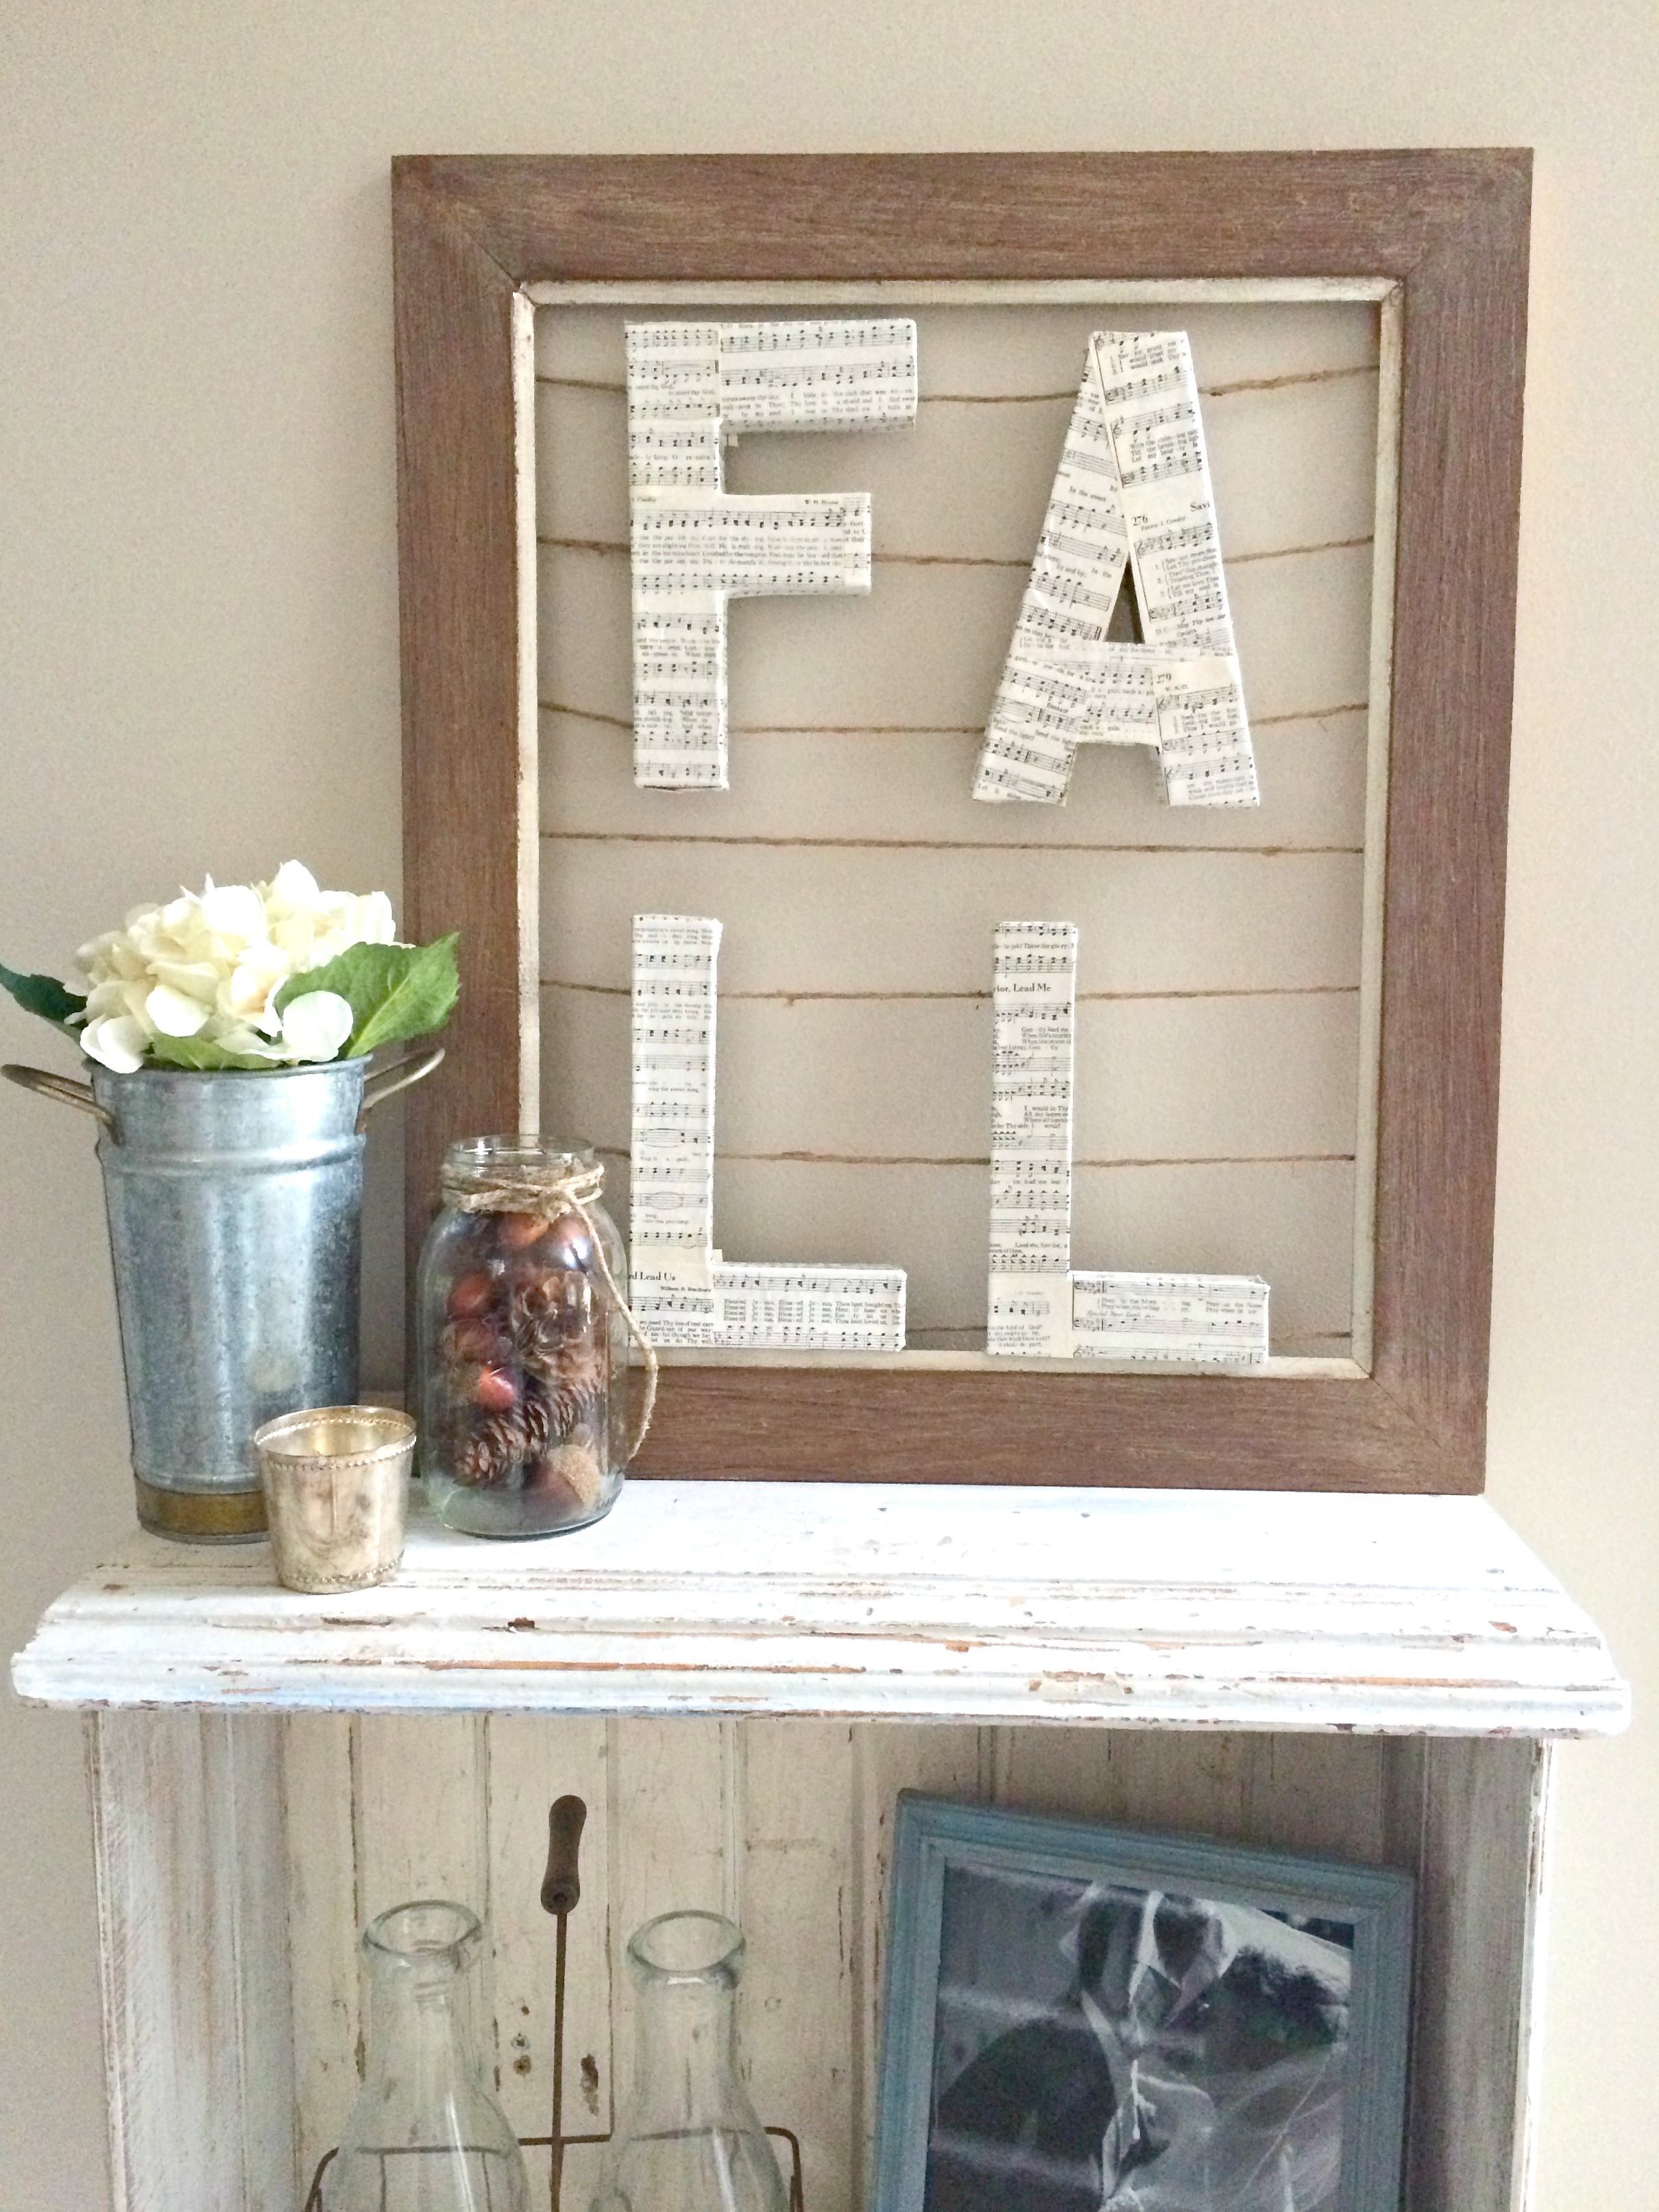
Neutral Fall Sign With Decoupage Letters Tutorial
For as long as I can remember, I’ve been a directions follower. Give me a recipe, a set of steps for a project, or detailed instructions and I am a happy camper. Following other people’s directions is much easier than forging my own path because if I fail, there’s someone else to blame besides myself. Because I was just following directions, right? There’s no way it could be user error (please note the sarcasm here).
Since I got married and moved away from all of my artistic and creative friends from college (whom I love dearly), I’ve had to learn to trust my own creativity. I’ve started making dinner without checking a recipe or jumping into a craft with nothing but some random supplies from Hobby Lobby and an idea that popped into my head.
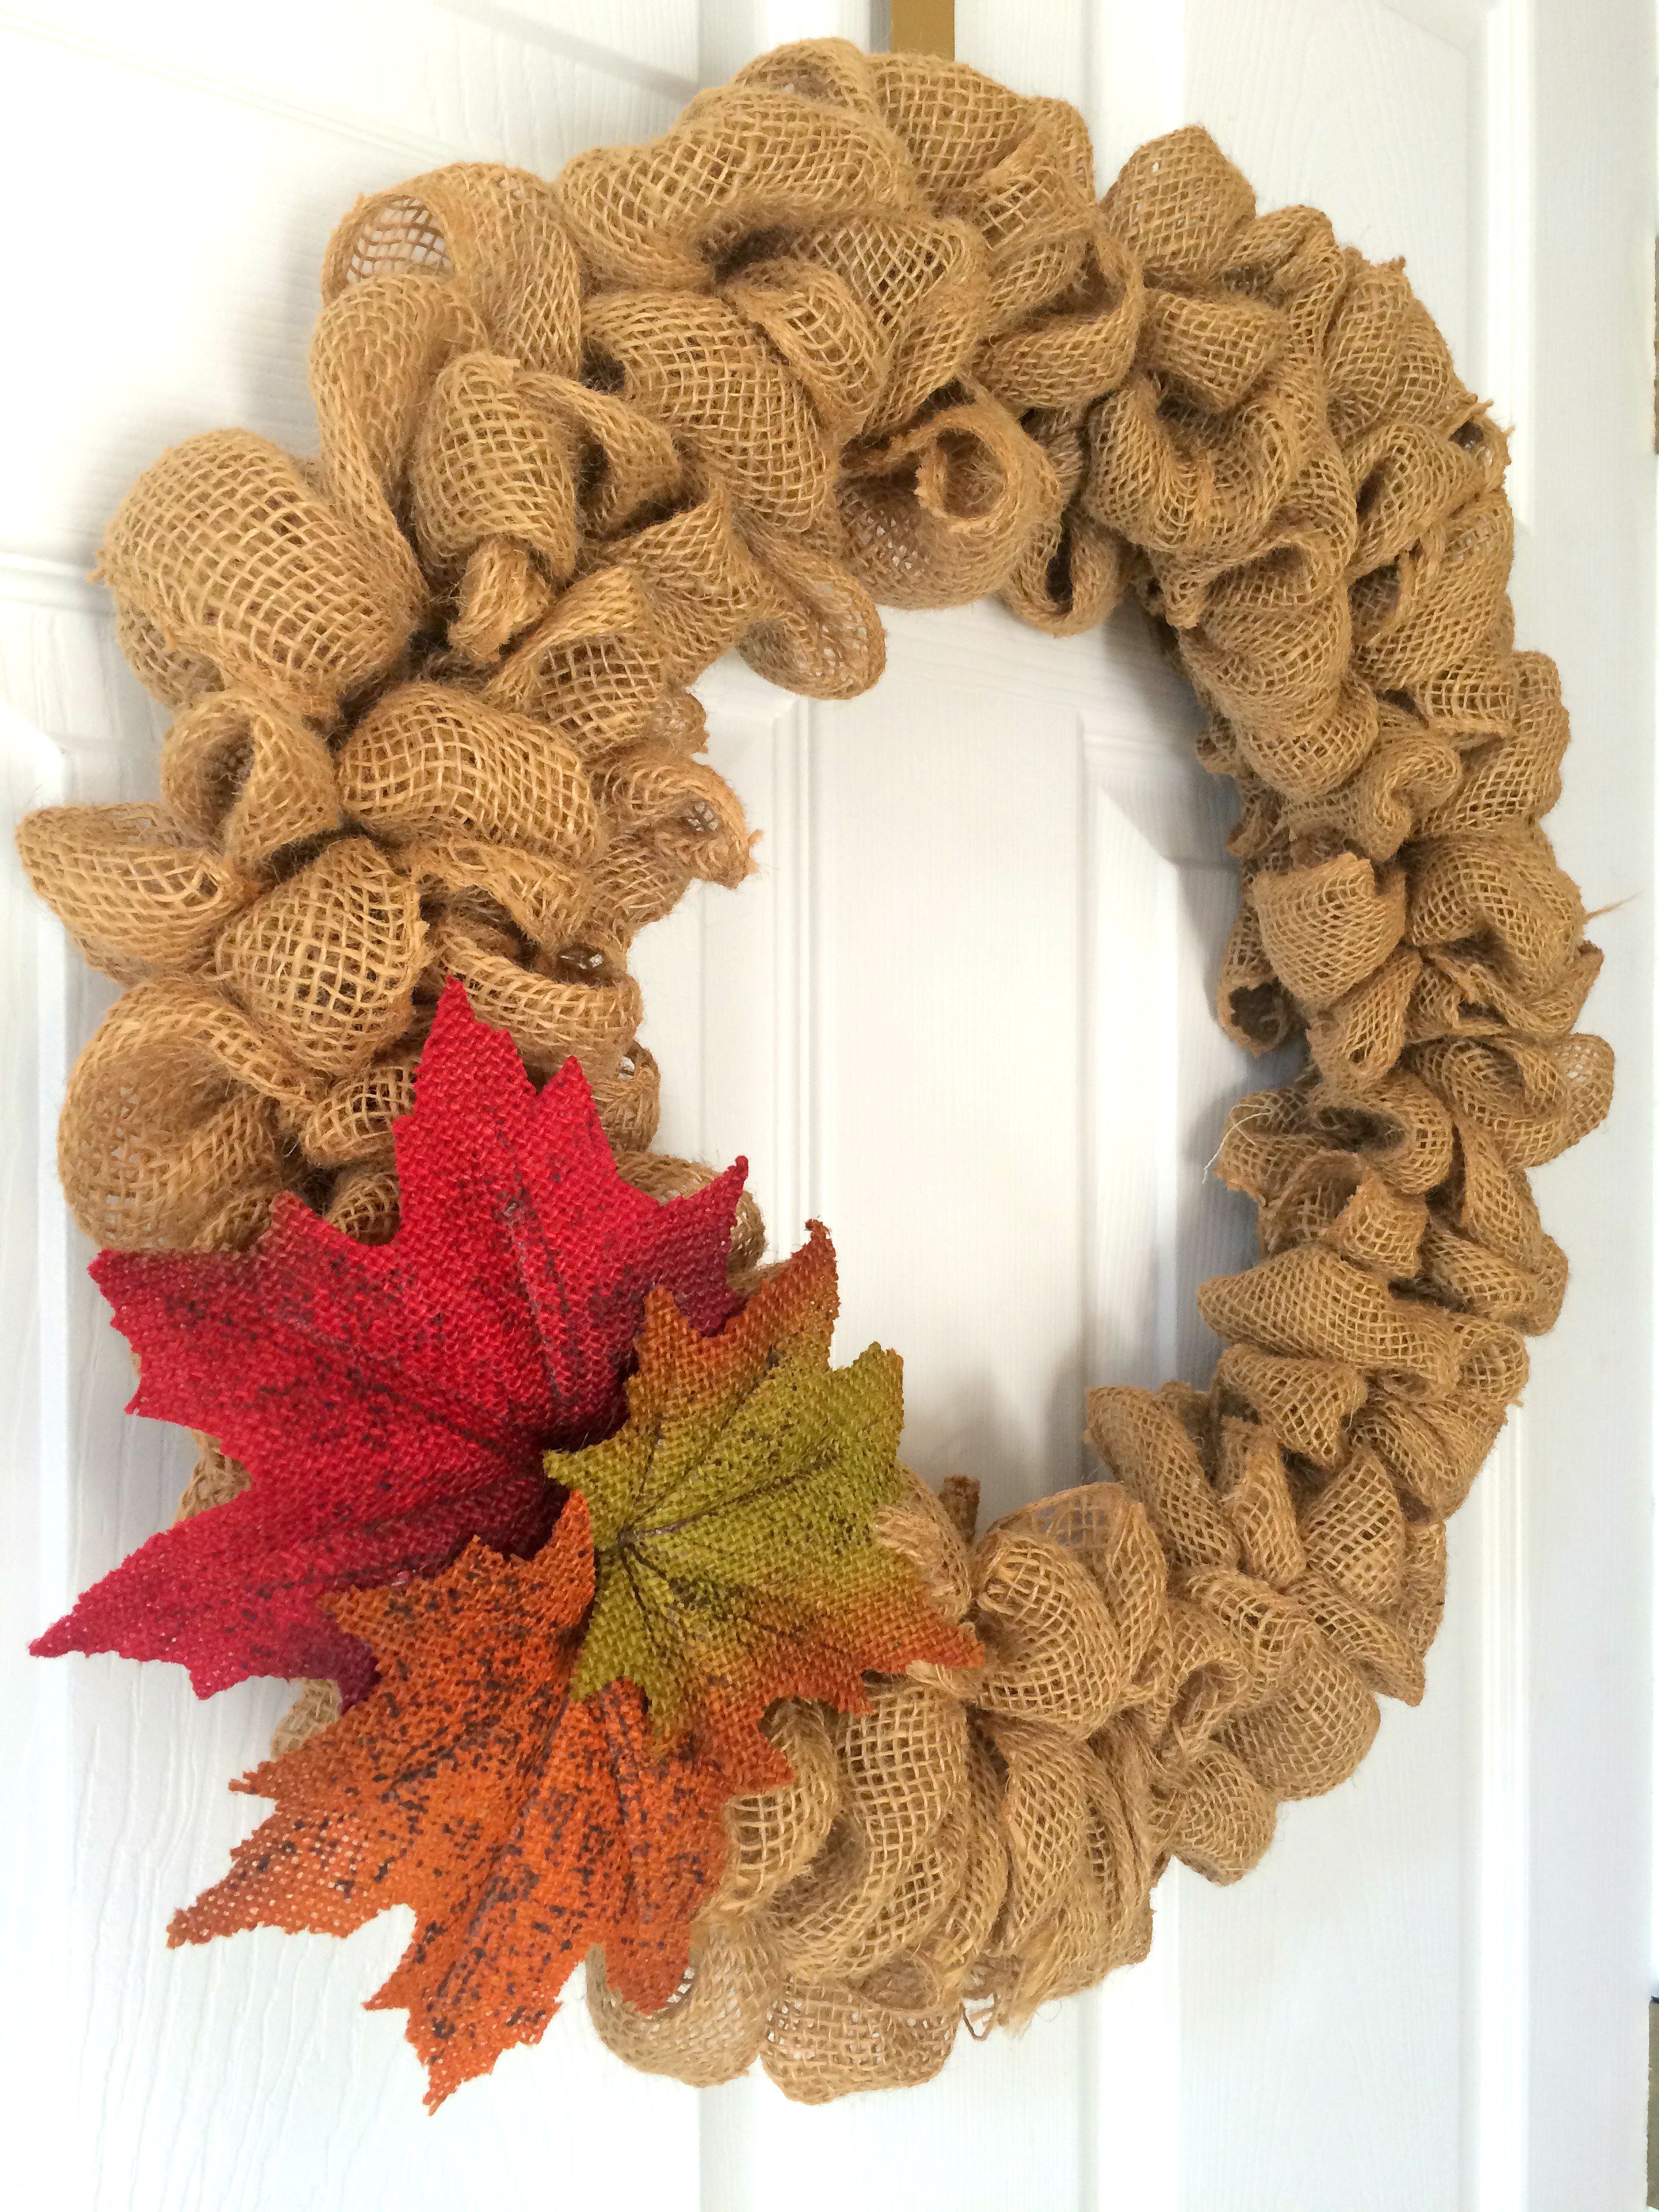
And you know what I’m learning, guys? My ideas aren’t half bad. Sometimes I come up with really yummy recipes like this mocha brownies recipe or fun crafts like this fall burlap wreath I made a few weeks ago. Turns out I’ve got some good ideas in this head of mine. Who woulda thunk?
How To Make A Fall Burlap Bubble Wreath
UPDATE: Make sure to check out our 2016 cozy and neutral fall home tour to see this wreath and the other fun touches I added to give our house some autumn spirit!
This is our first year in an actual house (you can check out the tour of our home here!) and I’m so excited to start creating some decorations that we can hopefully use in our home for years to come. The decorations my mom used to put up for each holiday are such a big part of my childhood memories of those holidays and I want to create some of those same traditions for our kiddos (even if the first one is still in my belly and unable to appreciate our awesome fall decorations quite yet).
How To Paint And Distress A Wood Hutch
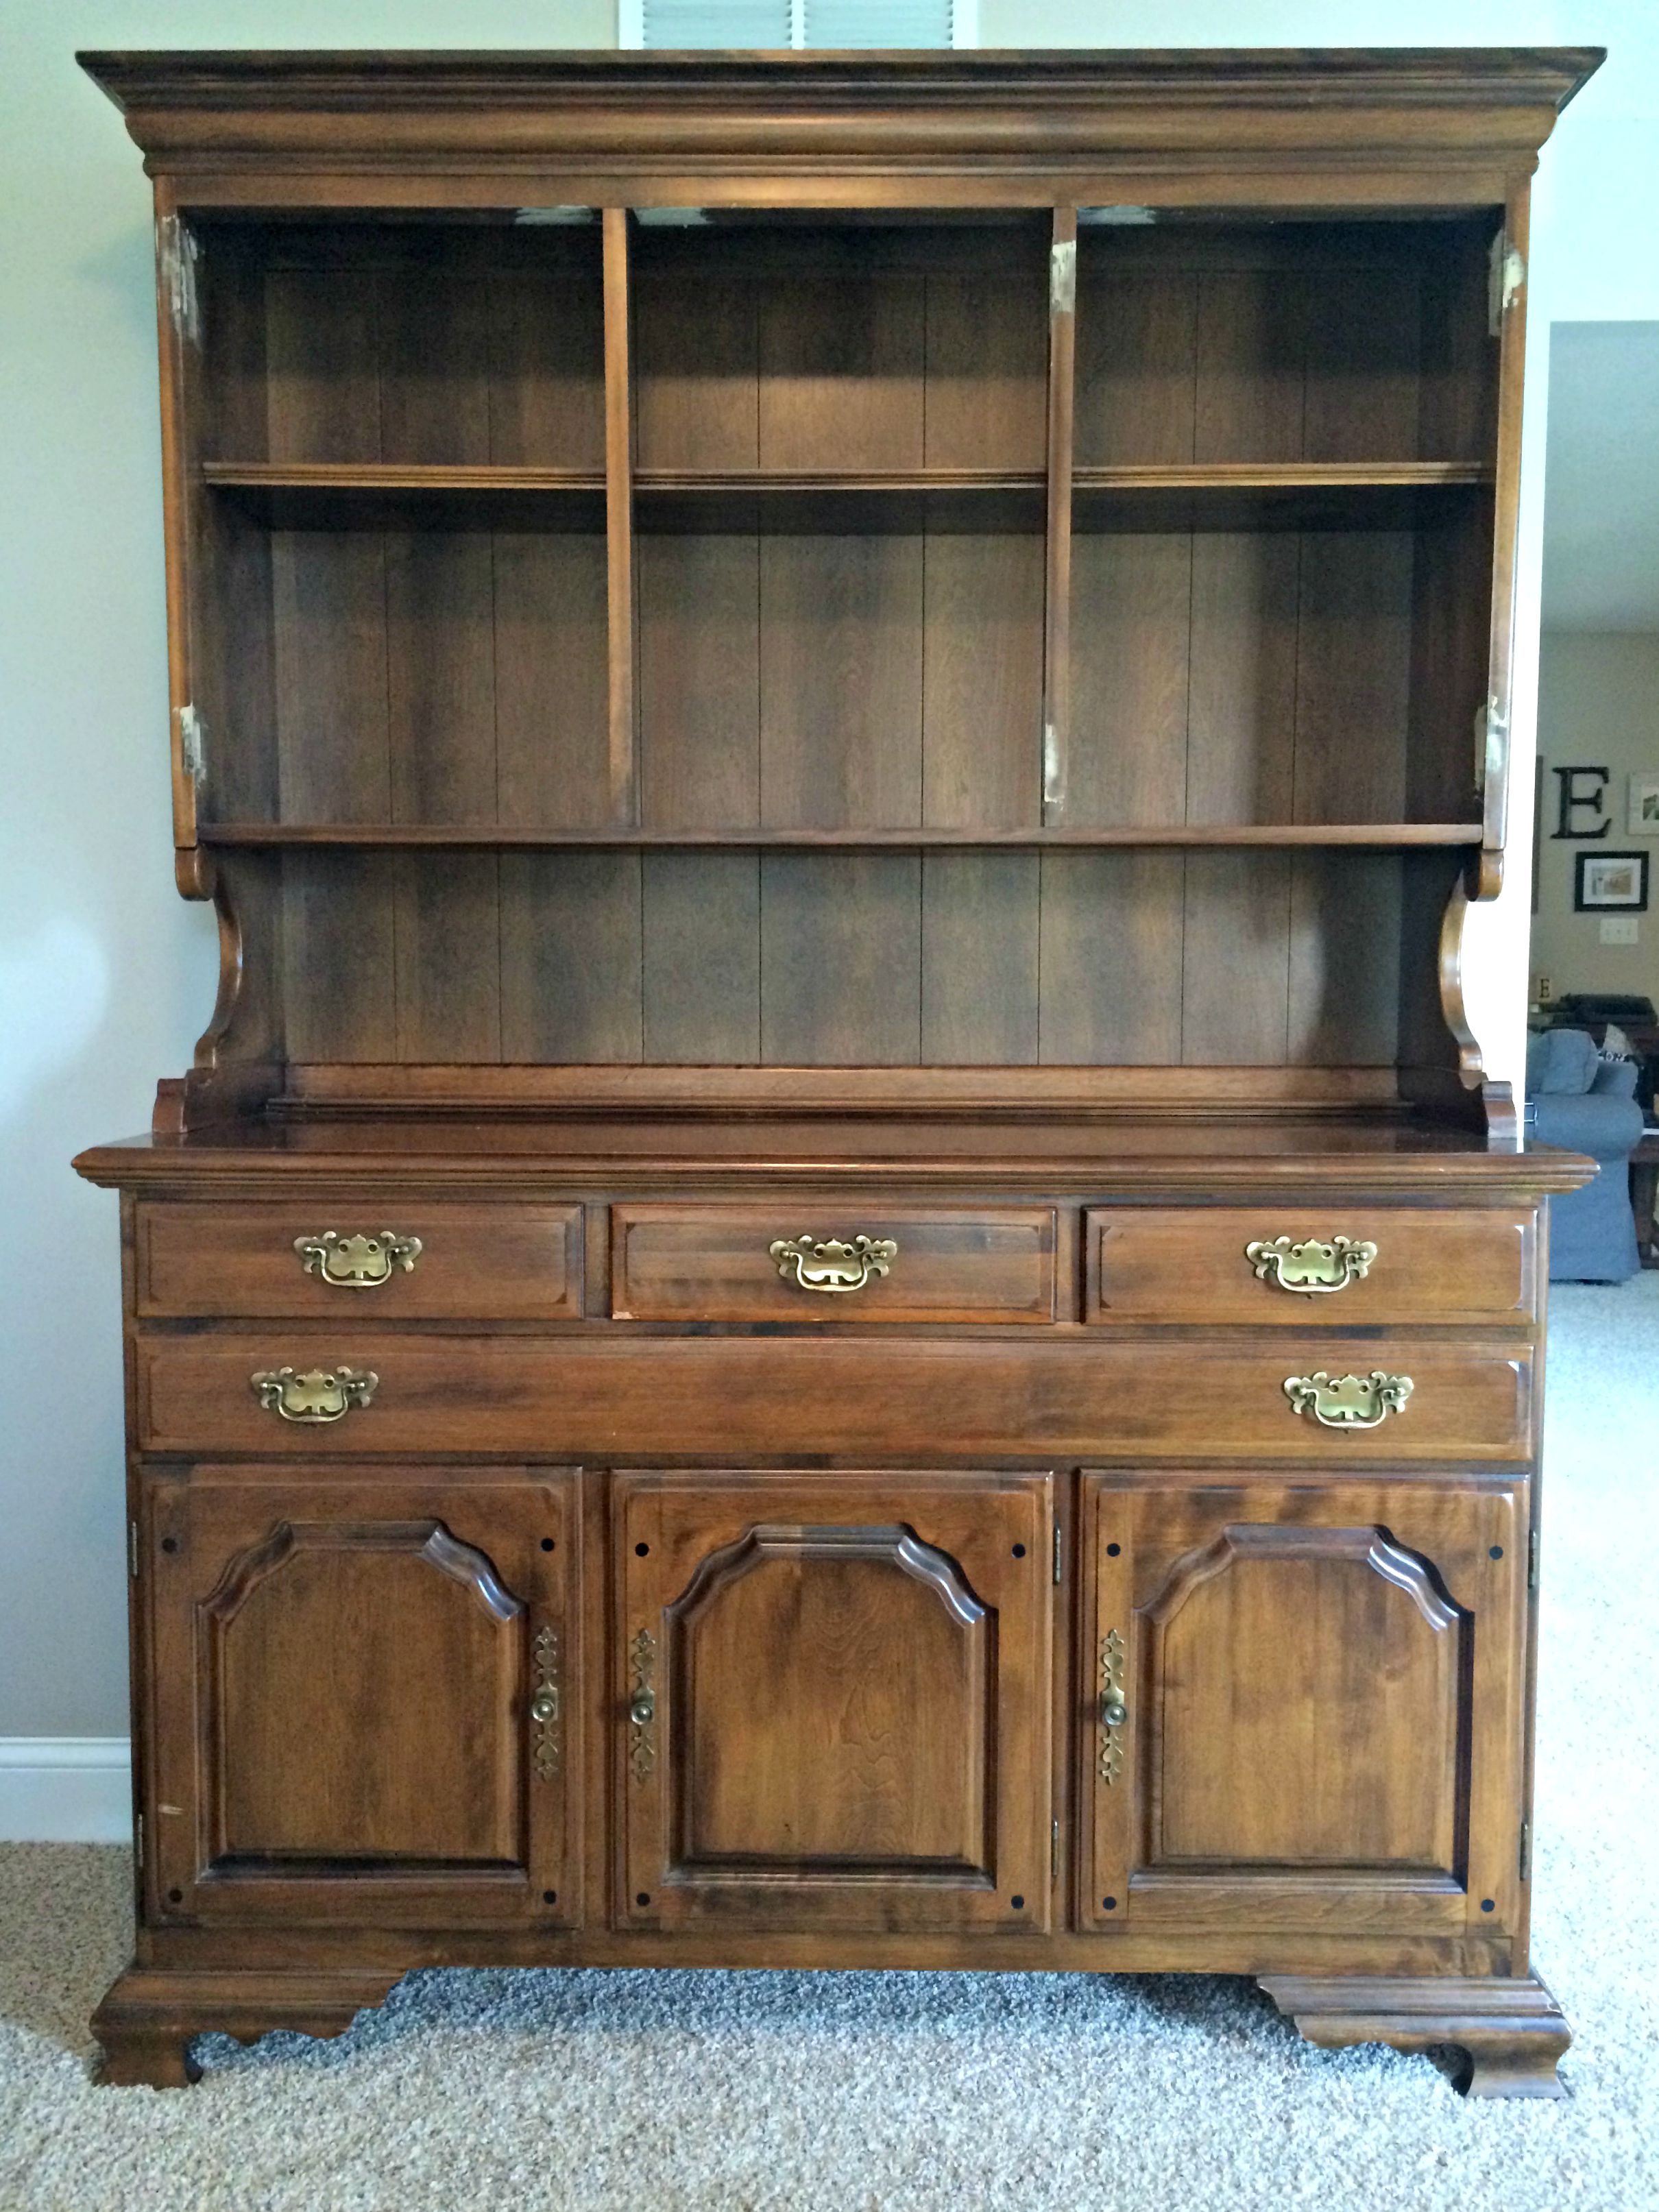
All right, folks. This post is a loooooong time coming. Do you remember a couple months ago when I talked about how I was finally going to paint the hutch we’d inherited when we got married? Well, two months and many, many steps later, it’s done.
How To Make A Ribbon Garland (For Less Than $20!)
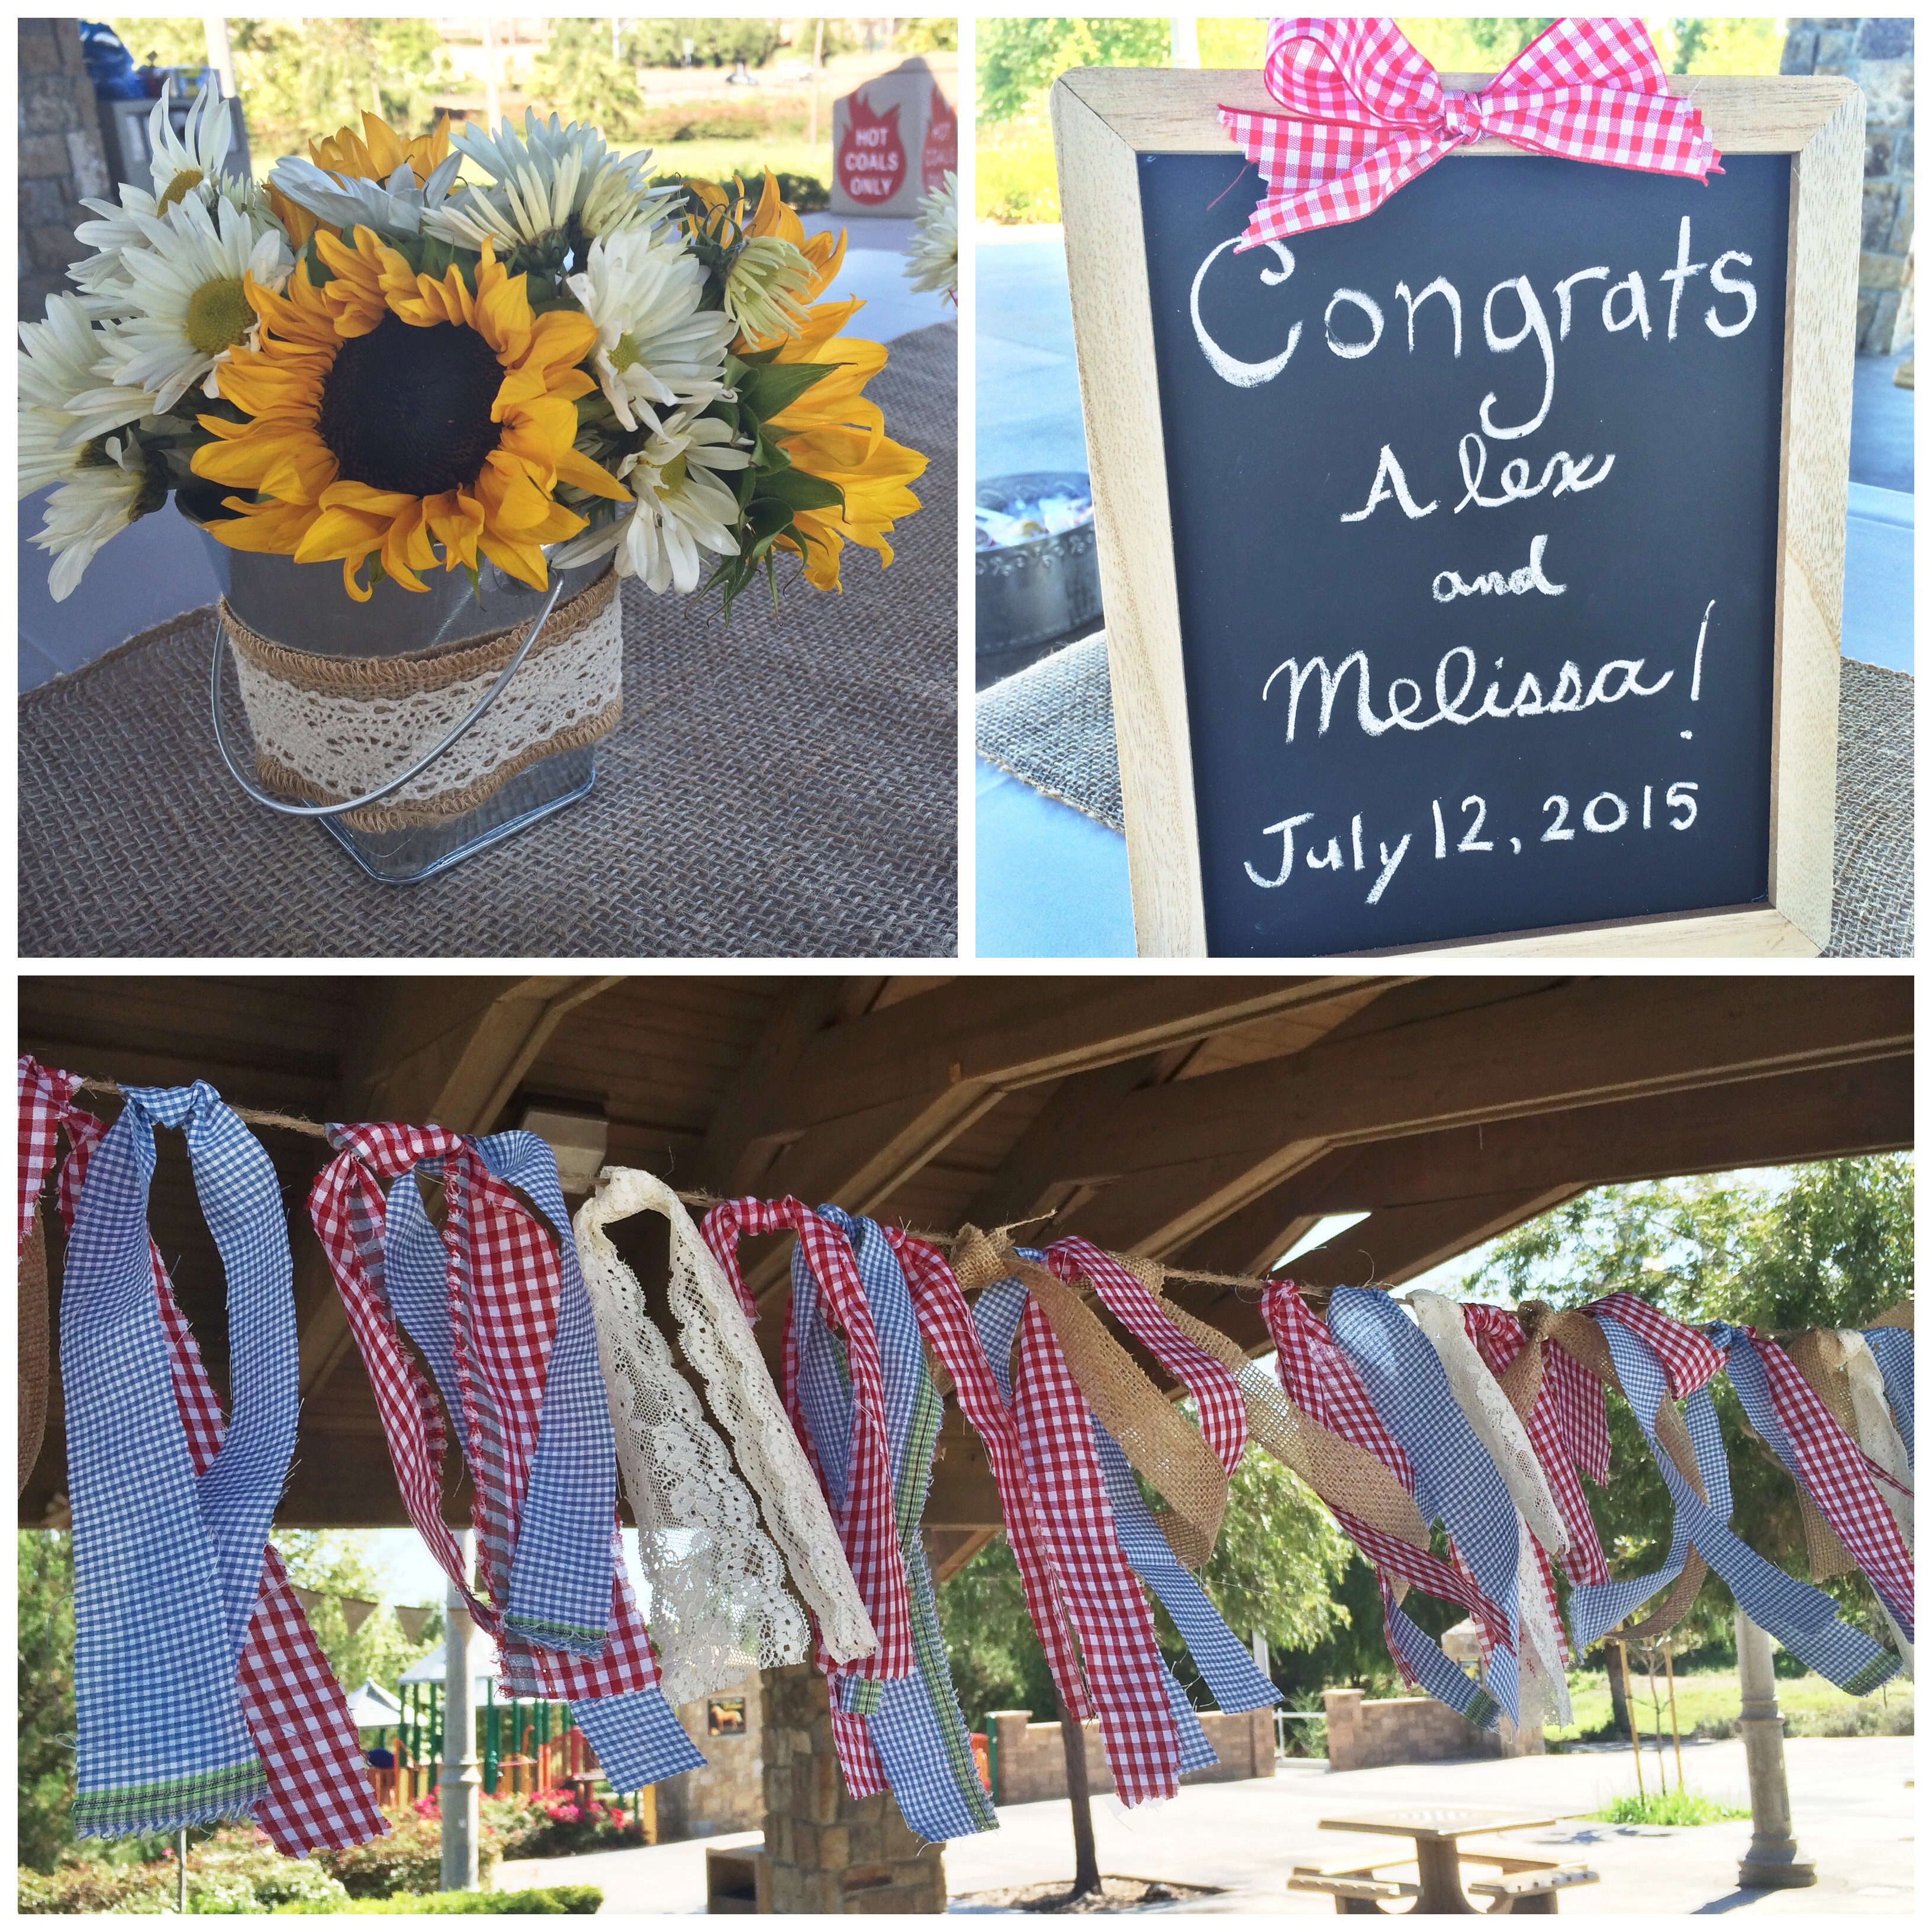
After heading to Mexico last week, Jordan and I flew to California for my younger brother’s wedding. My brother and his fiancee met in middle school and got married on their seven-year anniversary. How awesome is that? It’s one of my favorite things in the world to tell that story to my middle-schoolers and then remind them that they could be sitting next to their future spouse. Gets ’em every time.
Anyway, when we arrived, my understandably overwhelmed mama asked me to take on decorating for the rehearsal dinner. They were doing a more casual dinner at a local park and wanted a few things to dress up the park shelter and make it a bit cuter. I spent an hour wandering through Hobby Lobby (one of my favorite pastimes and my husband’s least favorite pastimes) and threw anything burlap, gingham, and lace into the cart that I could. And y’all, it all turned out so cute!
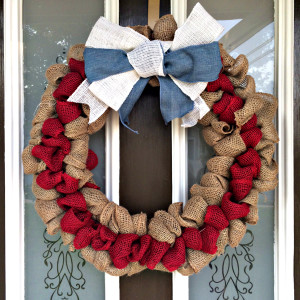
How To Make A Patriotic Burlap Wreath
There’s something so pretty and cozy about a front door with a wreath on it. I’ve always admired women who can whip up beautiful, colorful wreaths but felt a little nervous to try something that seemed so complex and “advanced” for a beginning crafter like me.
Last fall, I finally got brave enough to try my hand at a burlap bubble wreath, following some tutorials I found online (which I’ve since gotten a new computer and lost the links to!). I tied on some burlap autumn leaves from World Market using pipe cleaners and hung the whole thing on our apartment door. Every time I came home it made me smile a little to see my own handiwork looking so cute on our door!
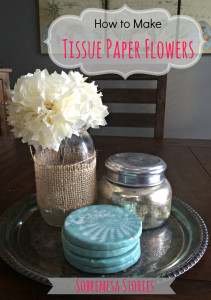
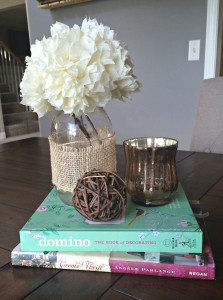
How to Make Tissue Paper Flowers
Before I taught Spanish, I taught two years of English as a Second Language and loved every minute of it. I worked closely with a small group of students from all around the world and they made my world a million times brighter. They made me laugh every day, like when my wonderful Nigerian student Rasheed asked me what “nipple” means because he’d heard it in the hallway. Try explaining that one without pictures or gestures! My ESL students taught me how to make a delicious pozolé (a Mexican soup), how to be resilient in the midst of incredibly hard circumstances, and how to see the world around me with curious eyes. One of those students, a sweet girl from rural Mexico named Lucía, also taught me a more practical skill: how to make Mexican tissue paper flowers the way her mamá in Mexico had taught her.
These tissue paper flowers are a traditional decoration at Mexican celebrations of all sorts, and Lucía and I made bunches of them that day while other students finished their standardized testing. Since then, I have made about a thousand of these for our house, for baby showers or other parties, or to celebrate Cinco de Mayo with all my students. These are beautiful in a vase, strung on a string like a garland, or tied together to make big puffy decorations for parties or bridal/baby showers!
The process below is what I’ve refined after teaching a couple hundred unruly middle schoolers how to make these. I will say it is an art form, not a science, so feel free to play around with these until you find a style that works for you! All you need is tissue paper, scissors, and some sort of wire/pipe cleaner to tie the middle and you’ll be good to go.
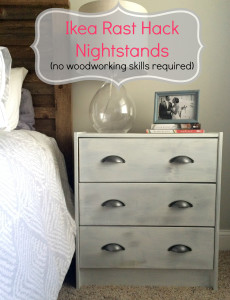
Ikea Rast Hack: A Nightstand Makeover
When a brand new Ikea opened up in Kansas City a few months ago, it became THE cool place to visit. I grew up about 15 minutes from an Ikea, so I didn’t quite get the craze until my husband and I visited for my first time as an adult. Let’s just say we walked out with a lot less money in our pockets and with a trunk full of affordable and super cute furniture/decor items! Our biggest purchase was this Ikea Ektorp sectional which we LOVE. It’s super comfy, fits perfectly in our space, and it’s slipcovered for easy cleaning (although let’s be real, I’ve yet to actually wash all the covers since we got a few months ago. Maybe that can just wait for when we have kids?). We were pretty sold on Ikea after our successful couch purchase.
Next up on my Ikea list was the famous Ikea Rast dresser. The master bedroom in our new house was a bit bigger, and we needed bigger nightstands to fill the space around our bed. These little dressers are only $35 a pop, so I figured they would be a great, inexpensive way to try my hand at my very first Ikea Hack!
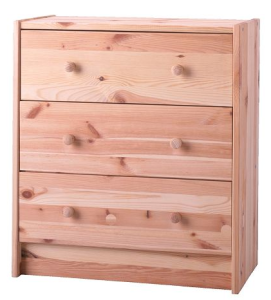
This is the Ikea Rast dresser in all of its untreated pine glory (and exactly how it looked when we got it). Noooooot my style.
After hubby assembled both of the dressers (I won’t even try to explain that process here. Ikea furniture assembly is a mystery to me), I got to working! As much as I loved the many Ikea Rast Hacks I’d seen that involved adding additional pieces of lattice wood or a larger piece of wood on top, my carpentry skills are seriously limited. I also don’t have much experience with wood staining, and didn’t think pine would be a good wood to start with. I wanted a way to upgrade these dressers that involved nothing more than a paintbrush and some other supplies I had on hand. We might add more someday, but a paint upgrade is always a good first step!